
The Best Apple Cobbler Recipe
This easy apple cobbler recipe has tender cinnamon-spiced apples baked under a golden, buttery biscuit topping. It’s the perfect fall-time dessert and pairs well with creamy vanilla ice cream for a weeknight treat the whole family will love!
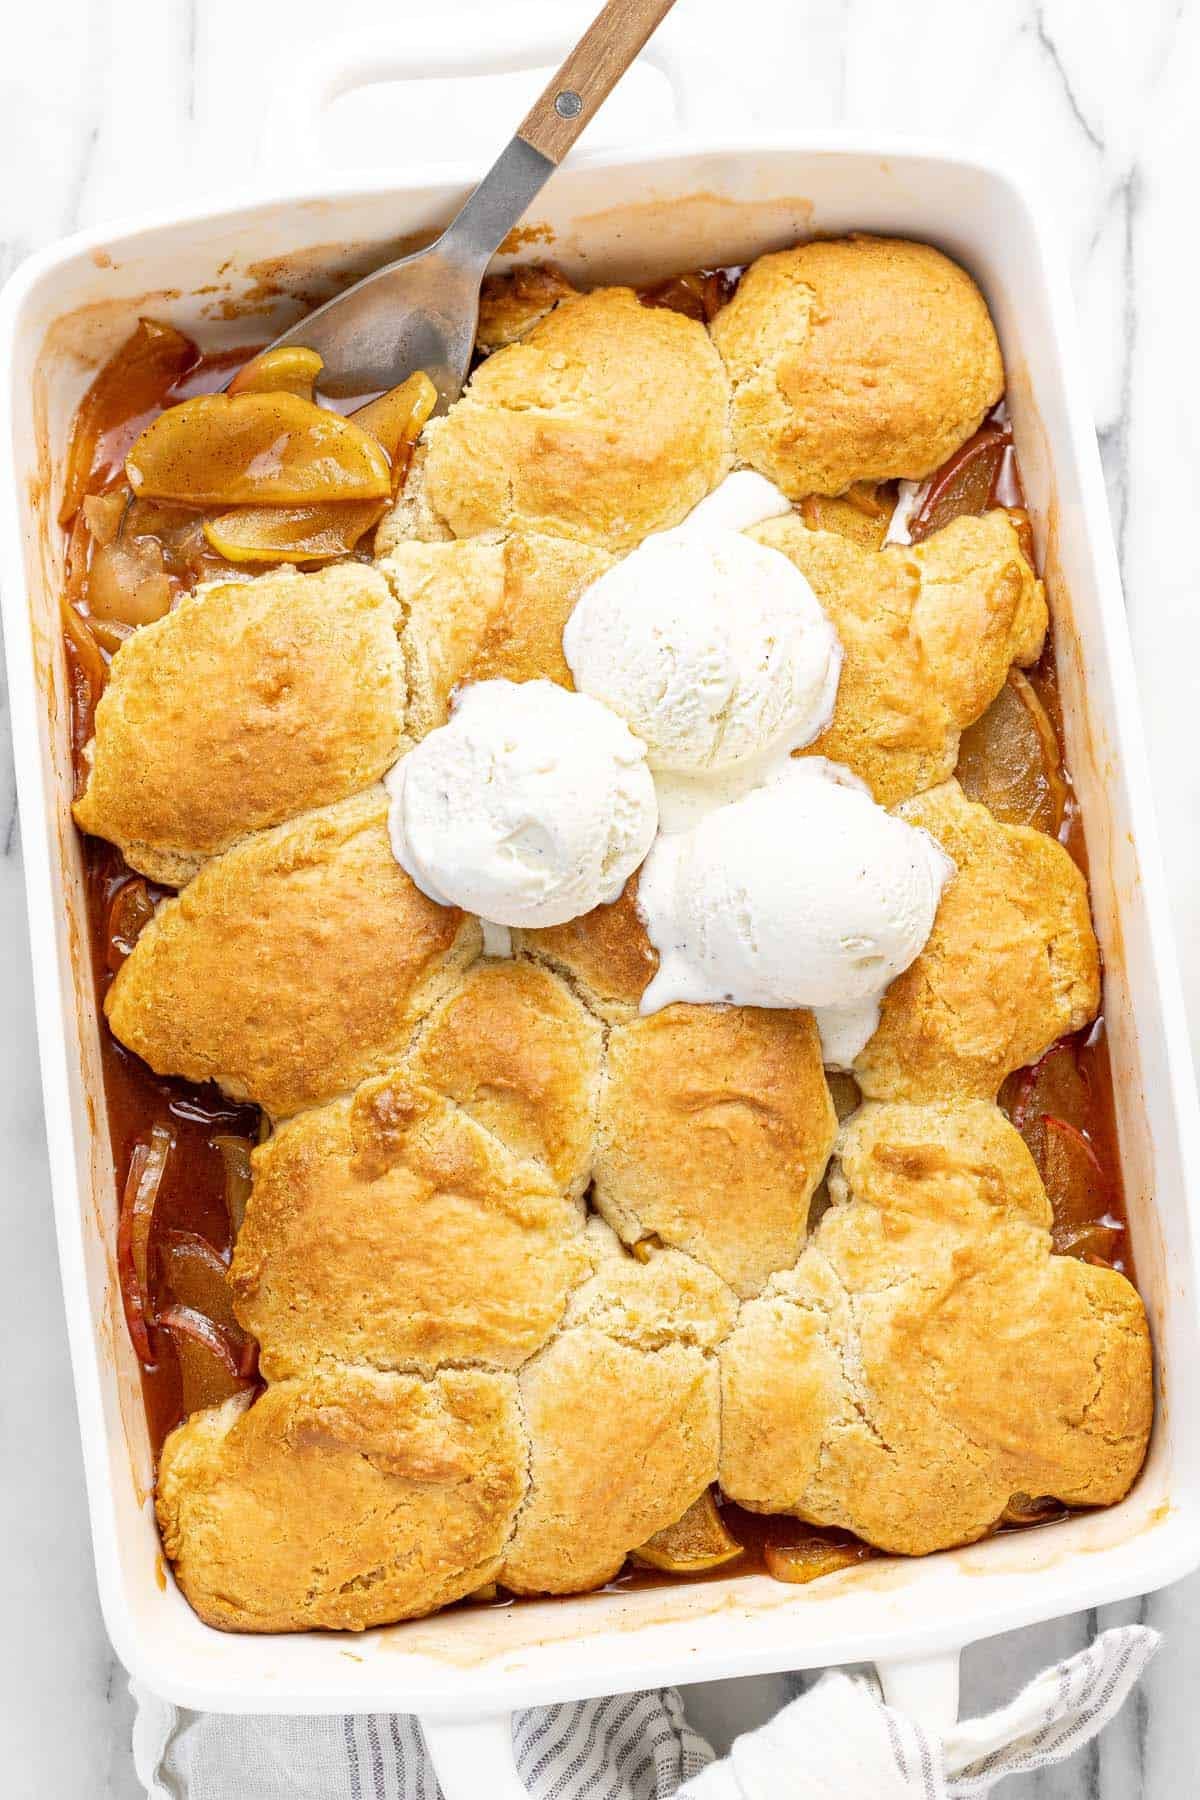
The cozy apple cobbler that makes your whole house smell like fall.
- It’s ridiculously easy. No pie crust, no rolling pin, no stress. Toss the apples in a bowl, stir together a quick biscuit topping, dollop, and bake. You’re looking at about 20 minutes of hands-on time, and the oven does the rest.
- It’s the best kind of delicious. The apples turn soft and jammy in their own cinnamon-brown sugar syrup, while the topping bakes up crisp and golden on top and tender underneath. Every bite is a little bit gooey, a little bit buttery, and a whole lot of cozy.
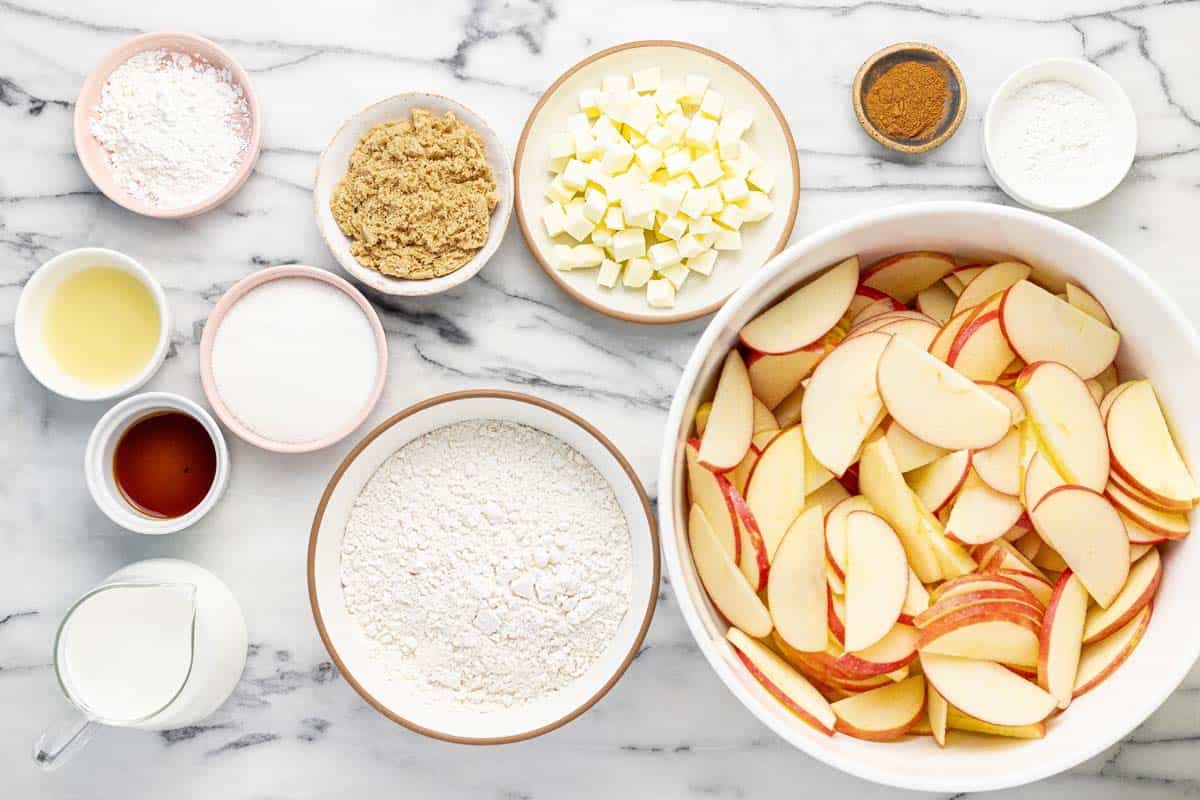
Here’s what you’ll need.
Here’s how it all comes together.
HEAT OVEN + GREASE PAN. Get your oven going at 375 degrees and lightly grease a 9×13 baking dish with butter or cooking spray.
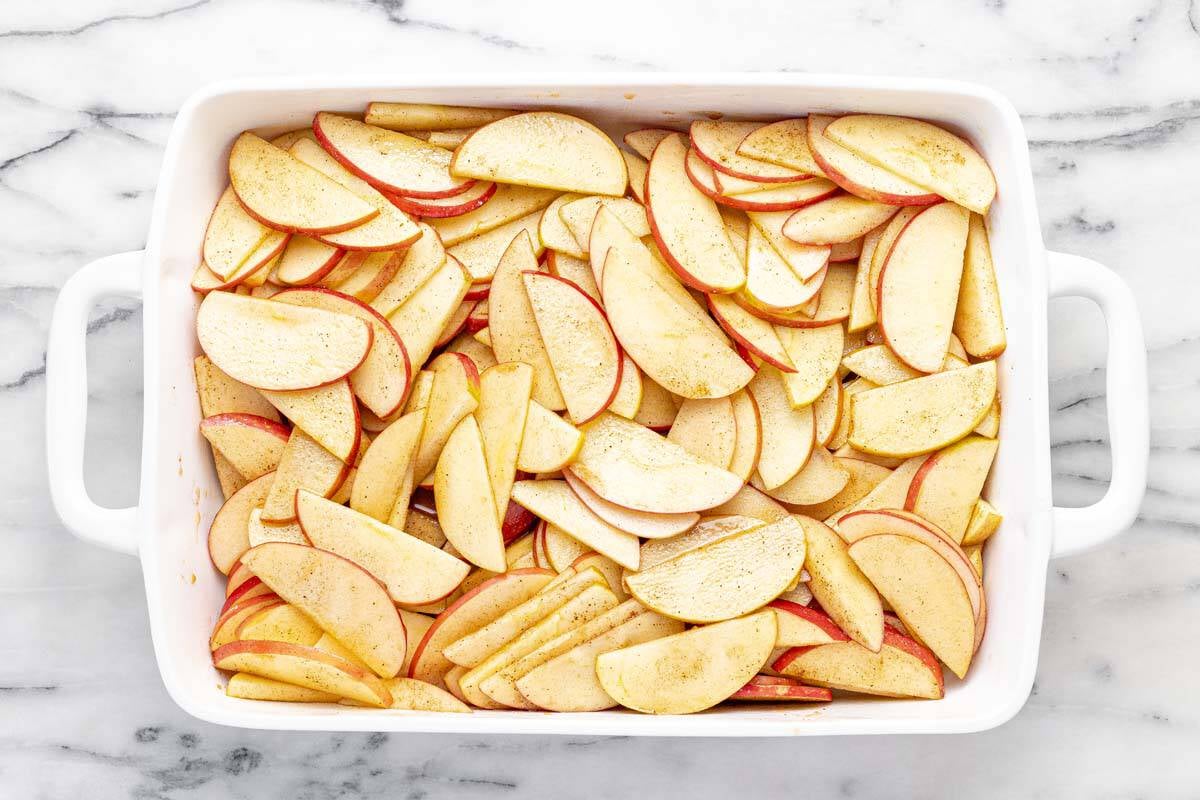
MAKE APPLE FILLING. Grab a big bowl and toss the apple slices with the lemon juice, both sugars, cornstarch, cinnamon, and vanilla until every slice is coated. Pour it all into your baking dish, juices included.
MIX DRY INGREDIENTS. In another bowl, whisk together the flour, granulated sugar, baking powder, and salt.
CUT IN BUTTER. Add the cold, cubed butter and work it in with a pastry cutter or your fingers until it looks like coarse crumbs with some pea-sized pieces. Don’t overwork it. Those little butter bits are what make the topping tender.
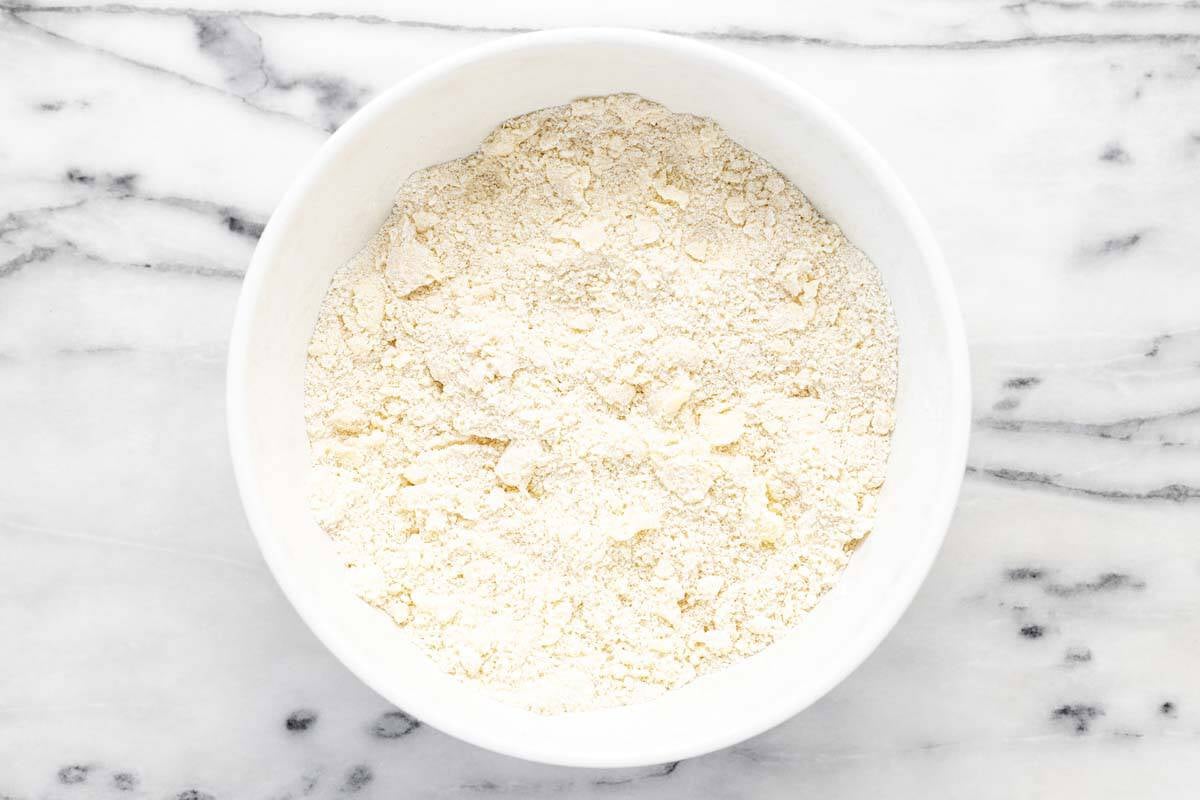
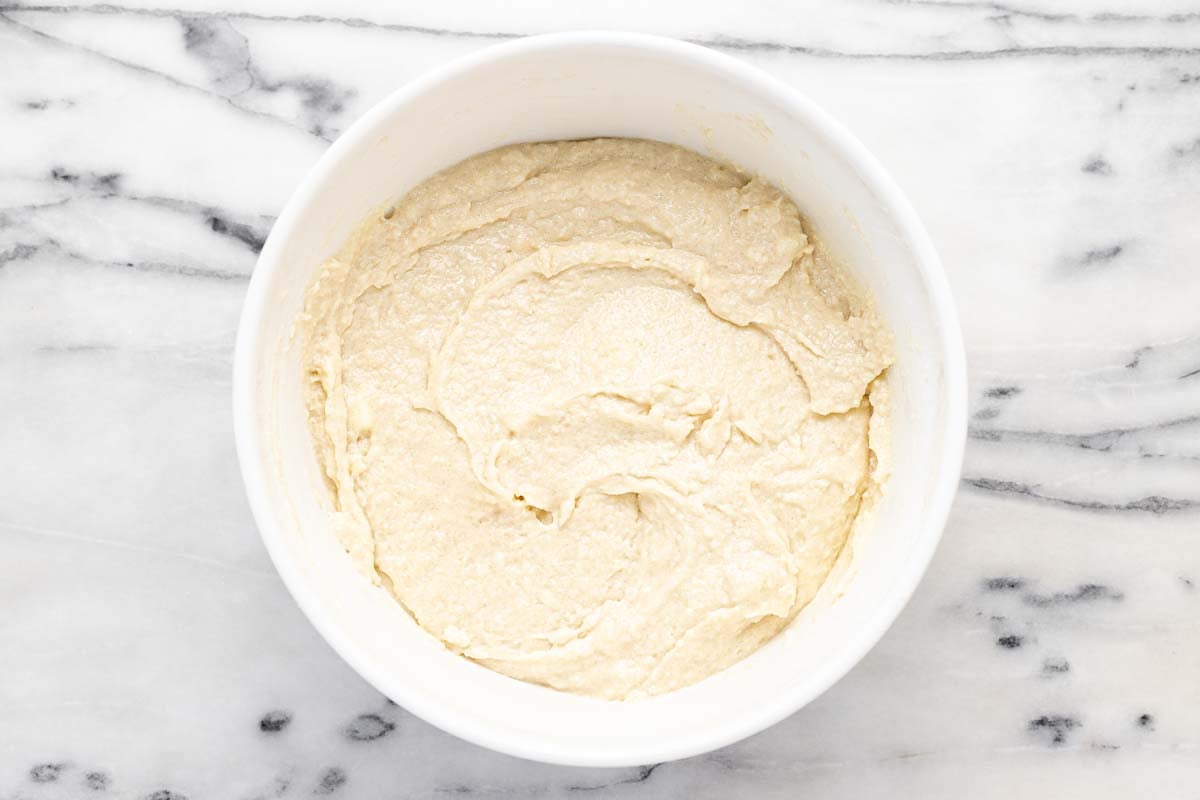
ADD WET INGREDIENTS. Pour in the half and half and vanilla and stir just until it comes together.
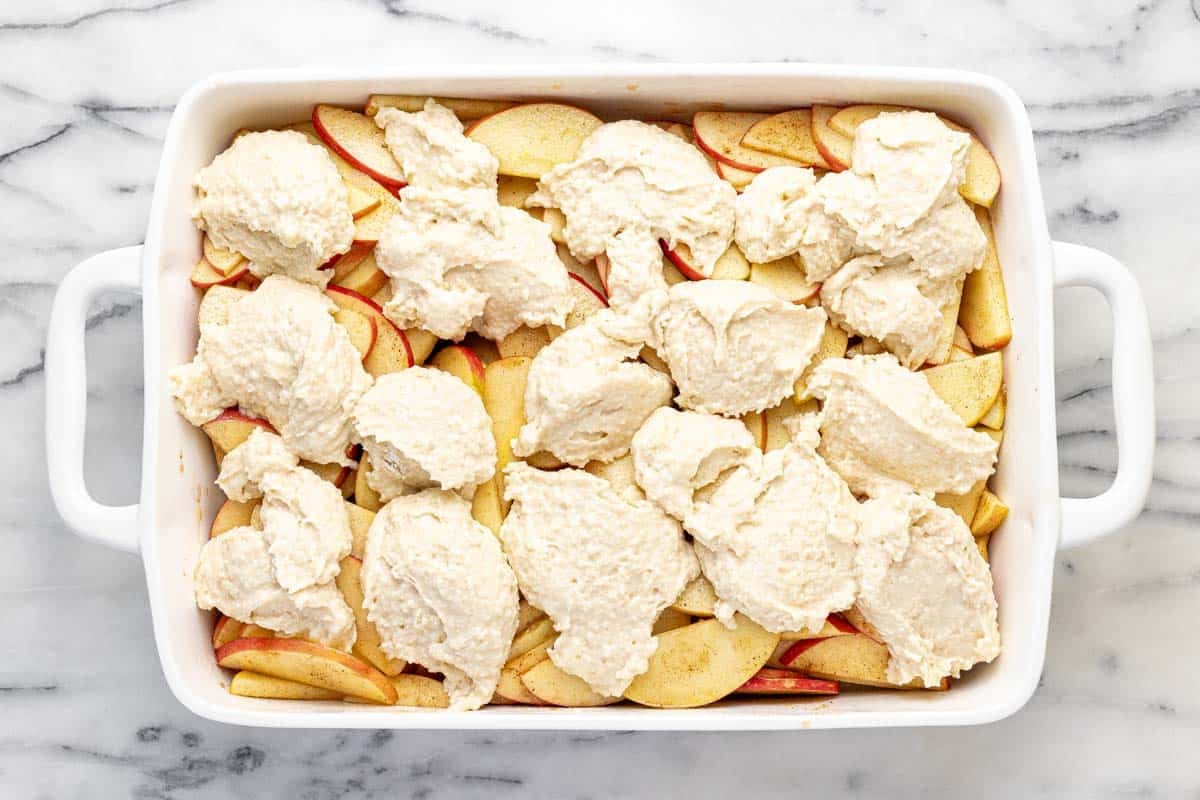
SCOOP TOPPING. Use a spoon to drop dollops of batter all over the apples.
BAKE + REST. Bake for 45-50 minutes, until the top is deep golden brown. Then cover loosely with foil and bake another 5-10 minutes, until the biscuits are cooked through in the middle and the filling is bubbling around the edges. Let it rest for about 5 minutes.
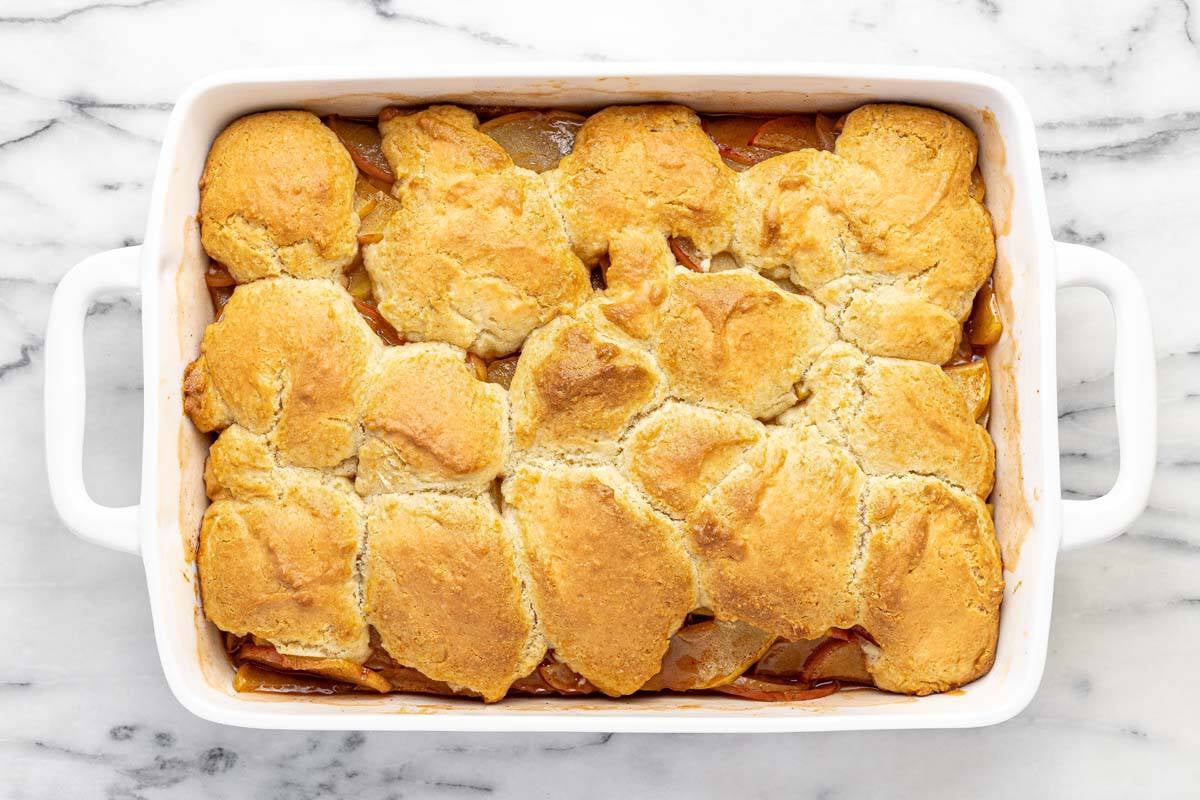
SERVE + ENJOY. Serve warm with vanilla ice cream and enjoy!
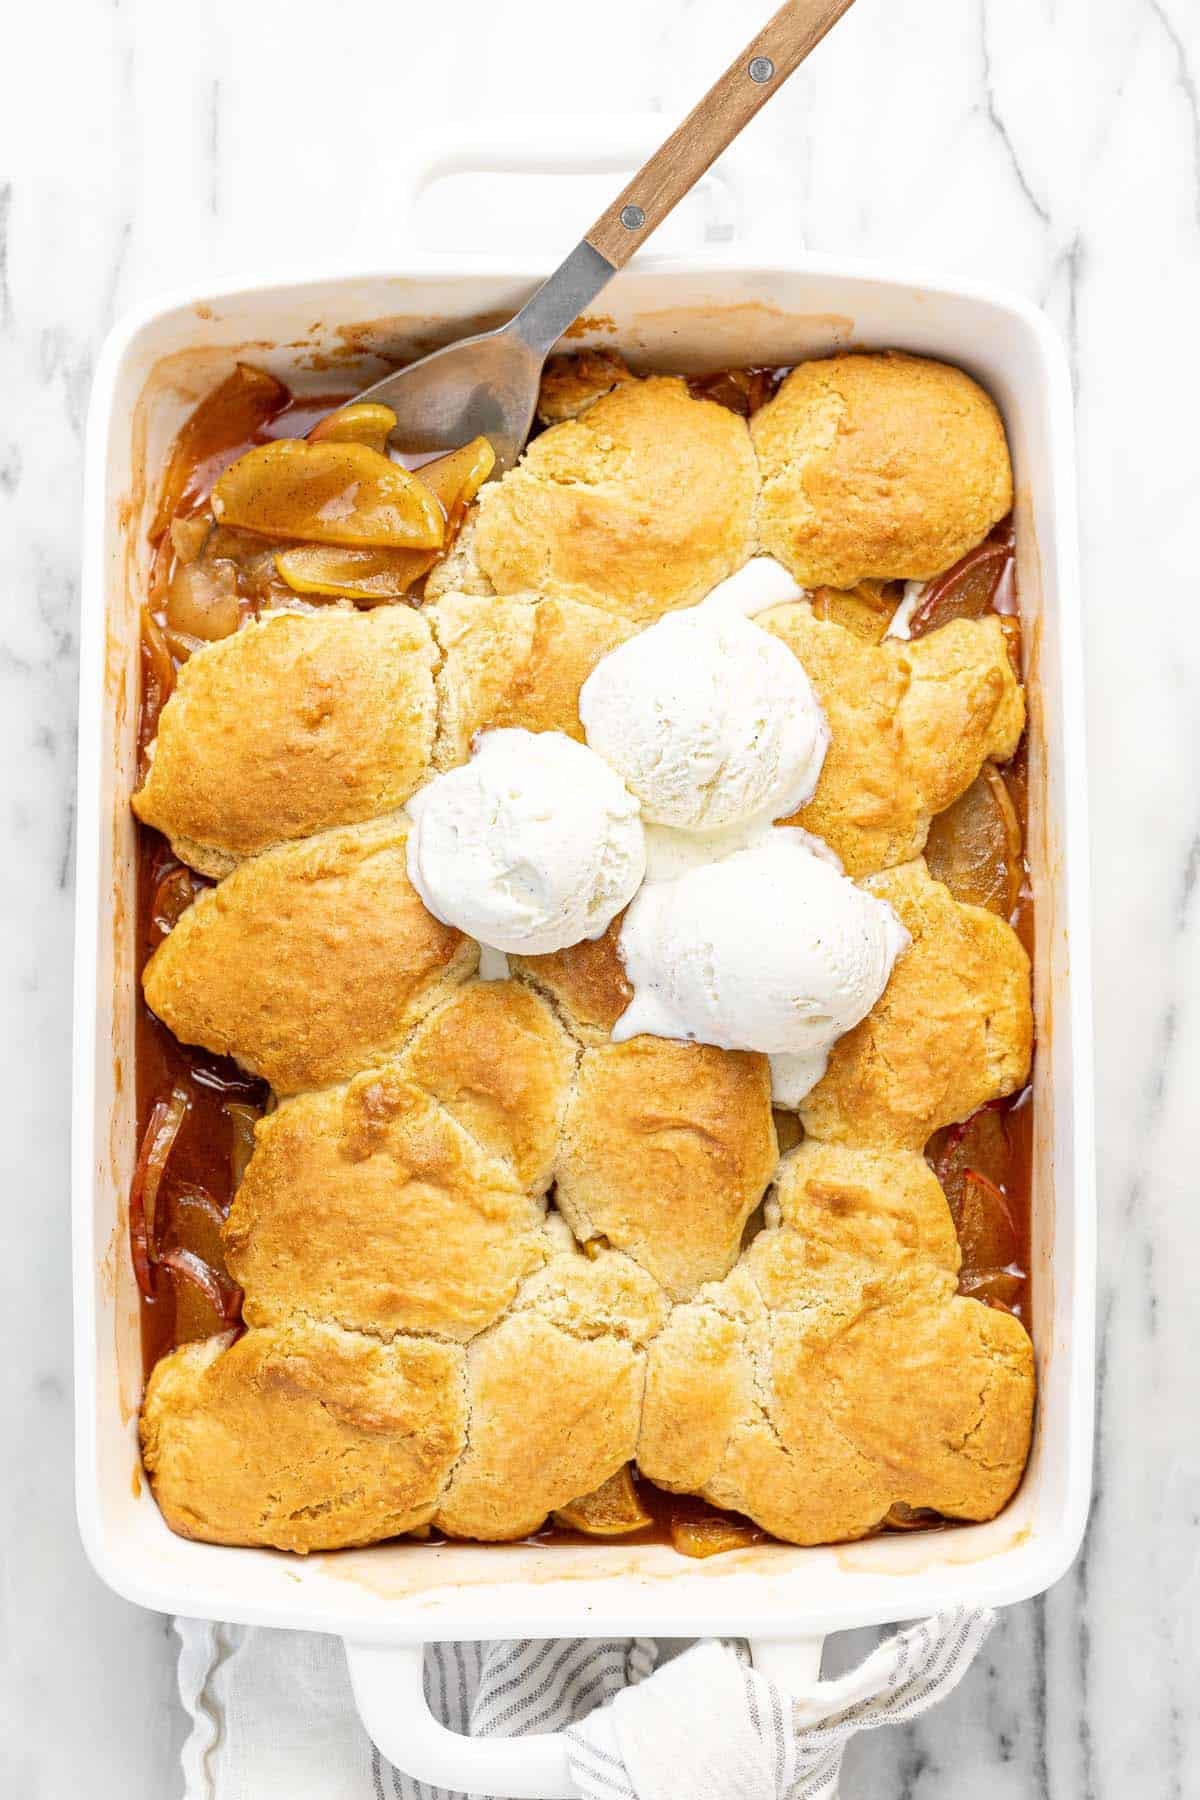
Things I learned while testing this recipe.
- Pick apples that hold their shape. Firm apples like Honeycrisp, Granny Smith, Pink Lady, or Braeburn stay tender without turning to applesauce. We usually have Honeycrisp on hand, so that’s what I use most often.
- Keep the slices even. Aim for that 1/4″ thickness across the board. Thinner slices go mushy, and thicker ones stay crunchy, so consistent slices mean everything is done at the same time.
- Cold butter is non-negotiable. If your kitchen is warm or you’re moving slowly, pop the cubed butter back in the fridge until you need it. Cold butter gives you a light, tender topping, while warm butter gives you a dense one.
- Stop stirring sooner than you think. Once the half and half goes in, mix just until you don’t see dry flour. Overmixing is the fastest way to a tough topping.
- Leave a few gaps between dollops. Little windows of apple let the steam escape, which helps the biscuits cook through in the middle instead of staying doughy underneath.
- Don’t skip the foil. The top gets beautifully golden before the centers are fully baked through. A loose foil tent for those last few minutes lets the middle catch up without the top getting too dark.
- Give it those 5 minutes. The filling thickens as it sits, so a short rest is the difference between a syrupy sauce and a runny one.
Peeled vs. unpeeled apples.
- I left the peels on. It saves a solid 10 minutes of prep, and since the slices are only 1/4″ thick, the skins soften right up in the oven. You get a little extra texture and pretty flecks of color in the filling.
- You can totally peel them too. If you (or your kids) want a softer, more uniform filling, go ahead and peel. The recipe works exactly the same either way, with no changes to the bake time or ingredients.
- Let your apples decide. Thin-skinned apples like Honeycrisp, Pink Lady, and Gala are great unpeeled. If you’re using something with a thicker, tougher skin like Granny Smith, peeling is worth the extra few minutes.
My favorite fall make-ahead dessert.
This cobbler is a dream when you’ve got people coming over and don’t want to be slicing apples while everyone else is having fun. Here’s how I break it up:
- Prep the apples ahead. Slice the apples and toss them with the rest of the filling ingredients up to a day in advance. The lemon juice keeps them from browning. Store covered in the fridge, then give everything a good stir and pour it into the dish, juices and all.
- Get the topping halfway there. Whisk the dry ingredients and cut in the butter, then stash that bowl in the fridge. When you’re ready to bake, stir in the half and half and vanilla. Wait to add the liquid until the last minute, because the baking powder starts working as soon as it gets wet.
- Or bake the whole thing early. Bake it earlier in the day, let it cool, and cover it. Right before dessert, warm it in a 350-degree oven for 15-20 minutes. It comes out tasting freshly baked, and your house smells amazing right as everyone is ready for dessert.
Here’s what I’d serve with this.
- shredded short rib chili
- cheesy cornbread casserole
- shredded chuck roast tacos
- Greek chicken meatballs with potatoes
- stovetop meatballs with marinara
Just in case you have leftovers.
- STORING: Let the cobbler cool completely, then cover the baking dish tightly or transfer leftovers to an airtight container. Store in the fridge for up to 4 days.
- REHEATING: For the best texture, reheat in a 350-degree oven, loosely covered with foil, for 15-20 minutes or until warmed through. In a hurry? Microwave individual servings for 30-60 seconds. The oven keeps the topping crisper, but the microwave gets you to dessert faster.
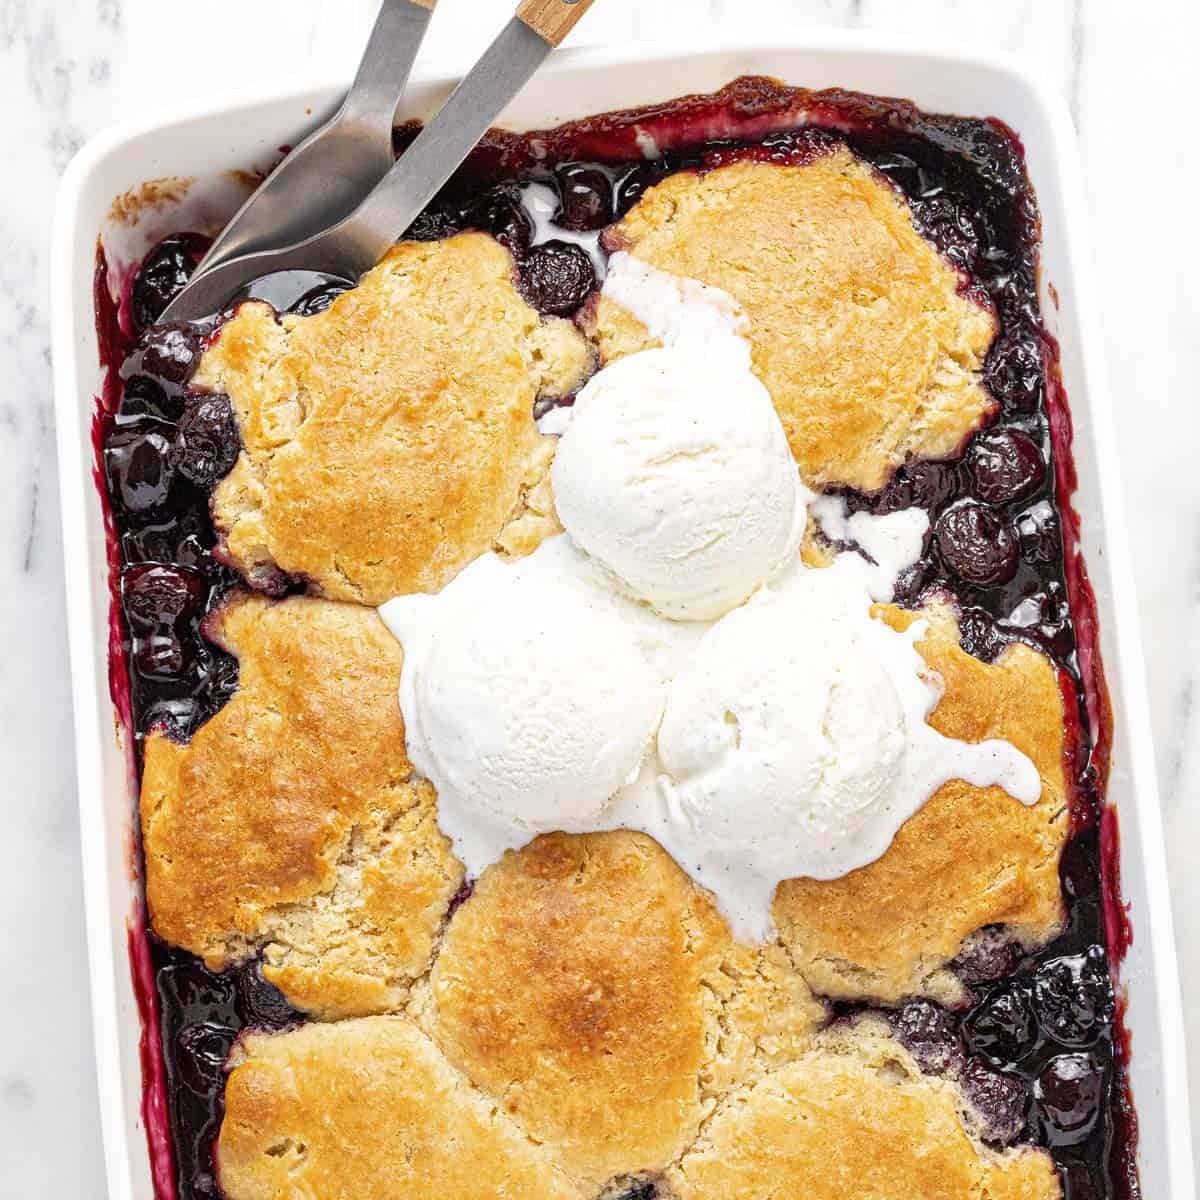
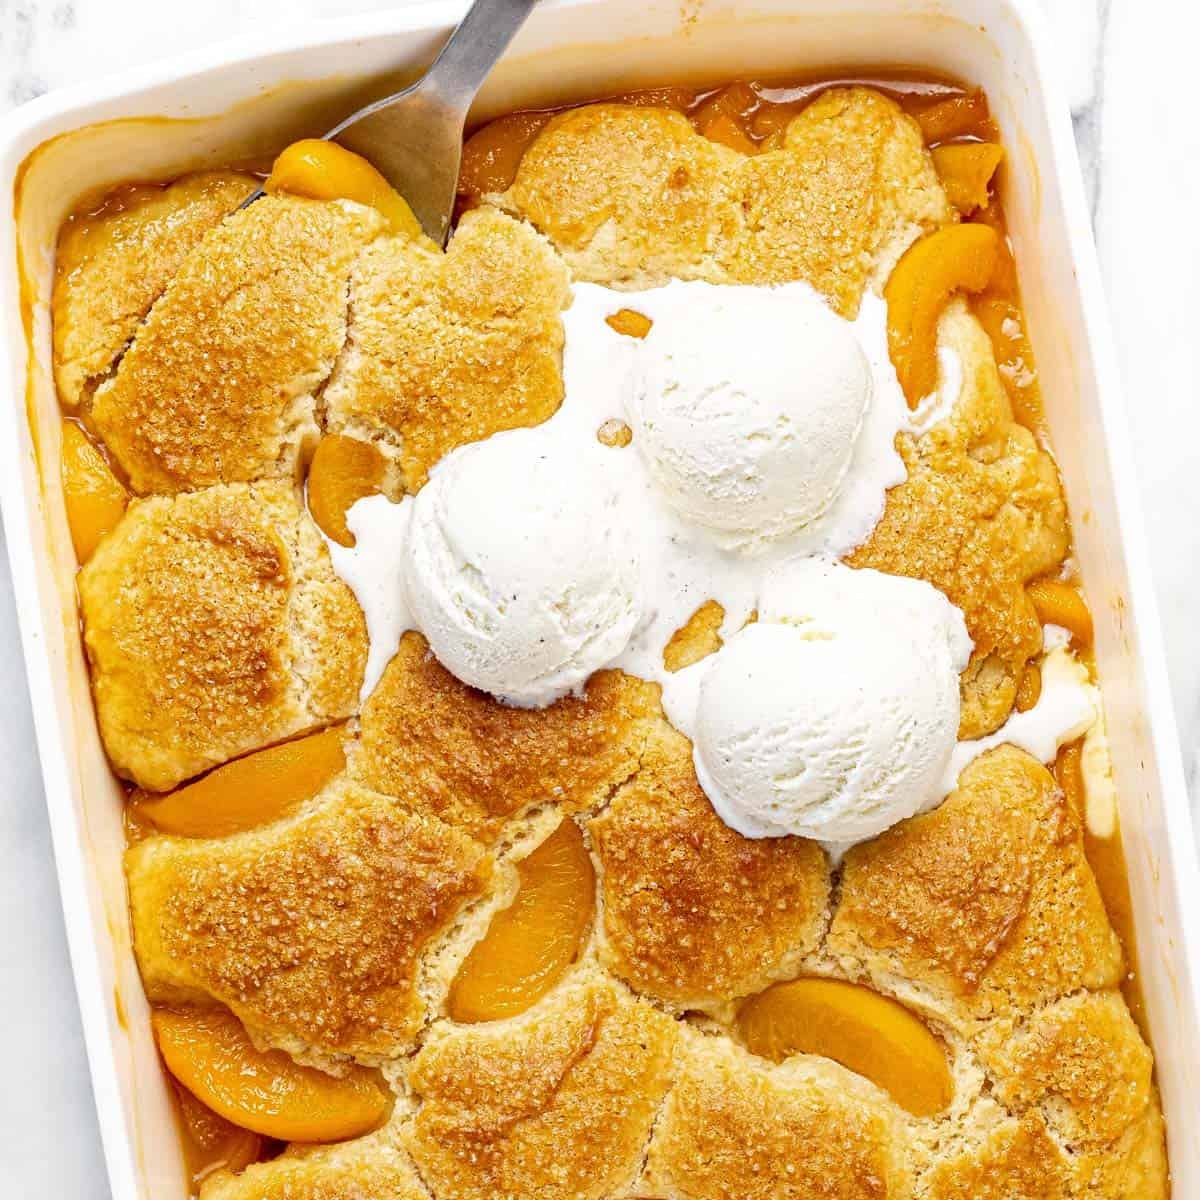
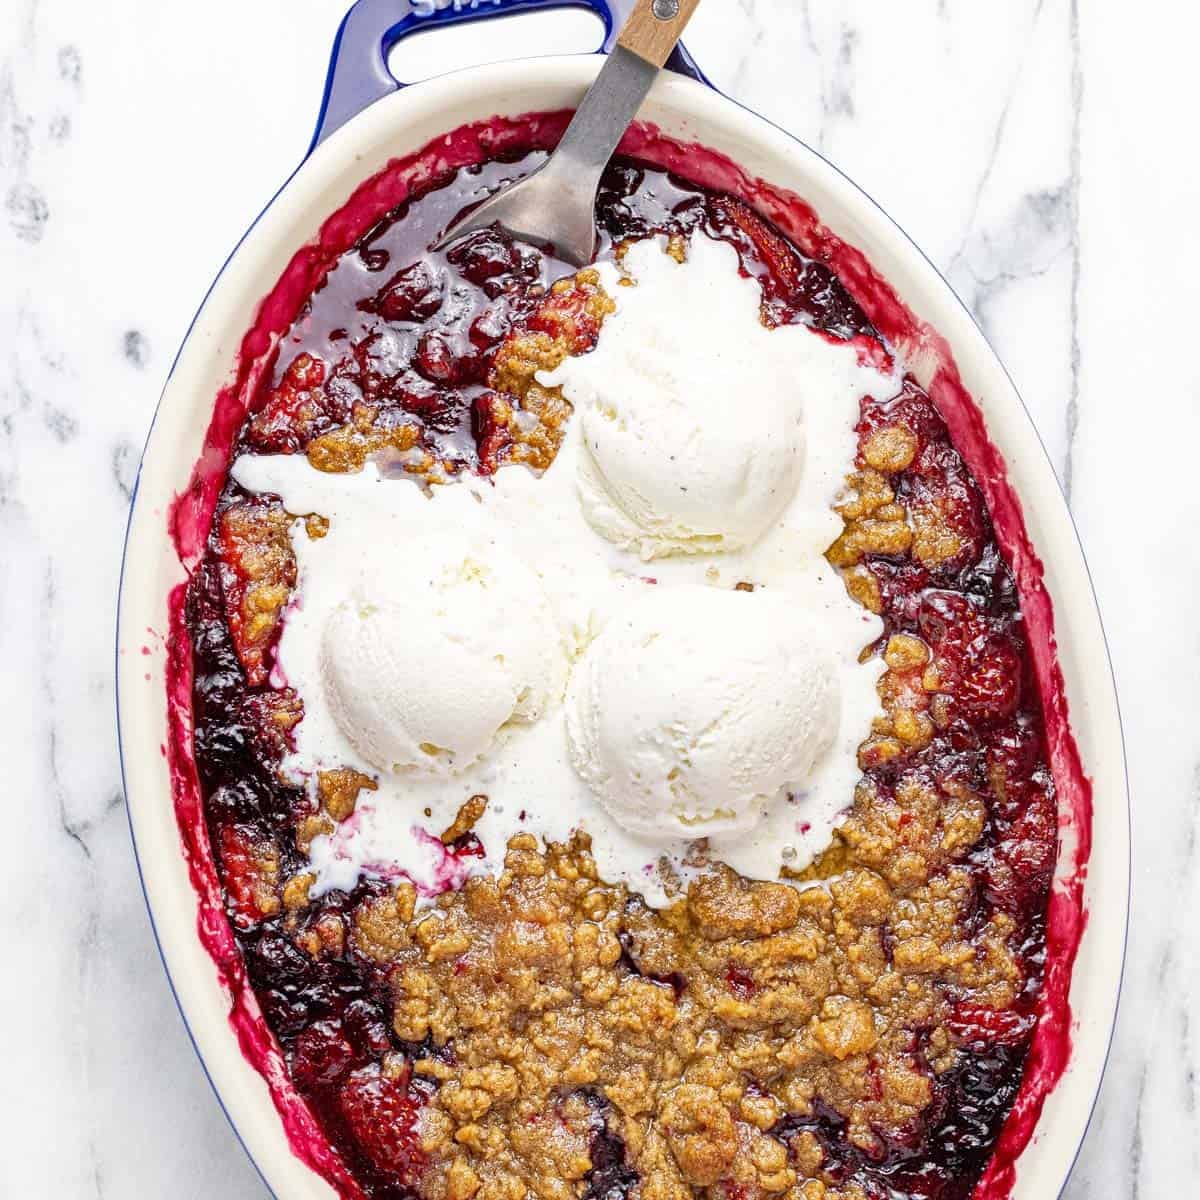
More easy dessert recipes for your eating pleasure.
Did you love this recipe?
Please leave a 5-star rating and review below!
Want to save this recipe?
Enter your email below & we’ll send it straight to your inbox. Plus you’ll get great new recipes from us every week!
Apple Cobbler
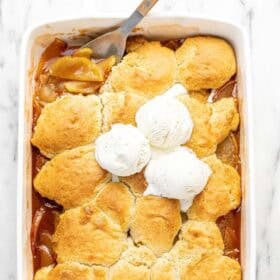
This easy apple cobbler recipe has tender cinnamon-spiced apples baked under a golden, buttery biscuit topping. It’s the perfect fall-time dessert and pairs well with creamy vanilla ice cream for a weeknight treat the whole family will love!
- Prep Time: 20 minutes
- Cook Time: 1 hour
- Total Time: 1 hour 20 minutes
- Yield: 8 servings 1x
- Category: Dessert
- Method: Baking
- Cuisine: American
- Diet: Vegetarian
Ingredients
Apple Filling
- 6 medium-sized apples, sliced 1/4″ thick (about 8 cups)
- 1 tablespoon lemon juice
- 1/4 cup granulated sugar
- 1/4 cup brown sugar
- 1 tablespoon cornstarch
- 1 teaspoon cinnamon
- 2 teaspoons vanilla extract
Cobbler Topping
- 2 cups all-purpose flour
- 1/2 cup granulated sugar
- 1 tablespoon baking powder
- 1/2 teaspoon table salt (or 1 teaspoon Kosher salt)
- 8 tablespoons cold, salted butter, cubed
- 1 cup half and half
- 2 teaspoons vanilla extract
Instructions
- HEAT OVEN + GREASE PAN. Preheat oven to 375 degrees. Lightly grease a 9×13 baking dish with butter or cooking spray.
- MAKE APPLE FILLING. In a large bowl, combine apple slices, lemon juice, granulated sugar, brown sugar, cornstarch, cinnamon, and vanilla extract. Pour into the prepared baking dish.
- MIX DRY INGREDIENTS. Whisk together flour, granulated sugar, baking powder, and salt.
- CUT IN BUTTER. Add cubed butter and use a pastry cutter or your fingers to press the butter into the dry ingredients until it looks like coarse crumbs with pea-sized pieces. Don’t overwork.
- ADD WET INGREDIENTS. Stir in half and half and vanilla just until everything is well combined.
- SCOOP TOPPING. Use a spoon to drop dollops of batter all over the apples.
- BAKE + REST. Bake for 45-50 minutes or until the top is deep golden brown. Cover loosely with foil and bake for another 5-10 minutes or until the biscuits are cooked through in the middle and the apple filling is bubbly around the edges. Let rest for about 5 minutes. Serve and enjoy!
- SHARE THE LOVE. If you loved this recipe, please leave a 5-star rating and review below!
Equipment
 Buy Now →
 Notes
- Pick apples that hold their shape. Firm apples like Honeycrisp, Granny Smith, Pink Lady, or Braeburn stay tender without turning to applesauce. We usually have Honeycrisp on hand, so that’s what I use most often.
- Keep the slices even. Aim for that 1/4″ thickness across the board. Thinner slices go mushy, and thicker ones stay crunchy, so consistent slices mean everything is done at the same time.
- Cold butter is non-negotiable. If your kitchen is warm or you’re moving slowly, pop the cubed butter back in the fridge until you need it. Cold butter gives you a light, tender topping, while warm butter gives you a dense one.
- Stop stirring sooner than you think. Once the half and half goes in, mix just until you don’t see dry flour. Overmixing is the fastest way to a tough topping.
- Leave a few gaps between dollops. Little windows of apple let the steam escape, which helps the biscuits cook through in the middle instead of staying doughy underneath.
- Don’t skip the foil. The top gets beautifully golden before the centers are fully baked through. A loose foil tent for those last few minutes lets the middle catch up without the top getting too dark.
- Give it those 5 minutes. The filling thickens as it sits, so a short rest is the difference between a syrupy sauce and a runny one.
Nutrition
- Serving Size: 1/8 of the cobbler
- Calories: 413
- Sugar: 40.8 g
- Sodium: 181.7 mg
- Fat: 12.5 g
- Carbohydrates: 72.6 g
- Fiber: 4.3 g
- Protein: 4.5 g
- Cholesterol: 32 mg