Oven Fried Chicken Tenders
Make room in your monthly meal rotation for these oven fried chicken tenders ASAP! Just 7 ingredients and 30 minutes from start to finish – these chicken tenders are quick and easy to throw together and your family will love the familiar flavors of Cheez-Its and pretzels!

You’ll Love These
- They’re baked in the oven! This means you don’t have to spend time heating up oil or standing over a hot stove trying not to get burned by splatters and pops. Just throw the chicken tenders in the oven, put your feet up, and relax!
- The ingredient list is short and sweet – and it includes Cheez-Its and pretzels!! My toddler’s top two favorite foods are Cheez-Its and pretzels which is why they take center stage in this recipe! They’re also two things that we ALWAYS have on hand which means this is a quick and easy recipe that I can throw together for a super last minute dinner!
- Your kids are going to love them! If you’re having trouble getting your kids to eat more wholesome foods (like homemade baked chicken tenders instead of frozen processed ones) I find it’s helpful to incorporate familiar foods that they already love. Whenever I add familiar foods to my daughter’s meal, she’s always more likely to give it a try!
Instructions
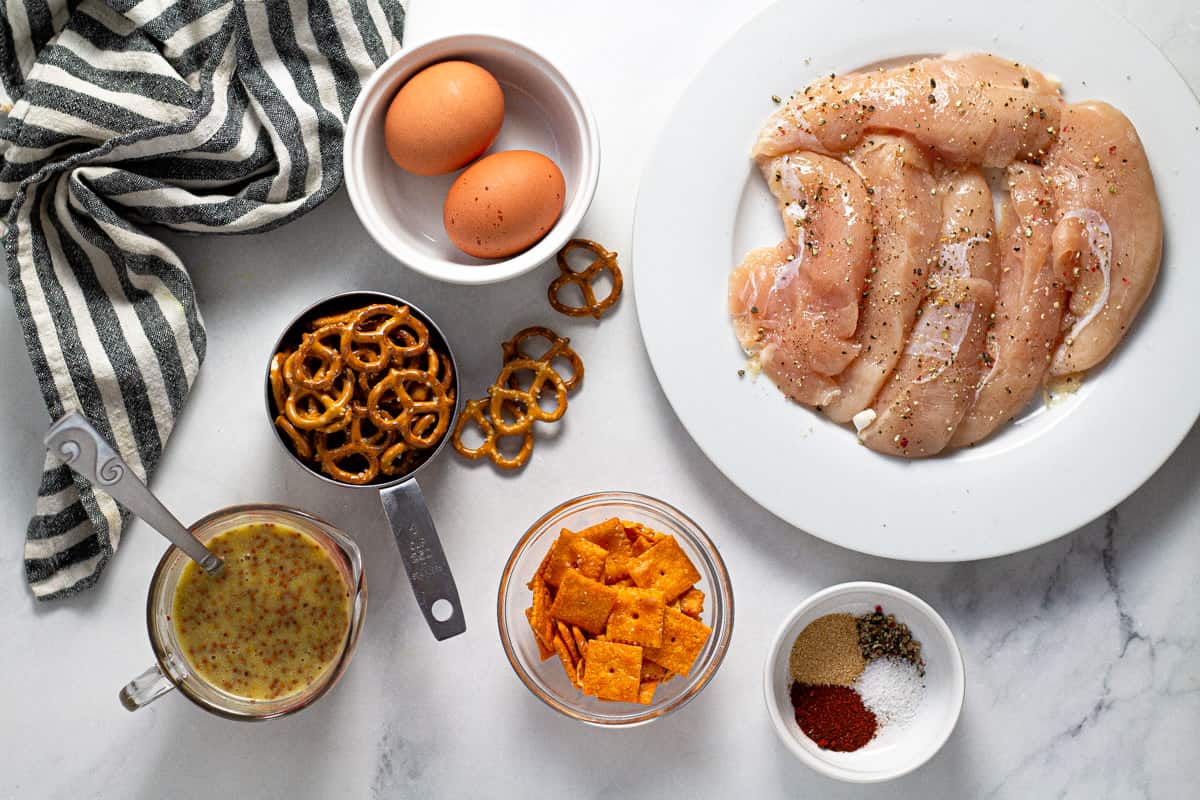
Add Cheez-Its, pretzels, garlic powder, paprika and a large pinch of Kosher salt and pepper to a food processor.
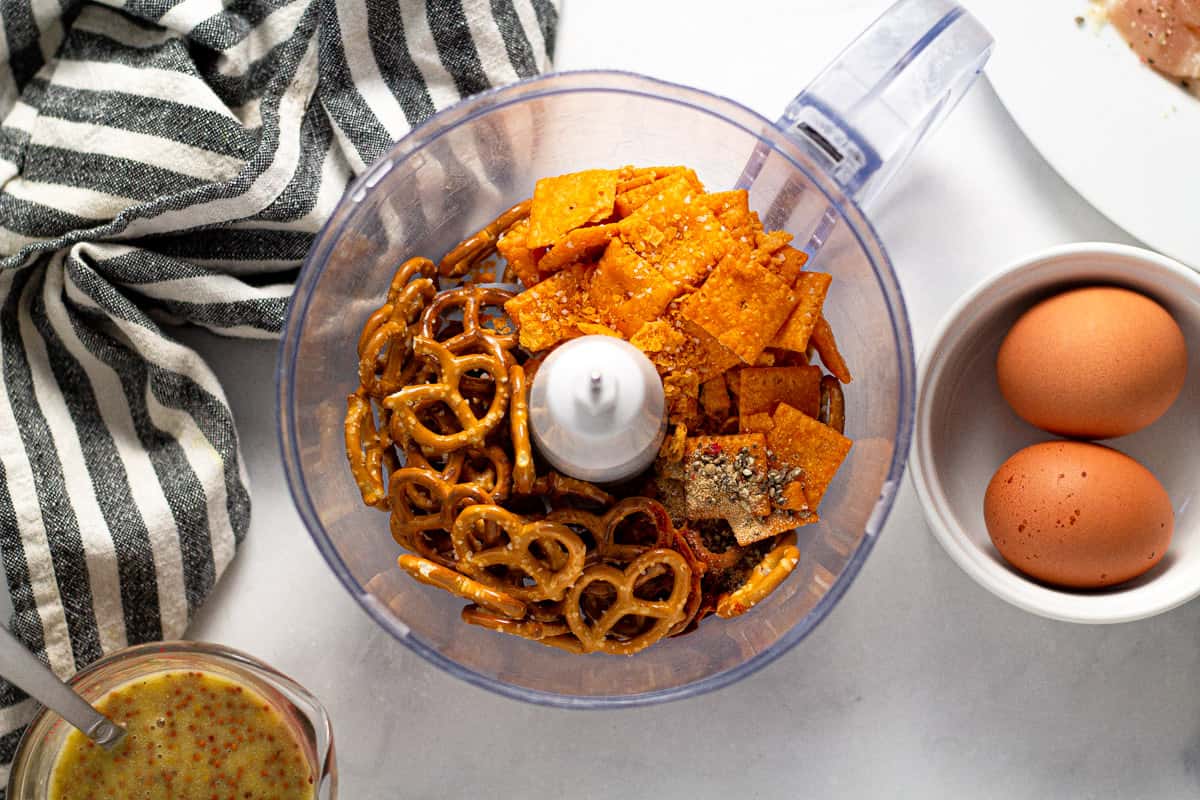
Pulse until everything is well minced and a coarse crumb texture forms.
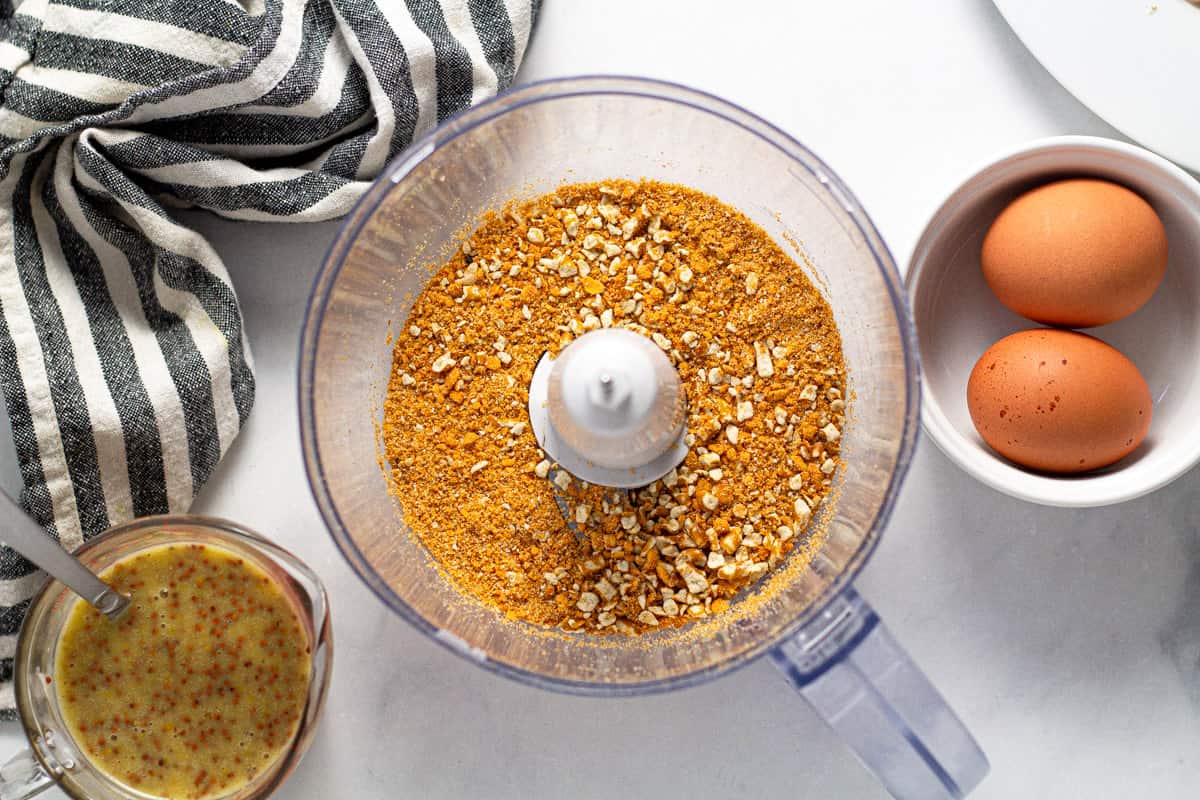
Transfer the mixture to a shallow dish. Crack eggs into another shallow dish and whisk together.
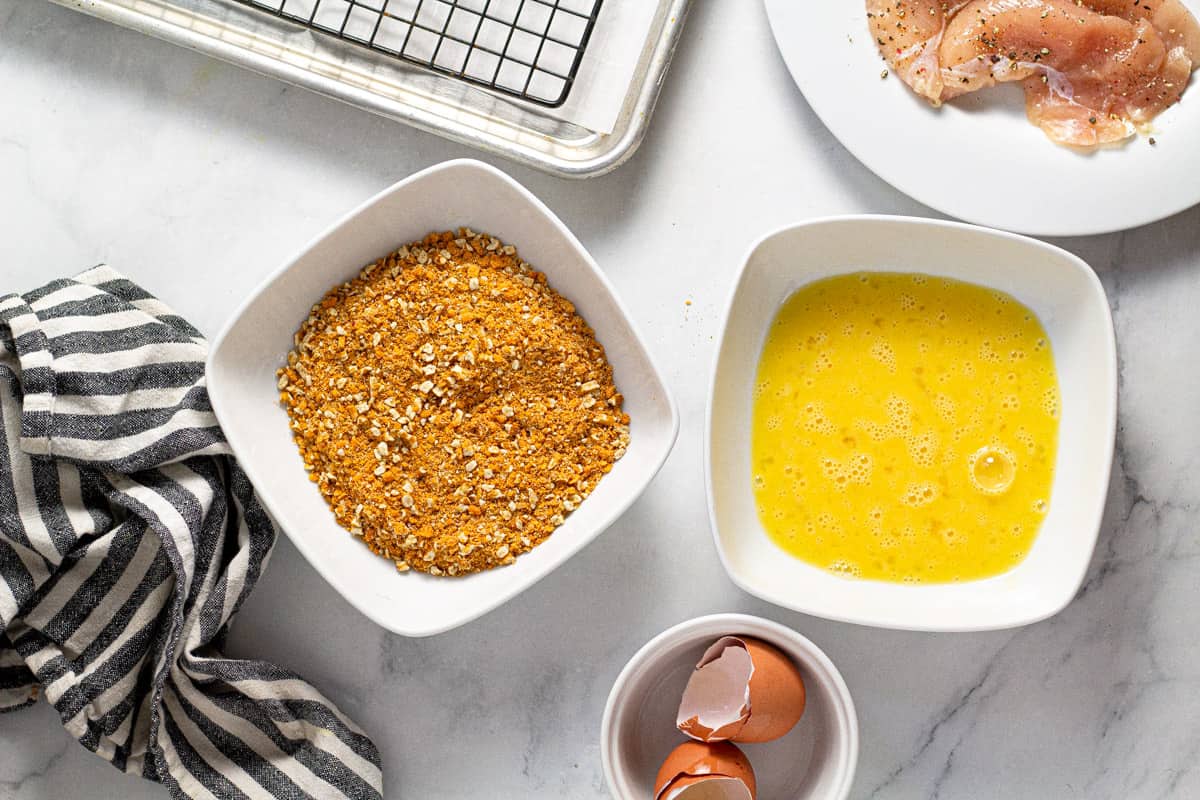
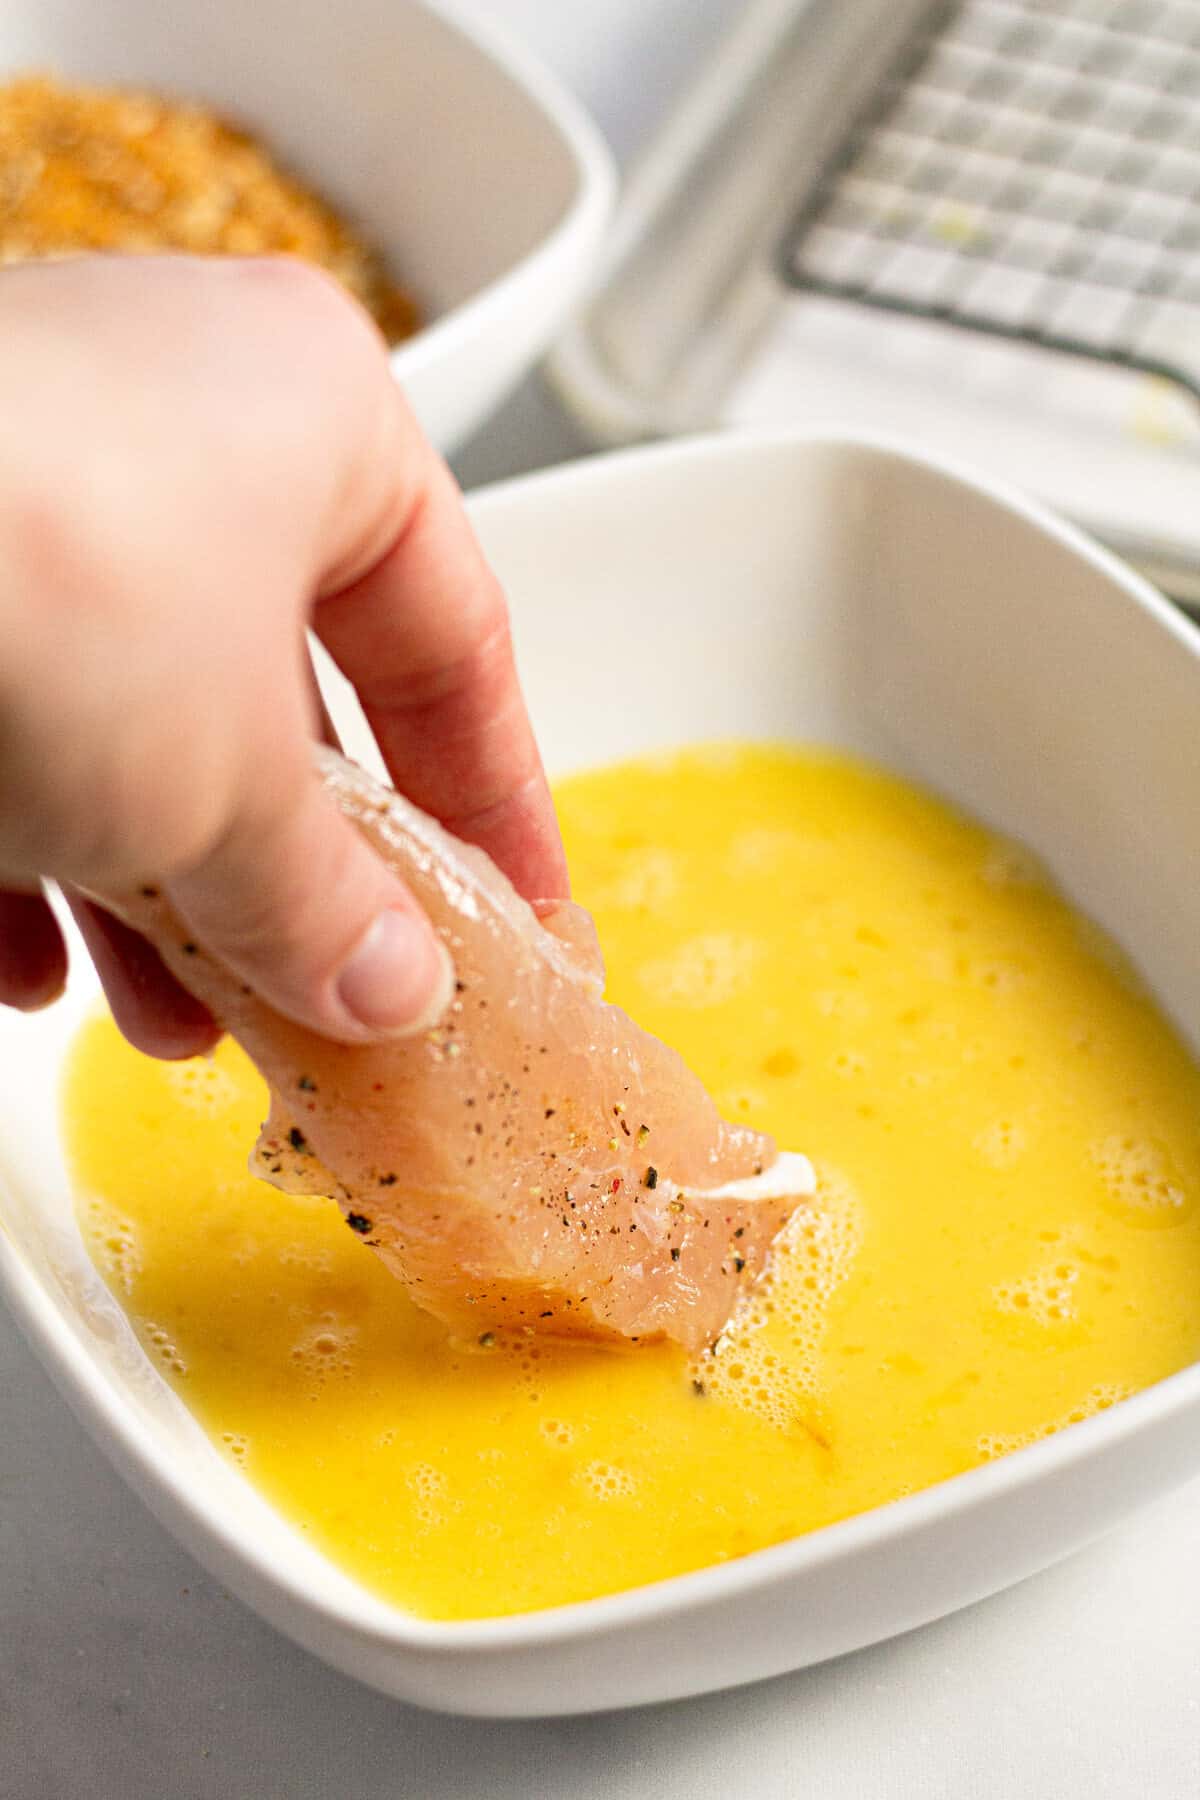
Working with one tender at a time, dunk the chicken into the egg mixture, rolling it around until it’s coated. Allow excess egg to drip off.
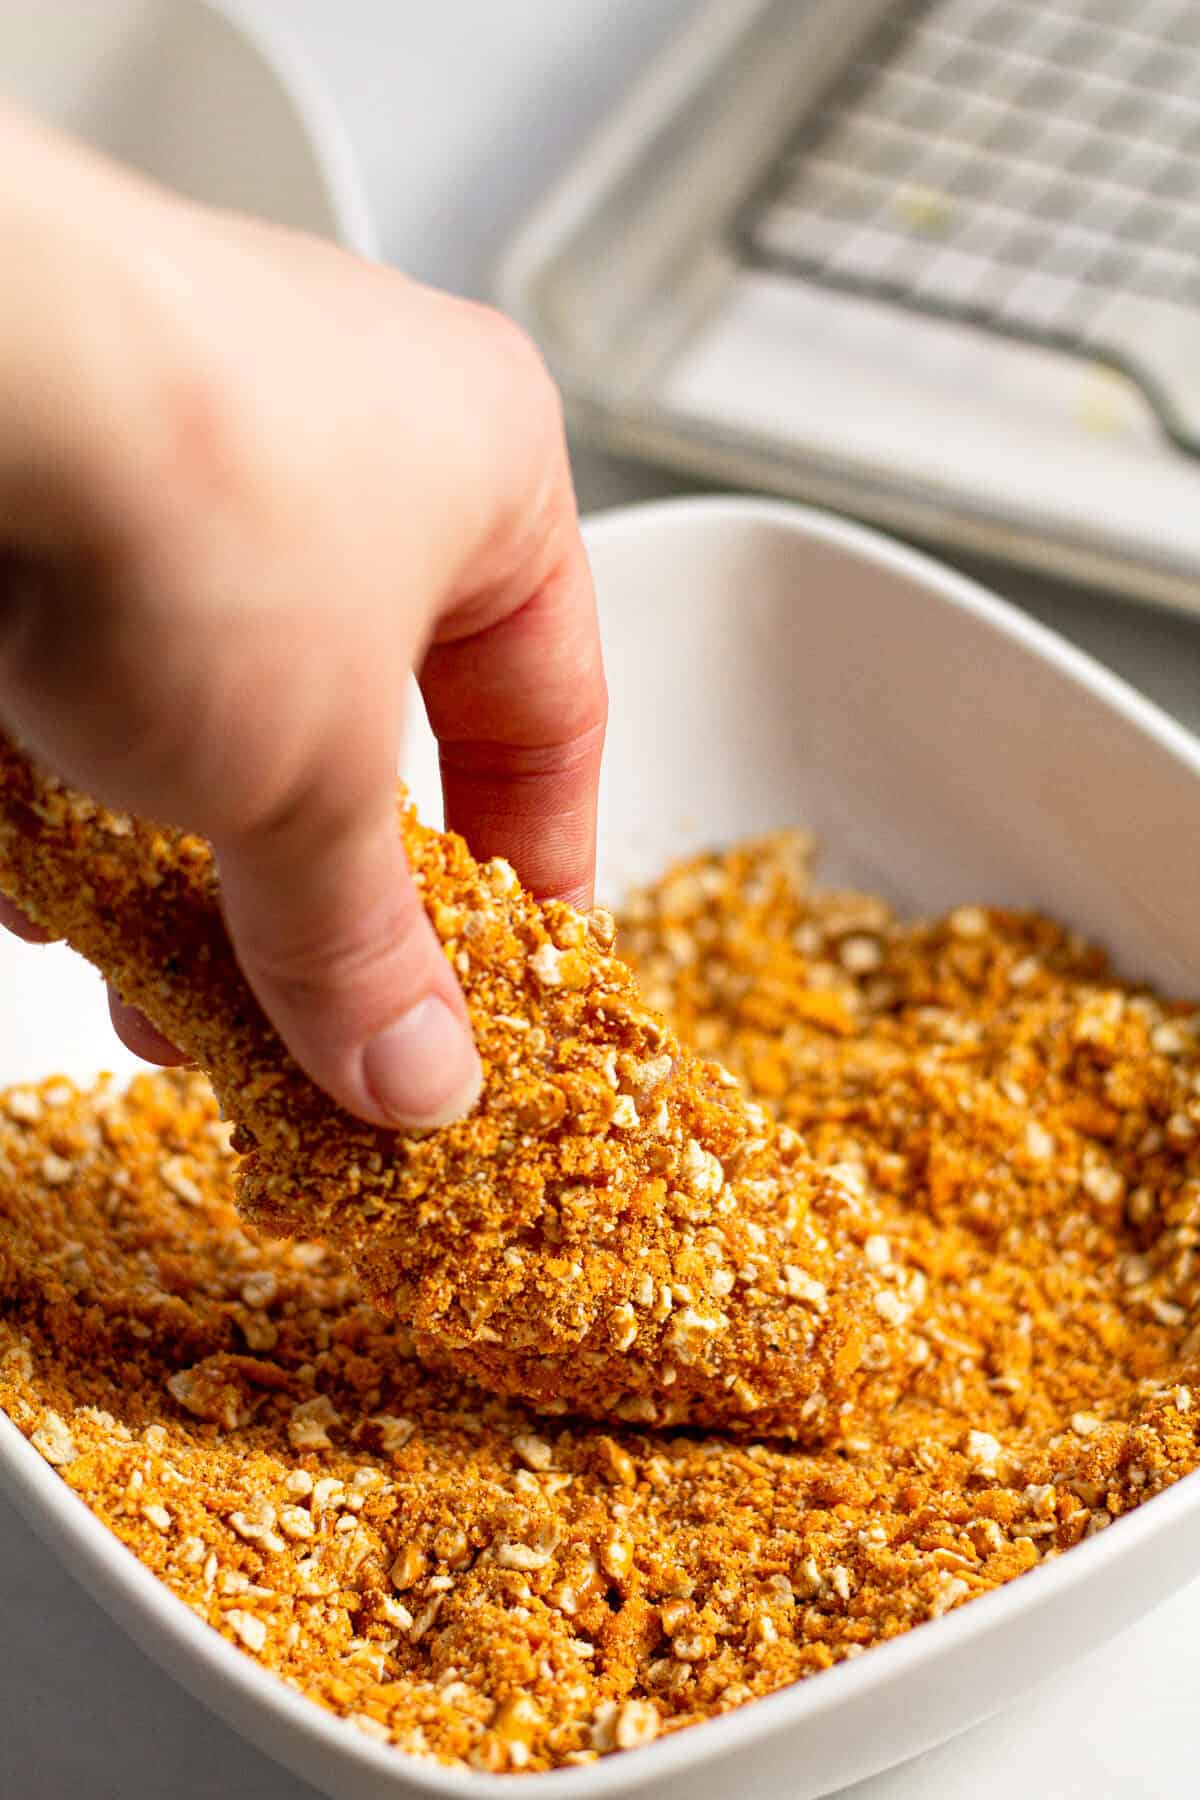
Then place the tender into the breading mixture and roll it around until coated. Gently press the breading mixture into the tender to make it stick.
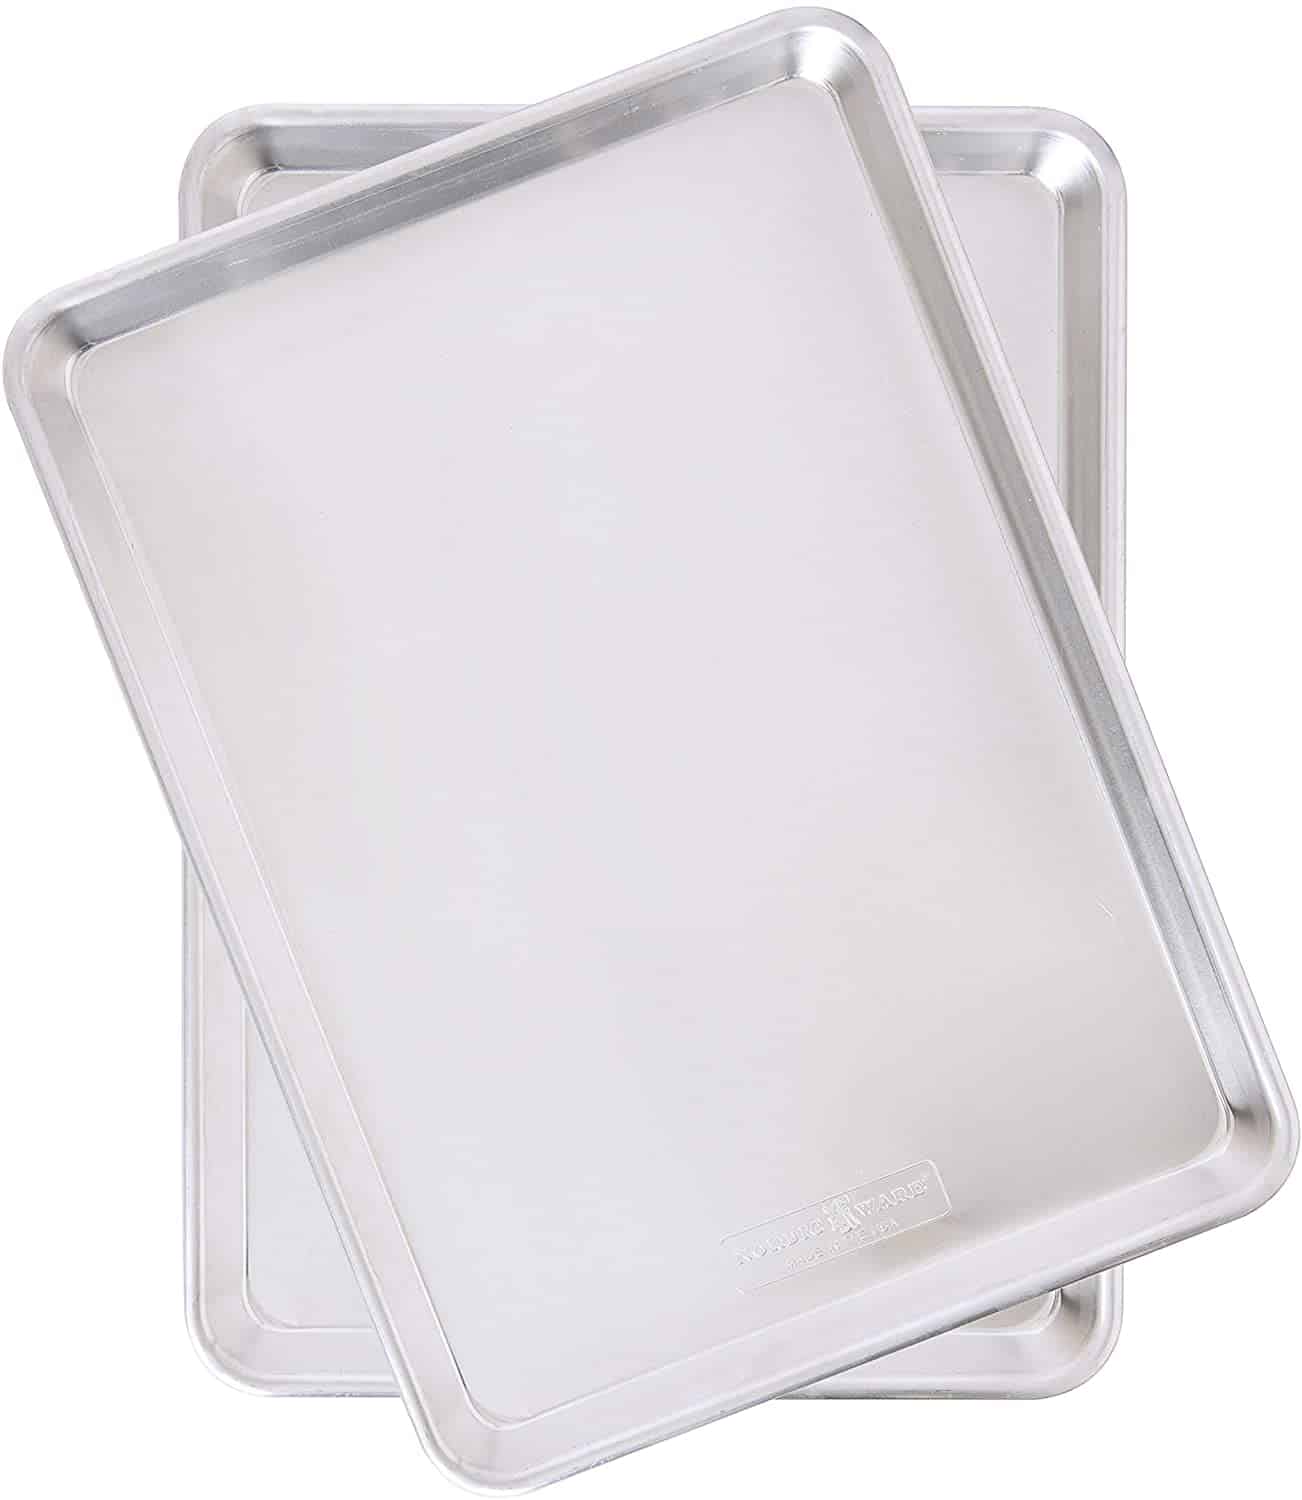
Place breaded chicken tender onto a cooling rack on top of a parchment lined baking sheet at least an inch apart. Continue with remaining chicken tenders until they are all coated in the breading mixture.
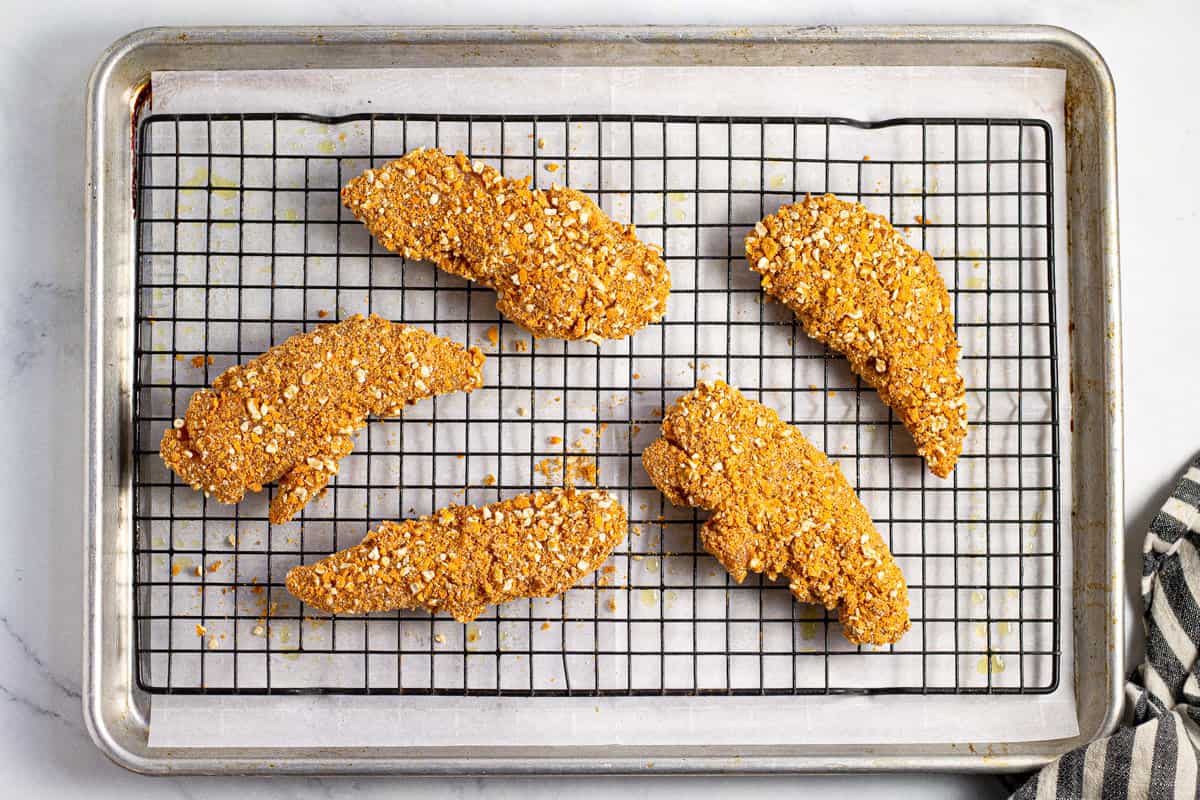
Spray the top side of the tenders with olive oil spray.
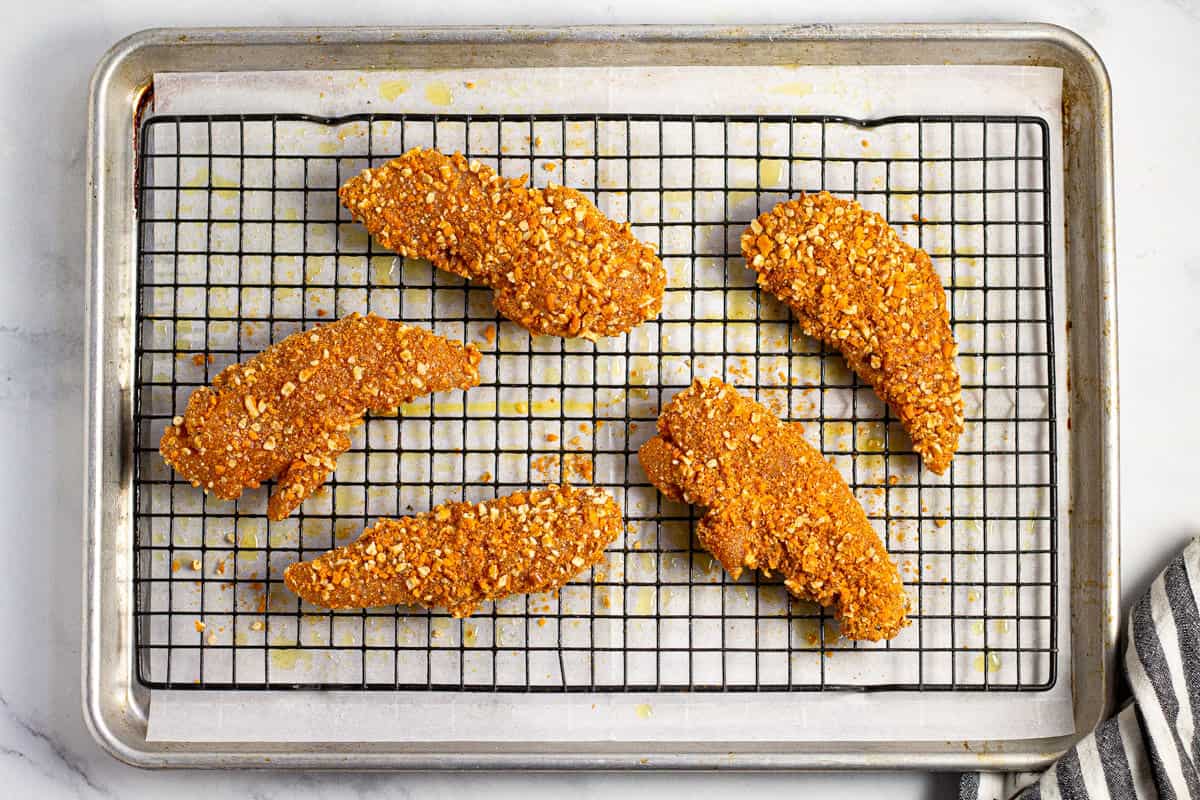
Bake for 12 minutes then gently flip chicken tenders over and spray that side of each tender with olive oil spray. Bake for another 10 minutes or until the chicken is cooked through. For an extra crispy crust, broil chicken tenders for 1-2 minutes. Watch them carefully so they don’t burn!
While the chicken is baking, combine honey mustard sauce ingredients.
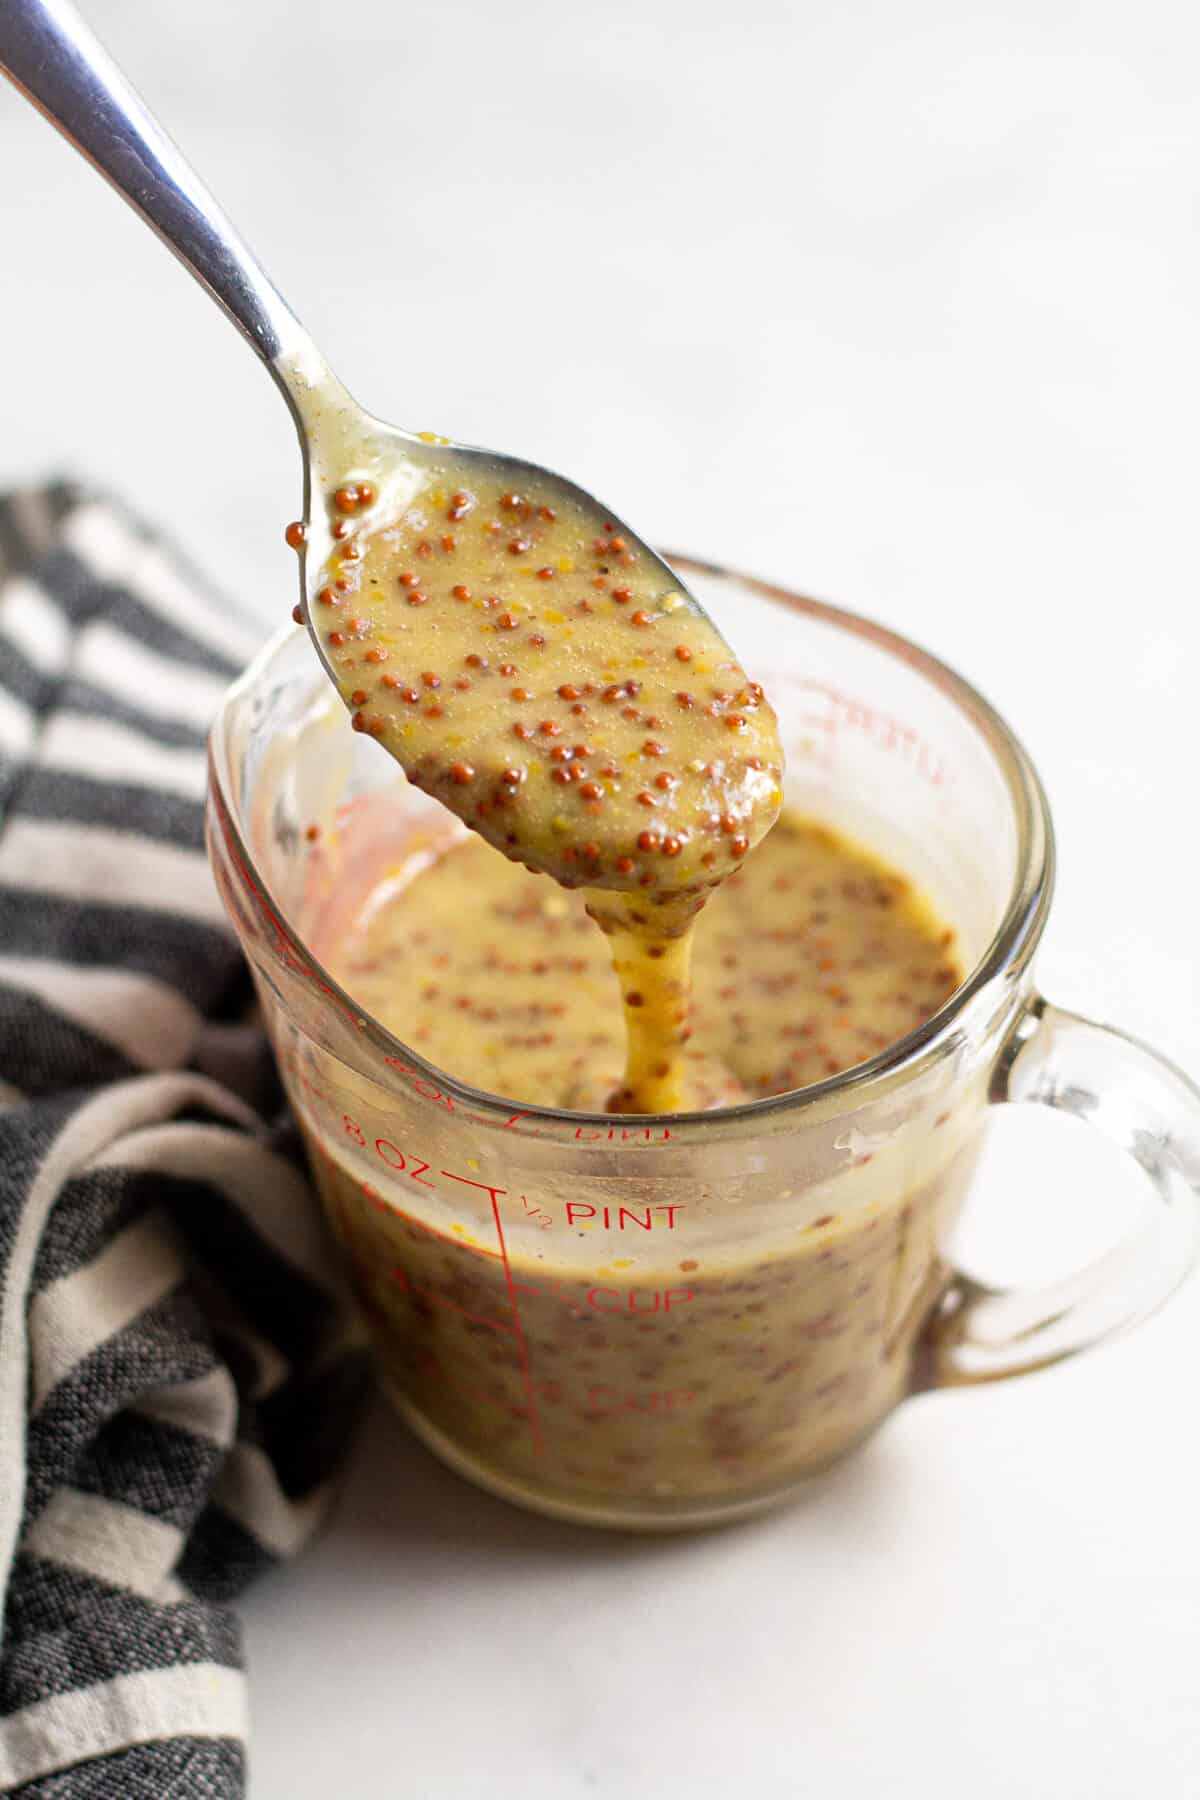
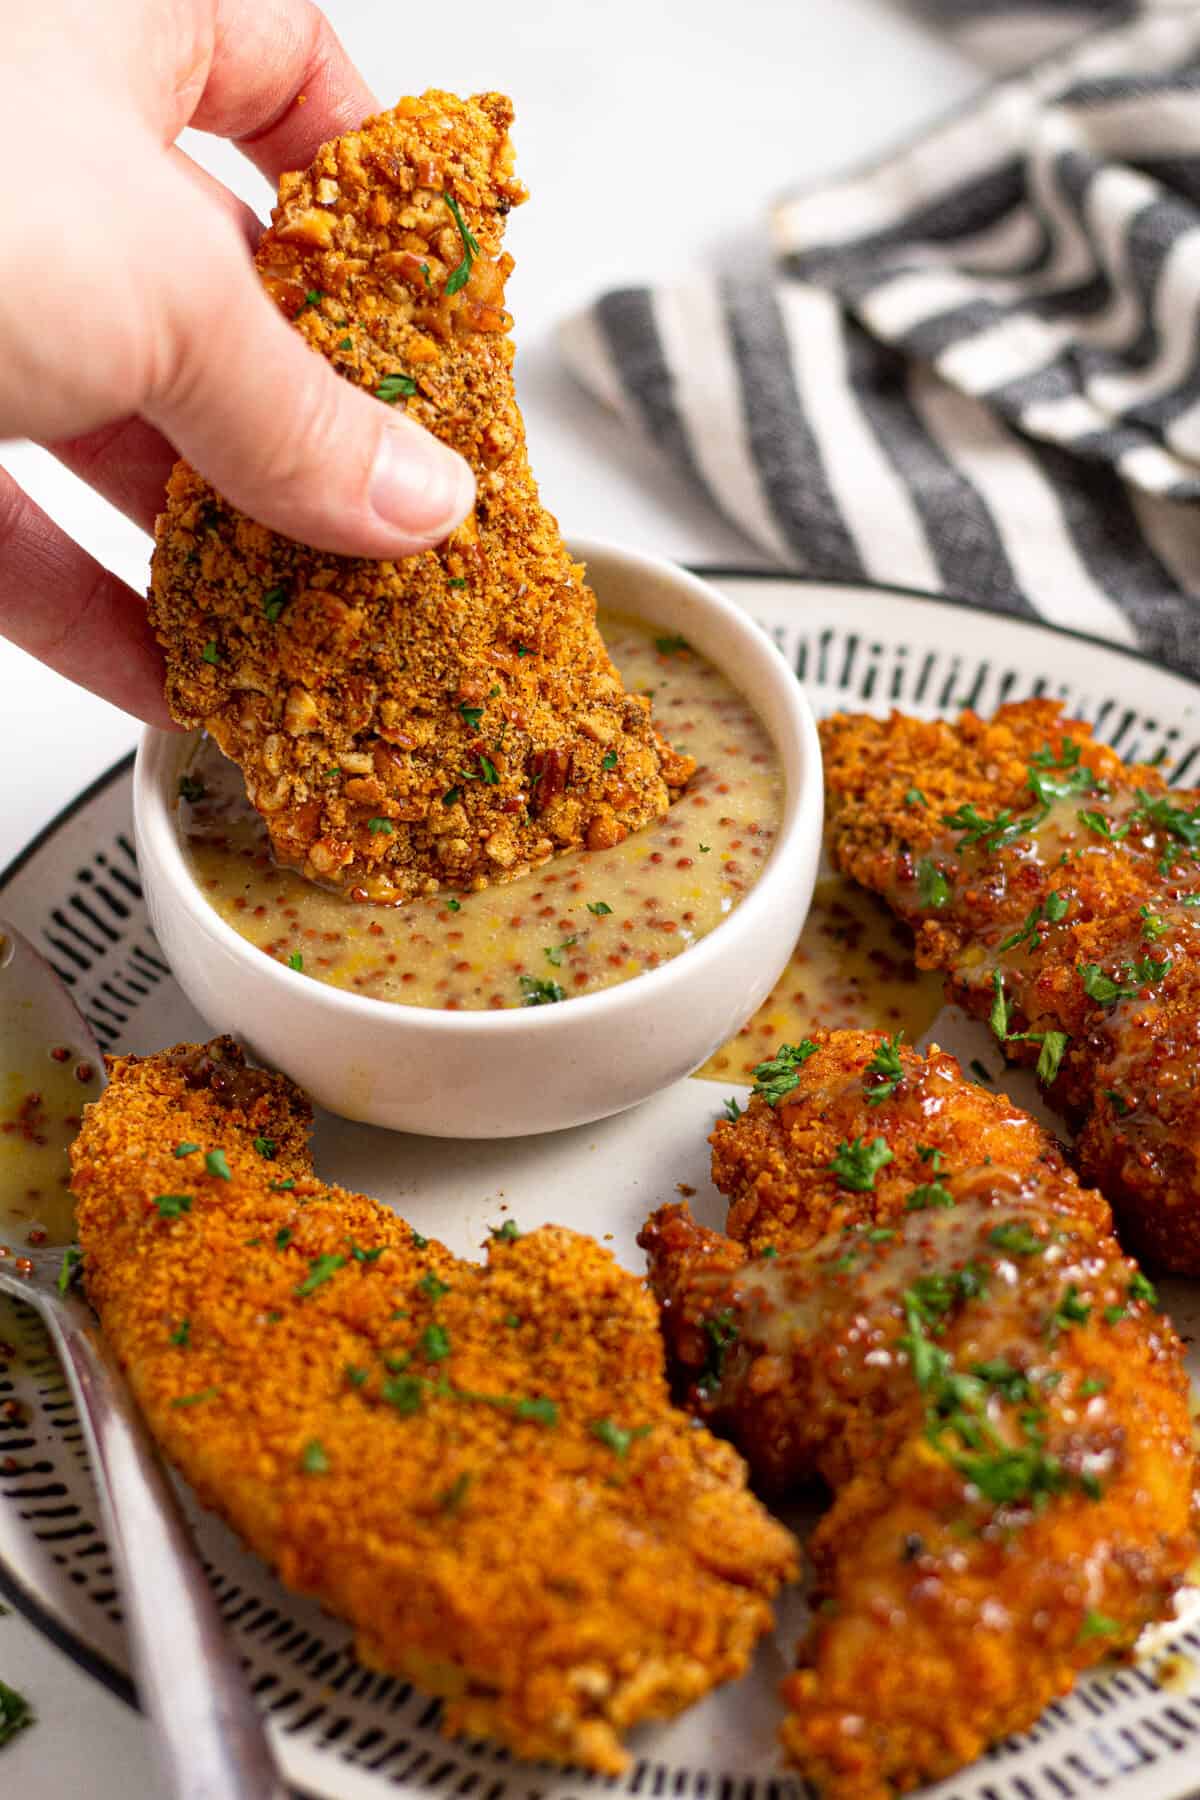
Serve warm chicken tenders with honey mustard sauce and enjoy!

Tips
- You can use all pretzels or all Cheez-Its if you don’t happen to have both on hand. The combo of both is great because the pretzels have a great crunch and the Cheez-Its add the perfect hint of cheddar. But if you only have one or the other, no worries – the recipe will still turn out delish!
- Keep one “wet hand” and one “dry hand” during the breading process. Use your left hand to dunk the tenders in the egg mixture, then use that same hand to drop them into the breading mixture. Then use your right hand to toss the chicken in the breading. This will ensure that you don’t end up with clumpy, gummy hands by the end.
- Don’t skip the step of putting the tenders on a cooling rack on a baking sheet. This is going to ensure that the tenders cook evenly and that the breading doesn’t get mushy anywhere.
- Don’t forget to spray/brush the tenders with olive oil before baking! This step is vital in getting that perfectly crispy, crunchy crust on each tender. Also, flipping the tenders and spraying the other side is going to ensure that both sides end up with a crispy crust.
FAQ
This oven fried chicken tenders recipe relies on a traditional breading technique with not so traditional ingredients – pretzels and Cheez-Its – and then a spritz of olive oil spray and a hot oven to get perfectly crispy chicken tenders!
Baking these oven fried chicken tenders on a cooling rack on top of a baking sheet allows the air to circulate all the way around the chicken. This ensures that all sides get nice and crispy and you don’t end up with soggy chicken tenders.
Family Favorite Dinners
Did you love this recipe?
Please leave a 5-star rating and review below!

Baked Chicken Tenders Recipe
Make room on your monthly meal rotation for these baked chicken tenders ASAP! Just 6 ingredients and 30 minutes from start to finish – these chicken tenders are quick and easy to throw together and your family will love the familiar flavors of Cheez-Its and pretzels!
- Total Time: 30 minutes
- Yield: 4 servings 1x
Ingredients
Chicken Tenders:
- 1 lb. chicken tenders
- 1 cup Cheez-Its
- 1 cup pretzels
- 1/2 teaspoon garlic powder
- 1/2 teaspoon paprika
- Kosher salt
- fresh cracked pepper
- 2 eggs
- olive oil spray
Sauce:
- 1/4 cup whole grain mustard
- 1/4 cup honey
- 1 tablespoon mayonnaise
- 1 tablespoon Dijon mustard
- Kosher salt
- fresh cracked pepper
Instructions
- Preheat oven to 425 degrees.
- Add Cheez-Its, pretzels, garlic powder, paprika and a large pinch of Kosher salt and pepper to a food processor.
- Pulse until everything is well minced a coarse texture crumb forms. Transfer the mixture to a shallow dish.
- Crack eggs into another shallow dish and whisk together.
- Working with one tender at a time, dunk the chicken into the egg mixture, rolling it around until it’s coated. Allow excess egg to drip off.
- Then place it into the breading mixture and roll it around until coated. Gently press the breading mixture into the tender to make it stick.
- Place breaded chicken tender onto a cooling rack on top of a parchment lined baking sheet at least an inch apart.
- Continue with remaining chicken tenders until they are all coated in the breading mixture.
- Spray the top side of the tenders with olive oil spray.
- Bake for 12 minutes.
- Gently flip chicken tenders over and spray that side of each tender with olive oil spray.
- Bake for another 10 minutes or until the chicken is cooked through.
- For an extra crispy crust, broil chicken tenders for 1-2 minutes. Watch them carefully so they don’t burn!
- While the chicken is baking, combine sauce ingredients.
- Serve warm chicken tenders with honey mustard sauce and enjoy!
Notes
You can use all pretzels or all Cheez-Its if you don’t happen to have both on hand. The combo of both is great because the pretzels have a great crunch and the Cheez-Its add the perfect hint of cheddar. But if you only have one or the other, no worries – the recipe will still turn out delish!
Keep one “wet hand” and one “dry hand” during the breading process. Use your left hand to dunk the tenders in the egg mixture, then use that same hand to drop them into the breading mixture. Then use your right hand to toss the chicken in the breading. This will ensure that you don’t end up with clumpy, gummy hands by the end.
Don’t skip the step of putting the tenders on a cooling rack on a baking sheet. This is going to ensure that the tenders cook evenly and that the breading doesn’t get mushy anywhere.
Don’t forget to spray/brush the tenders with olive oil before baking! This step is vital in getting that perfectly crispy, crunchy crust on each tender. Also, flipping the tenders and spraying the other side is going to ensure that both sides end up with a crispy crust.
Nutrition
- Serving Size: 1 tender
- Calories: 369
- Sugar: 17.8 g
- Sodium: 616.3 mg
- Fat: 14.7 g
- Carbohydrates: 27.1 g
- Fiber: 0.7 g
- Protein: 28.8 g
- Cholesterol: 130.7 mg


