Hawaiian Roll Sliders
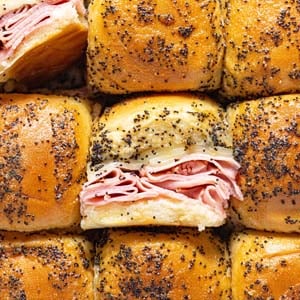
These Hawaiian roll sliders are the absolutely easiest way to feed a crowd and use up leftover ham from the holidays! They can be prepped in about 10 minutes and the flavors are amazing – salty, sweet, and tangy all in one sandwich!
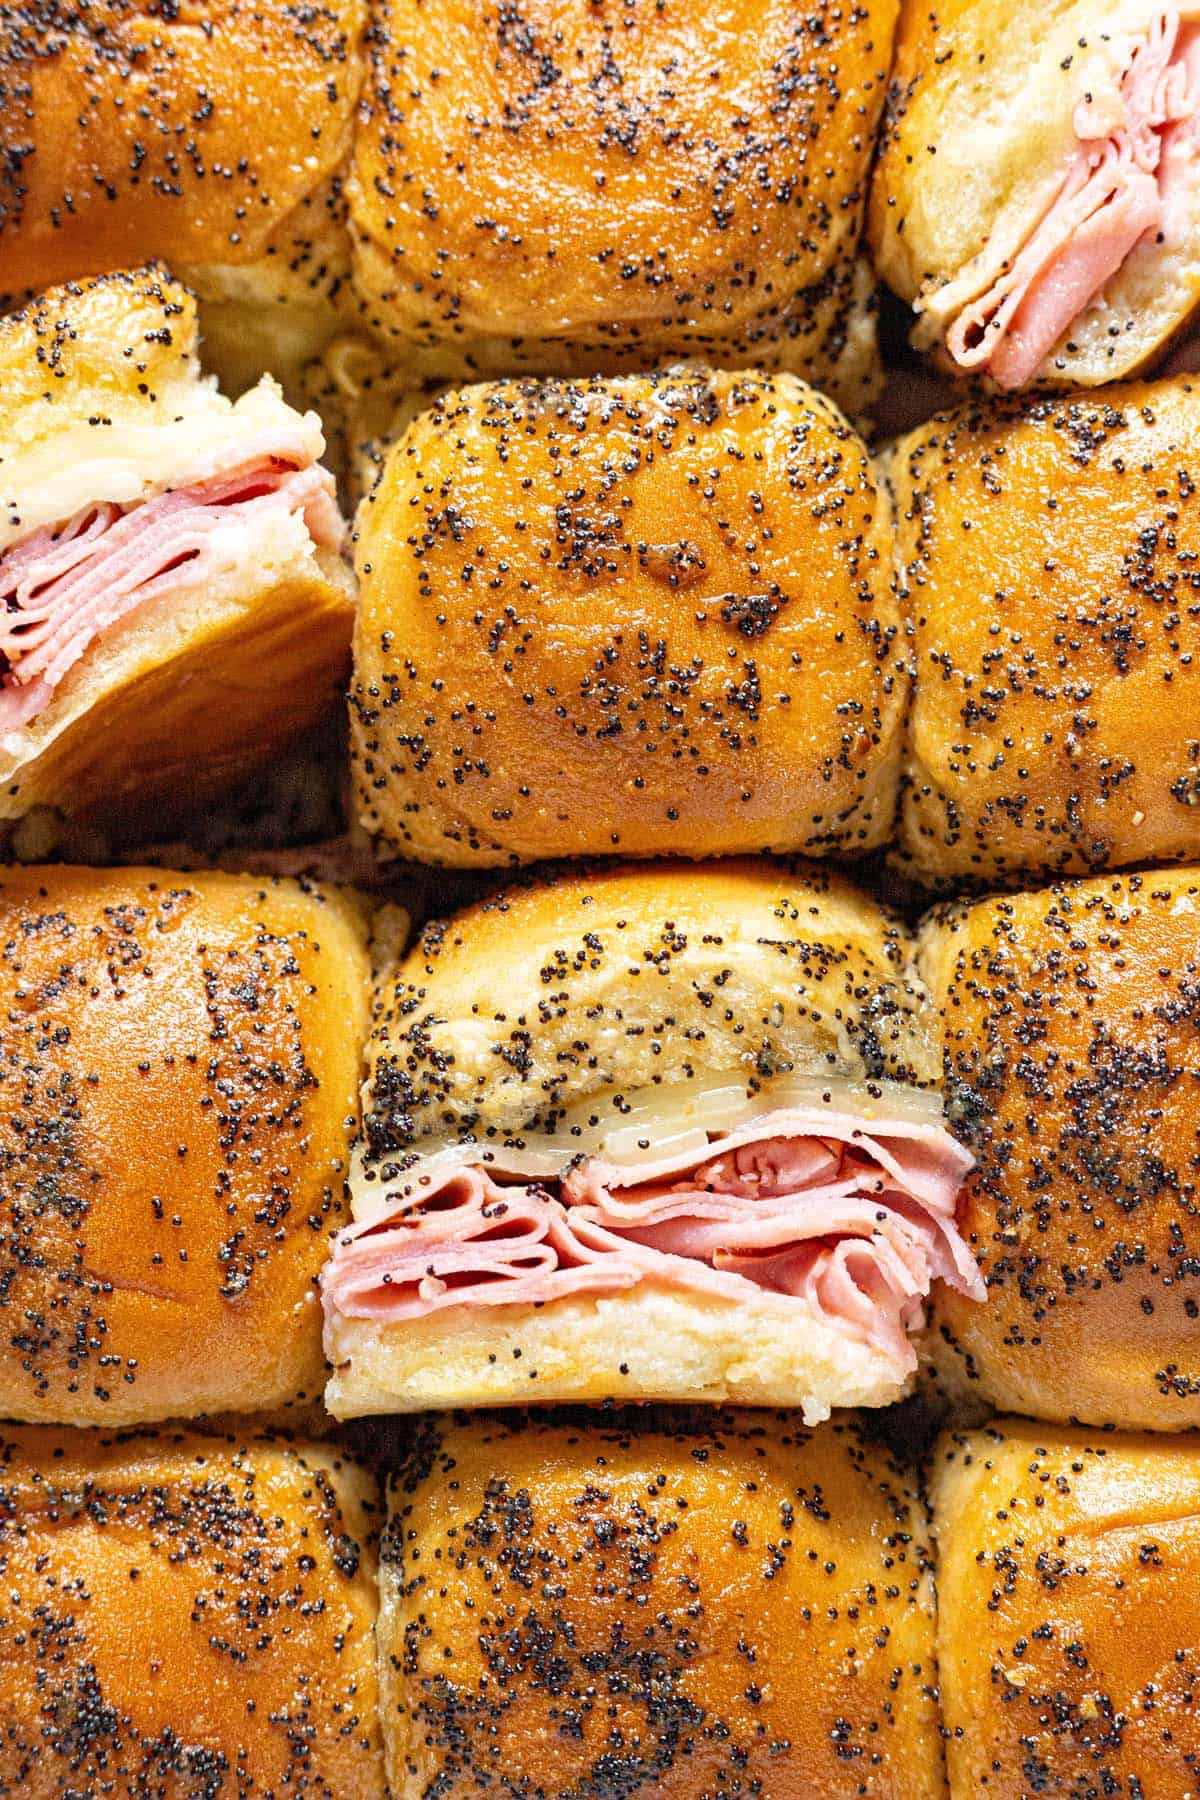
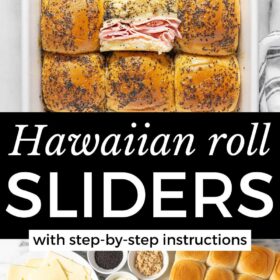
Easy Hawaiian Roll Sliders Recipe
- Sometimes called funeral sandwiches, these ham and cheese sliders are the perfect appetizer or main dish to feed a ton of people at once. Make it a double batch and you’ve got 24 sliders ready to go in just over 30 minutes. Prep them ahead of time and toss them in the oven just before your guests arrive.
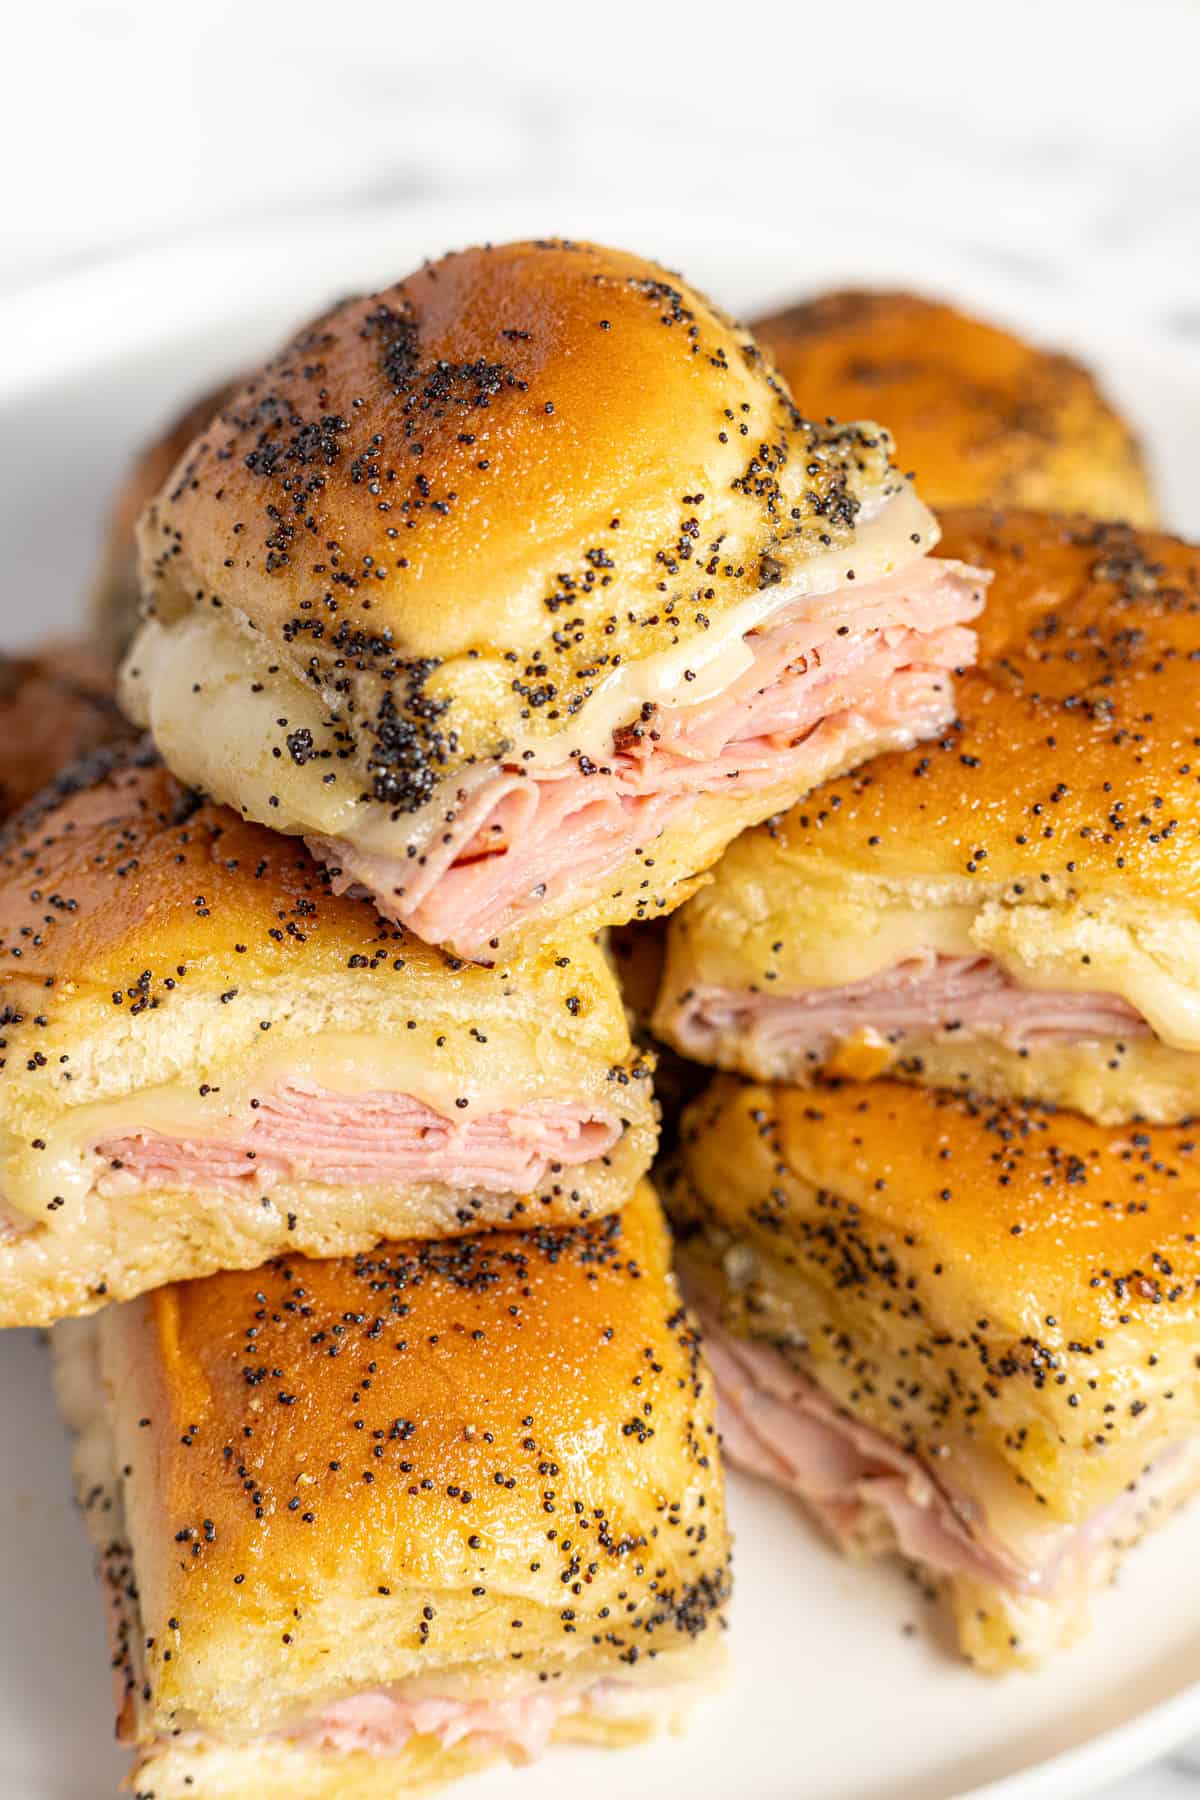
- The flavors might seem a bit unusual at first, but these Hawaiian roll sliders are a Midwest staple at family get-togethers – and for good reason! The salty ham combines with melty Swiss and it’s all cooked and coated in a sweet, tangy, buttery sauce with poppy seeds.
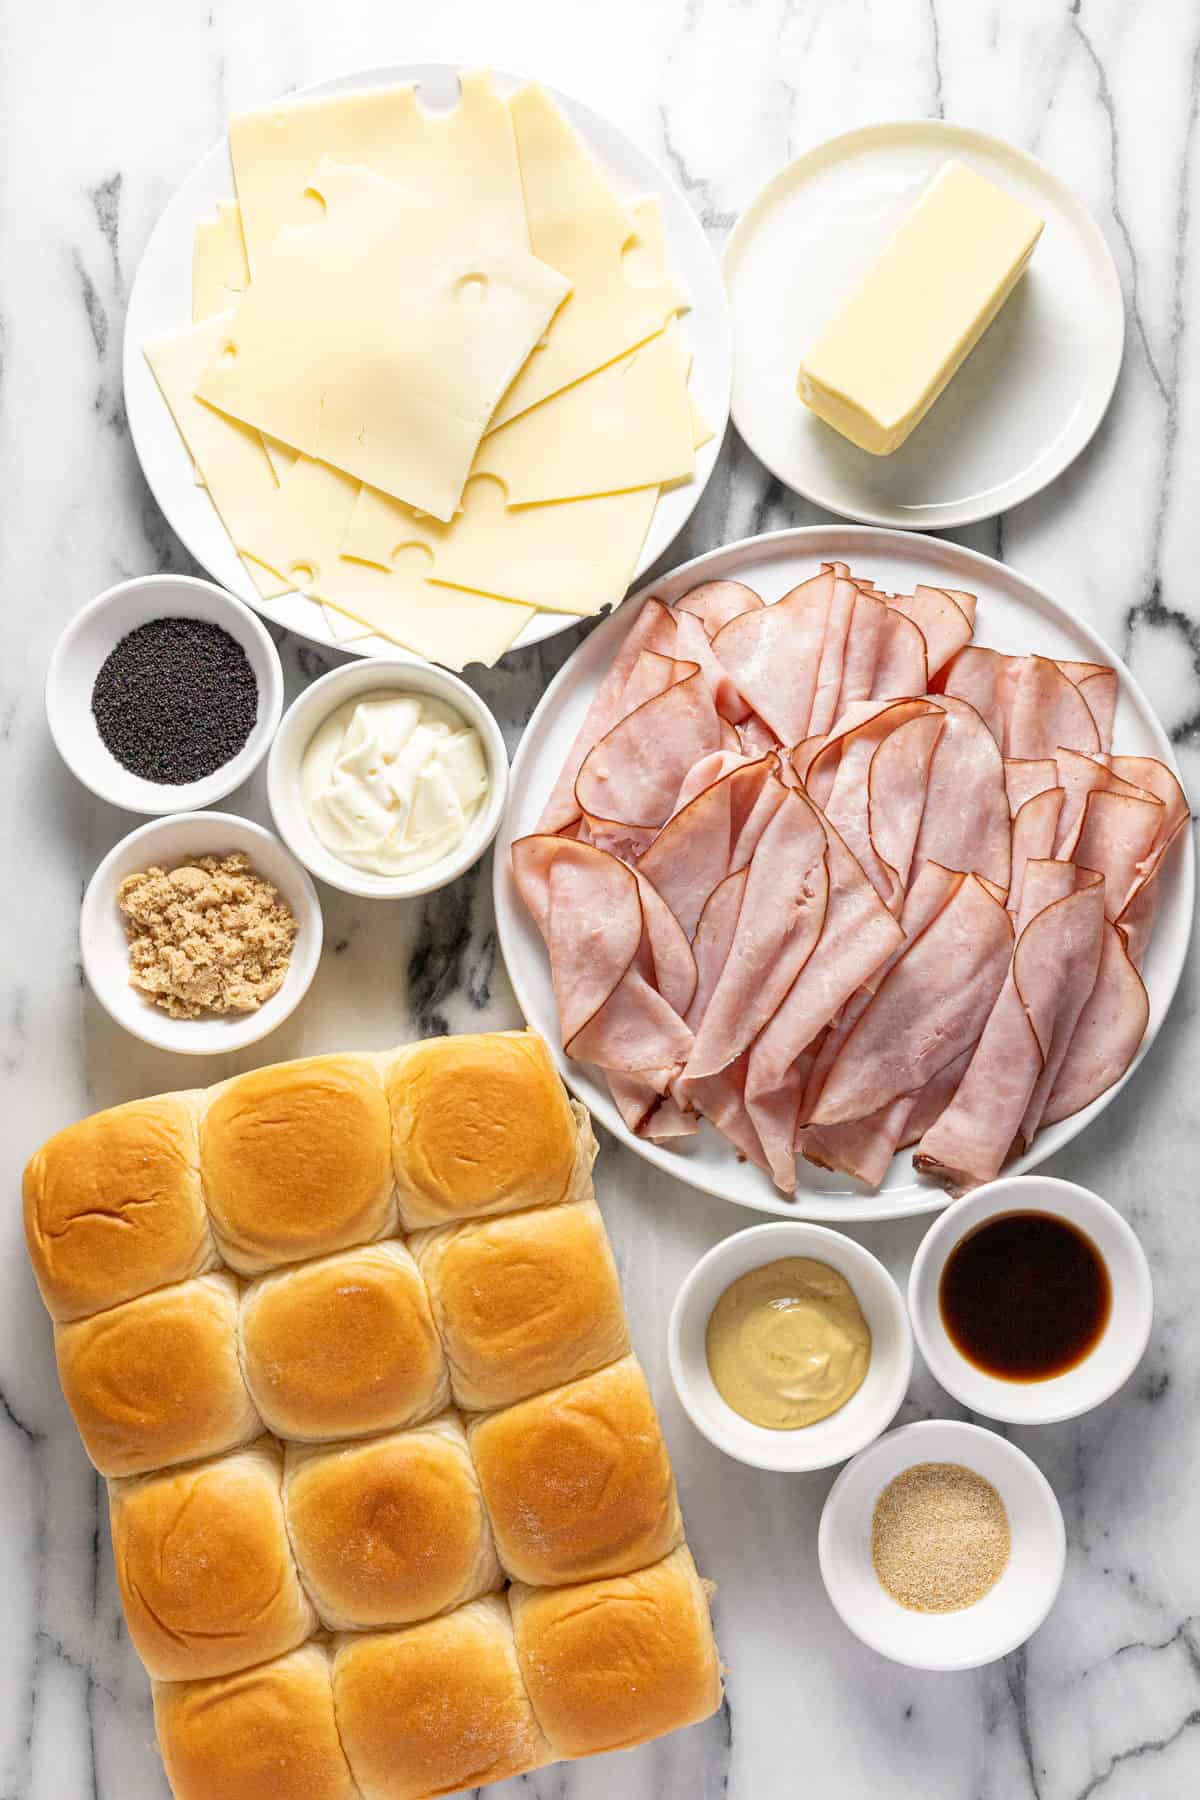
Ingredients to Make Hawaiian Roll Sliders
- King’s Hawaiian Rolls: The rolls are the star of the show here. King’s Hawaiian rolls are super soft and fluffy with a slightly sweet taste. You can use other brands of slider rolls but it will change the flavor slightly.
- Mayonnaise: I list the mayonnaise as an optional ingredient in this recipe because I know some folks have strong feelings about mayo! I love the added richness that it adds, but you can skip it if you aren’t a mayo fan.
- Deli Sliced Ham: Thinly sliced deli ham or leftover ham from the holidays will work well. You can also use other sliced deli meats like turkey, chicken, or roast beef.
- Swiss Cheese: Swiss cheese is the typical choice for these ham and cheese sliders but you can use your favorite sliced cheese including provolone, mozzarella, Havarti, Gouda, or sharp white cheddar.
- Butter: The butter is the key ingredient in the sauce you pour over the sliders. I like to use unsalted and add my own salt but salted butter will work too.
- Poppy Seeds: Poppy seeds add a delicious textural component to the top of these sliders as well as some visual variation.
- Brown Sugar: Brown sugar pairs really well with the mustard and Worcestershire sauce to create a slightly sweet yet tangy sauce. You can use light sugar or brown sugar.
- Dijon Mustard: I like to use Dijon mustard for the butter sauce but you could also use spicy brown mustard, honey mustard, or whole-grain mustard. Skip the yellow mustard for this recipe as it’s going to have too strong a flavor.
- Worcestershire Sauce: Worcestershire sauce has a very complex flavor that I just love in this sauce. A little splash has a ton of flavor though so just 2 teaspoons is perfect. If you don’t have Worcestershire sauce on hand, substitute with soy sauce combined with a pinch of brown sugar.
- Onion Powder: You can use onion powder or minced dried onion for this recipe. If you use minced dried onion, you’ll want to use about 1 tablespoon in place of the 1 teaspoon of onion powder.
How to Make Hawaiian Roll Sliders
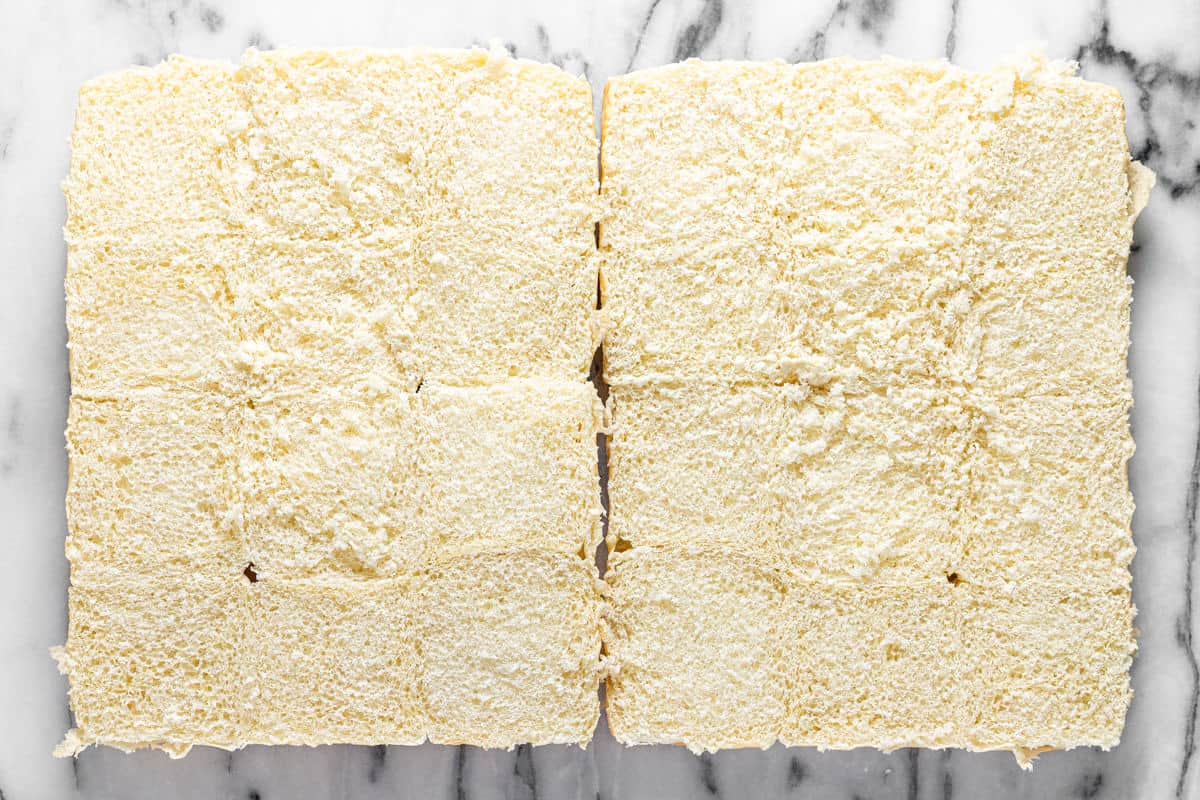
Preheat oven to 350 degrees. Spray a 9×9 or 9×13 baking dish with cooking spray or grease with a thin layer of butter. Slice the entire loaf of Hawaiian rolls in half so you have 12 top buns (connected) and 12 bottom buns (connected).
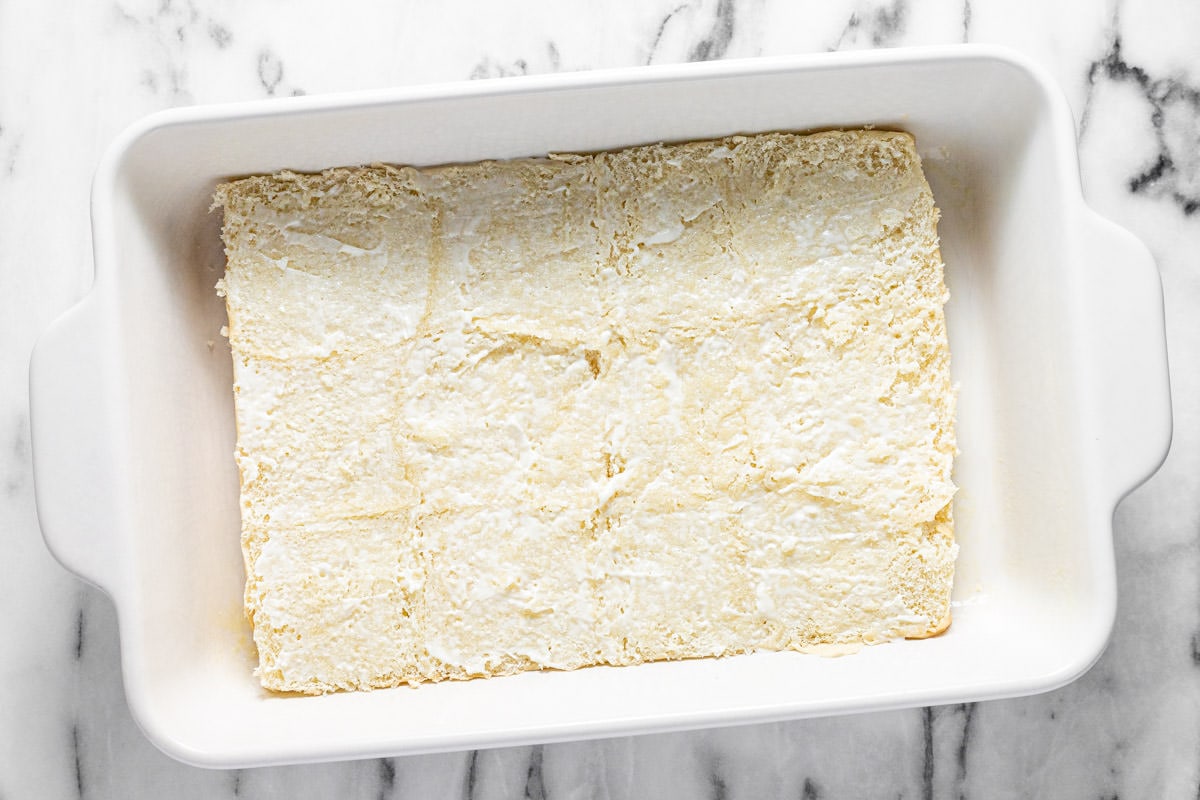
Place the bottom set of buns into the pan. Bake, uncovered, for 3-5 minutes or so just to toast the bottom buns a bit to prevent them from getting soggy. Spread 2 tablespoons of mayonnaise in an even layer across the buns, if using.
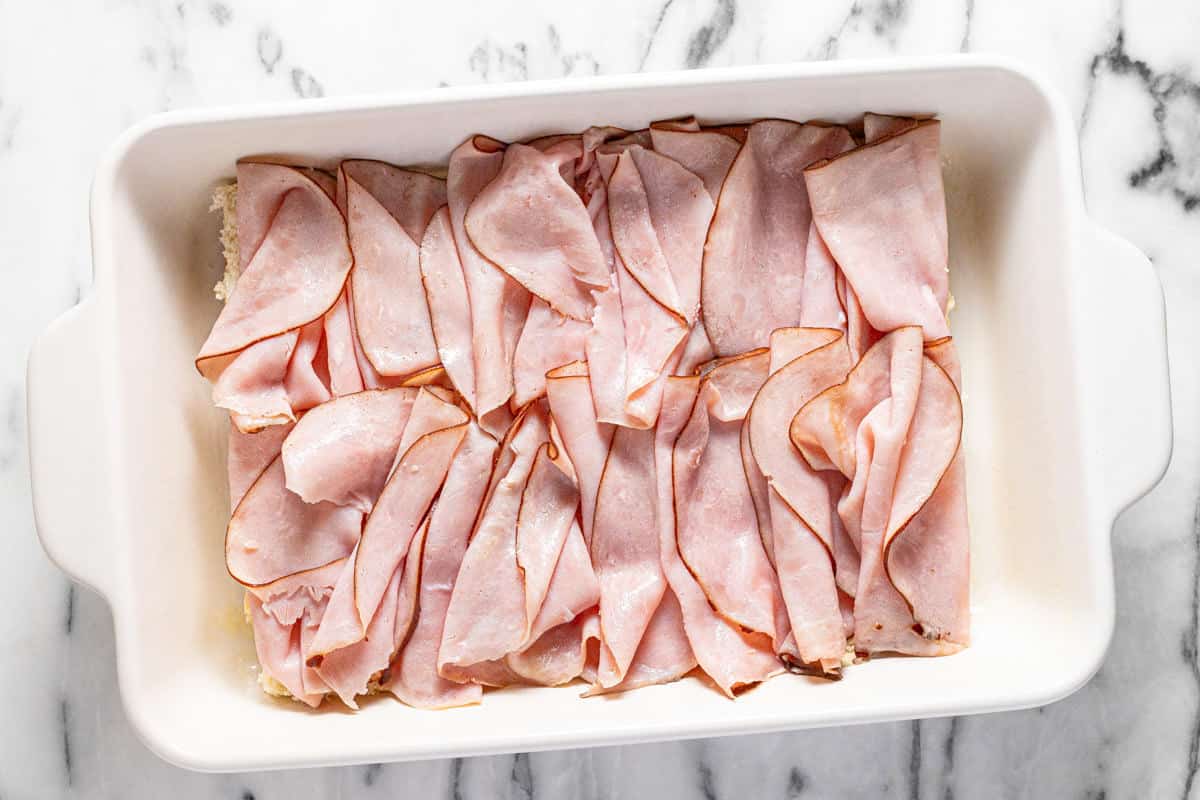
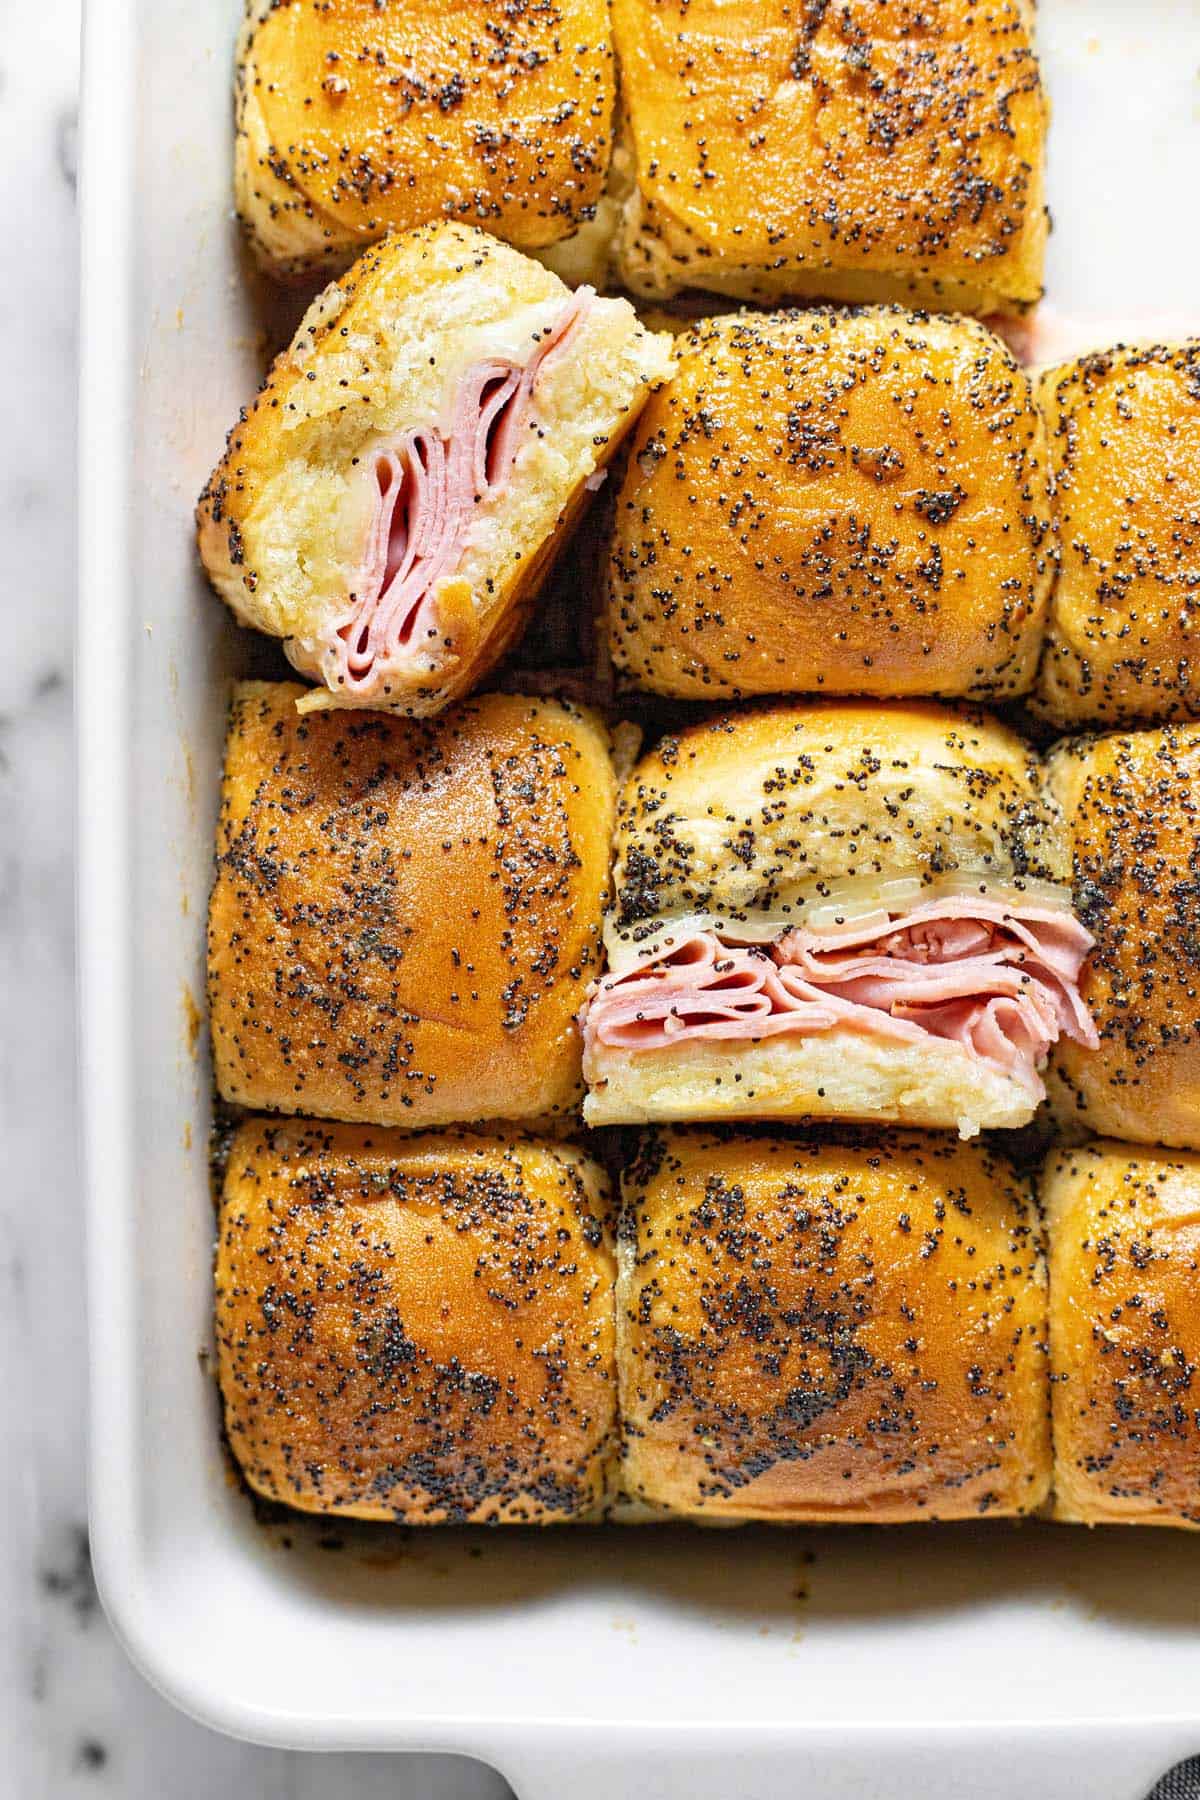
Layer the ham across the bottom buns.
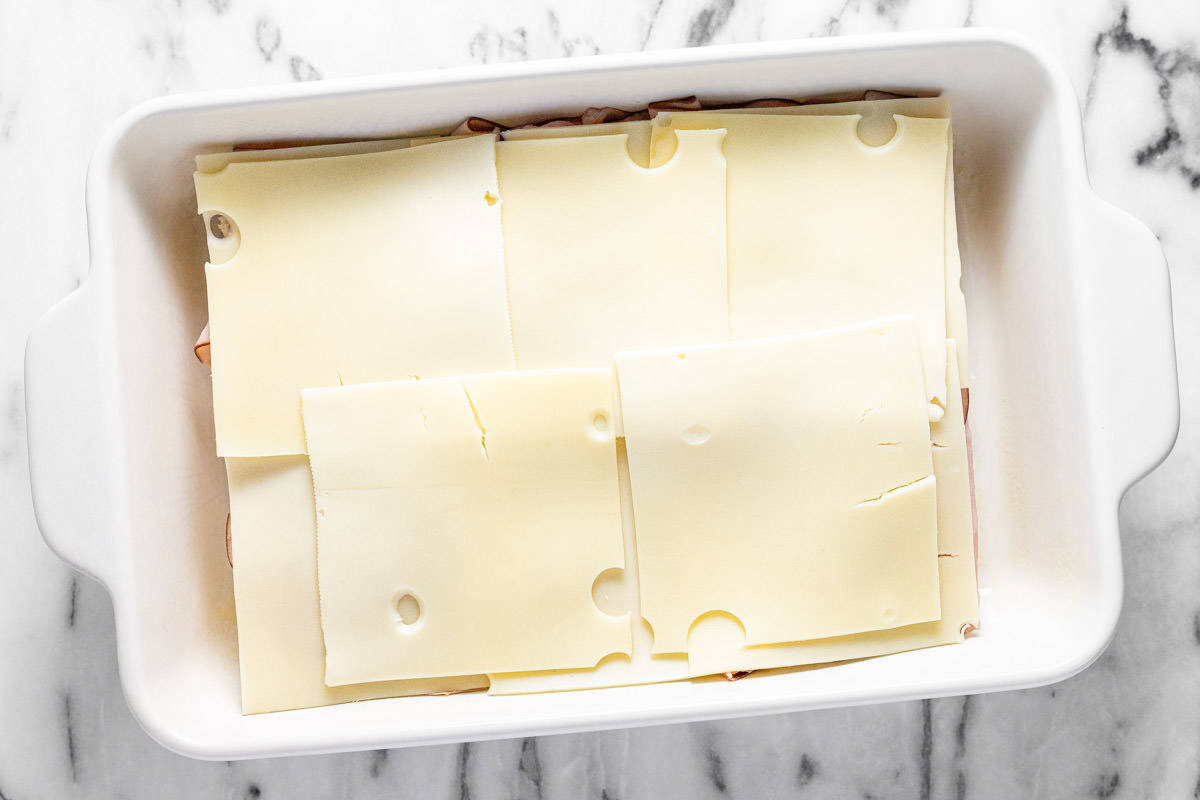
Then layer the cheese on top.
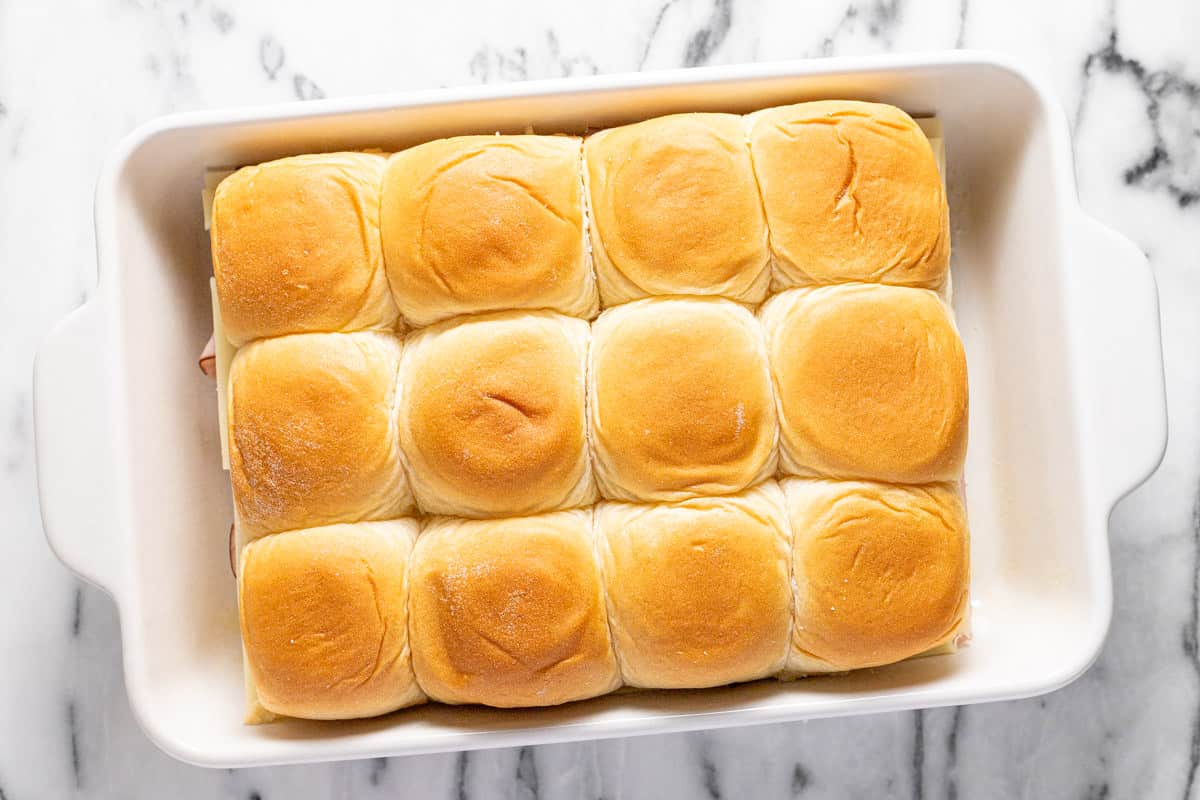
Add the top buns.
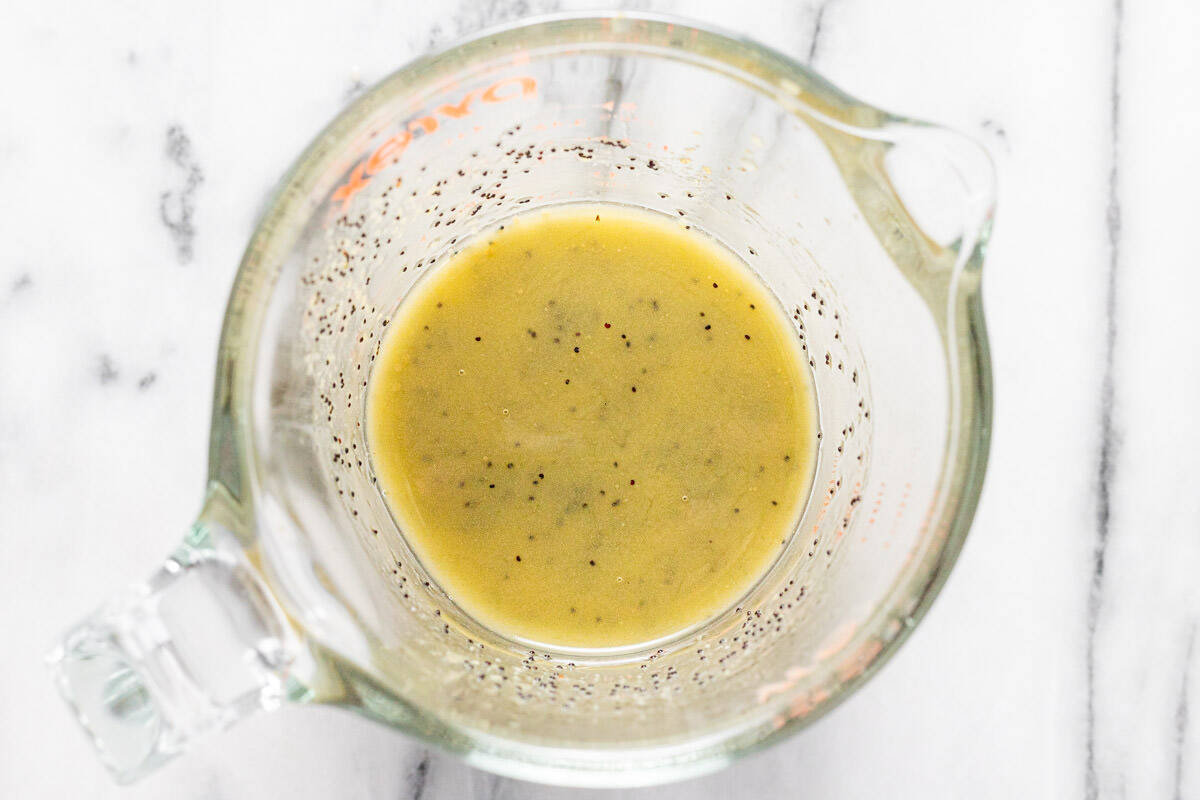
In a 1-2 cup glass measuring cup, melt 1/3 cup butter in the microwave. Stir in 1 tablespoon poppyseeds, 1 tablespoon brown sugar, 1 tablespoon Dijon mustard, 2 teaspoons Worcestershire sauce, 1 teaspoon onion powder, and a couple pinches of salt and pepper until well combined.
Carefully pour the butter mixture over the top of the slider buns in an even layer until you’ve used it all up.
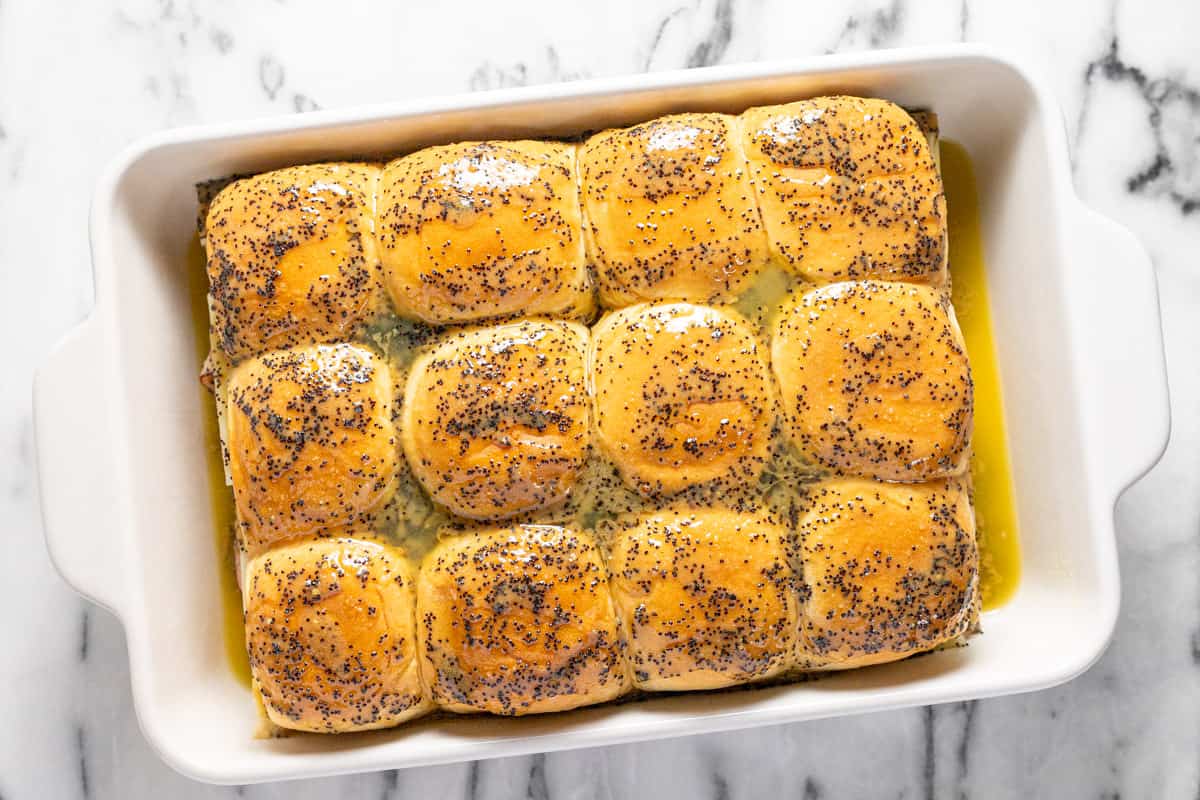
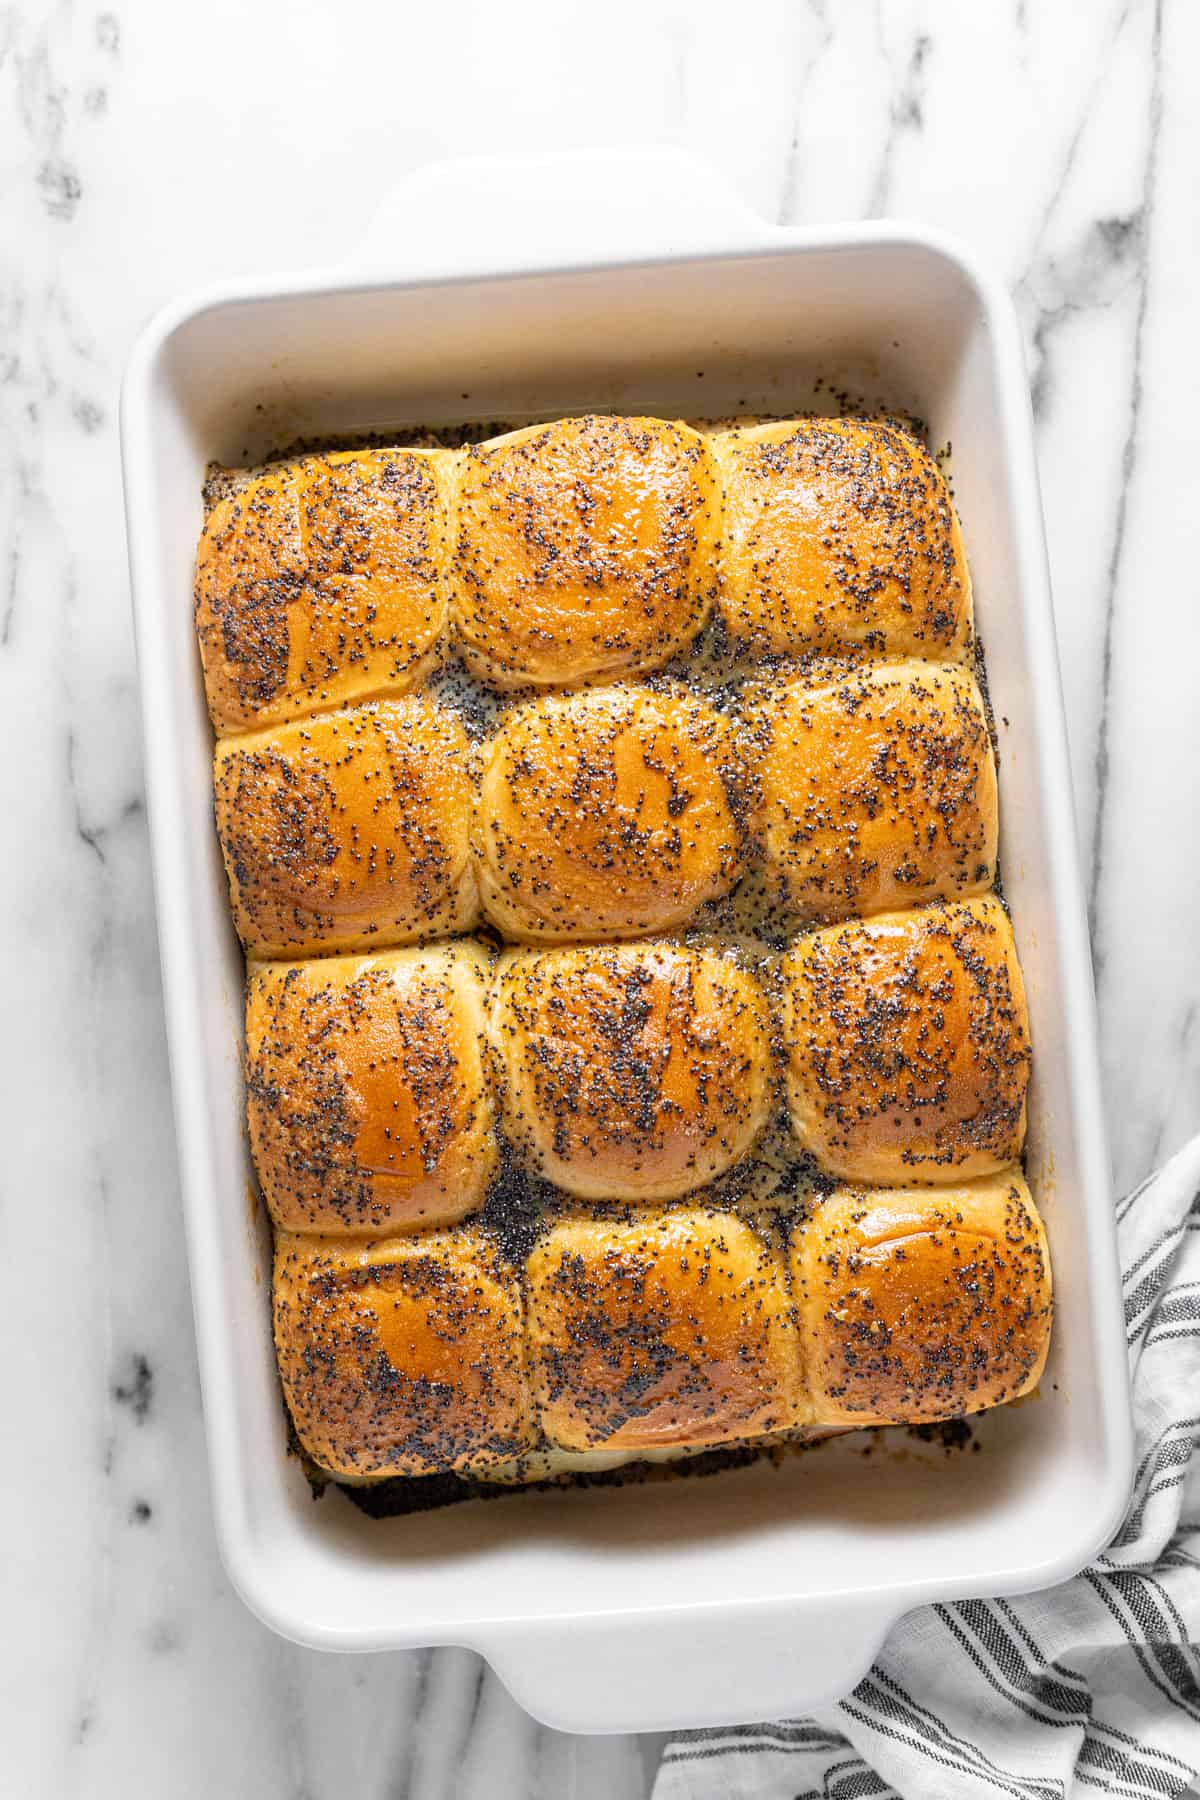
Bake at 350 degrees for 10 minutes. Spray a piece of foil and place it on top of the sliders, sprayed side down. Bake for another 10 minutes. Remove from oven and allow to cool slightly. Slice rolls into individual sliders, serve, and enjoy!
Tips for Making the Best Ham and Cheese Sliders
- Layer the ingredients evenly and all the way out to the edges of the rolls so that each slider has plenty of meat and cheese. This will help them cook evenly as well.
- The ingredients in the butter sauce will settle as it sits, so give it a quick stir before pouring it over the buns so the flavors are distributed evenly.
- Try to pour the sauce over the sliders as evenly as possible. This will ensure that all the sliders are well coated and flavorful.
What Size Baking Dish To Use for Sliders
- The package of King’s Hawaiian rolls are kind of an interestingly sized rectangle.
- While you can put them into any baking dish you like, I find that the topping does best when it can really sink into the rolls.
- For this reason, a 9×9 baking dish or the 8×11 baking dish from this set works well.
- You can also use a 9×13 baking dish but if you have something a bit smaller, that would work best.
FAQ
Why are my sliders soggy on the bottom?
Your sliders are probably soggy because the sauce soaked into the buns. To avoid this problem, we toast the bottom buns in the oven for a few minutes. This helps to keep the bottom bun sturdy and avoid that soggy bottom. Keep in mind that the sliders are coated in a sauce and they are going to absorb some of that sauce which is good!
How do you pack sliders for a picnic?
If I were bringing these sliders to a picnic, I would bake them just before we walked out the door. Slice them while they’re still warm, cover loosely with foil or plastic wrap, and then place the warm baking dish on a towel or pot holder in a safe place in your car where they won’t slide around. You can also transfer them to a serving platter or tray with a lid. Transport to the picnic location and enjoy!
What is a good side dish for Hawaiian sliders?
- baked fries
- air fryer potato wedges
- curry deviled eggs
- creamy chipotle slaw
- cilantro lime slaw
- creamy kale Caesar pasta salad
- street corn pasta salad
- Mediterranean chickpea pasta salad
- creamy BLT pasta salad
- roasted potato salad
Make-Ahead Instructions
These Hawaiian roll sliders can be made up to a day in advance and stored covered in the fridge until you’re ready to bake them!
- Follow the recipe instructions, but after toasting the bottom slab of buns, let them cool completely so they don’t get soggy. Then continue assembling.
- Cover and refrigerate for up to a day.
- An hour before you’re ready to bake the sliders, take them out of the fridge so they can come to room temp.
- Make the sauce and pour it over the sliders just before baking.
- Bake according to the recipe instuctions but add a few minutes of baking time to account for the colder temperature.
Storing Leftover Hawaiian Roll Sliders
Store leftovers, covered, in the fridge for up to 3 days.
Reheating Leftover Ham and Cheese Sliders
Cover sliders with foil and reheat in a 300 degree oven for 5-10 minutes or until warmed through.
Try these family favorites next!
Did you love this recipe?
Please leave a 5-star rating and review below!
Hawaiian Roll Sliders
These Hawaiian roll sliders are the absolutely easiest way to feed a crowd and use up leftover ham from the holidays! They can be prepped in about 10 minutes and the flavors are amazing – salty, sweet, and tangy all in one sandwich!
- Total Time: 35 minutes
- Yield: 12 sliders 1x
Ingredients
- 12 oz. package of King’s Hawaiian rolls (12 rolls)
- 2 tablespoon mayonnaise, optional
- 16 oz. thinly sliced deli ham
- 7–8 oz. sliced Swiss cheese
- 1/3 cup unsalted butter
- 1 tablespoon poppy seeds
- 1 tablespoon brown sugar
- 1 tablespoon Dijon mustard
- 2 teaspoons Worcestershire sauce
- 1 teaspoon onion powder
- Kosher salt
- fresh cracked pepper
Instructions
- Preheat oven to 350 degrees. Spray a 9×9 or 9×13 baking dish with cooking spray or grease with a thin layer of butter.
- Slice the entire loaf of Hawaiian rolls in half so you have 12 top buns (connected) and 12 bottom buns (connected).
- Place the bottom slab of buns into the pan. Bake, uncovered, for 3-5 minutes or so just to toast the bottom buns a bit to prevent them from getting soggy.
- Spread 2 tablespoons of mayonnaise in an even layer across the buns, if using.
- Layer the ham across the bottom buns. Then layer the cheese on top. Add the top slab of buns.
- In a 1-2 cup glass measuring cup, melt 1/3 cup butter in the microwave. Stir in 1 tablespoon poppyseeds, 1 tablespoon brown sugar, 1 tablespoon Dijon mustard, 2 teaspoons Worcestershire sauce, 1 teaspoon onion powder, and a couple pinches of salt and pepper until well combined.
- Carefully pour the butter mixture over the top of the slider buns in an even layer until you’ve used it all up.
- Bake at 350 degrees for 10 minutes. Spray a piece of foil and place it on top of the sliders, sprayed side down. Bake for another 10 minutes.
- Remove from oven and allow to cool slightly before slicing. Slice rolls into individual sliders, serve, and enjoy!
- If you enjoyed this recipe, leave a 5-star rating and review below!
Notes
- Layer the ingredients evenly and all the way out to the edges of the rolls so that each slider has plenty of meat and cheese. This will help them cook evenly as well.
- The ingredients in the butter sauce will settle as it sits, so give it a quick stir before pouring it over the buns so the flavors are distributed evenly.
- Try to pour the sauce over the sliders as evenly as possible. This will ensure that all the sliders are well coated and flavorful.
- Prep Time: 10 minutes
- Cook Time: 25 minutes
- Category: Main Dish
- Method: Oven
- Cuisine: American
Nutrition
- Serving Size: 1 slider
- Calories: 209
- Sugar: 1.6 g
- Sodium: 531.8 mg
- Fat: 15.8 g
- Saturated Fat: 7.8 g
- Carbohydrates: 5.1 g
- Fiber: 0.7 g
- Protein: 11.3 g
- Cholesterol: 53.5 mg



It’s simple the best slider recipe
What a compliment, Kathy!! Thanks for leaving a review 🙂
These are delicious! I don’t like Dijon, so used mayo instead. Great idea to toast the bottom. I made them for our high school youth group and they loved them! Will definitely be making these again for myself and my husband.
I am so glad to hear that you enjoyed these Hawaiian rolls! Great idea to use mayo instead of Dijon – I’m glad that worked out well!
From a procedural standpoint, why ise the microwave for the sauce. To me, a small pan on the stove is less messy, allows the spices to mesh, and instead of pouring or drizzling it, why not use a pastry brush for more even coverage.
A great dish & every one loves sliders these days. Pairs nicely with a homemade soup too! It’s all too perfect for the artic blast being experienced around the nation.
That is a great option too! Our new place doesn’t have a microwave so I have had to cook this sauce on the stove and the sauce turned out beautifully! A pastry brush is another great idea if you’ve got one on hand. Thanks, Angelique!