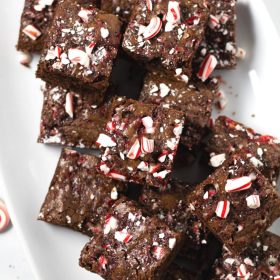
Easy Peppermint Brownies
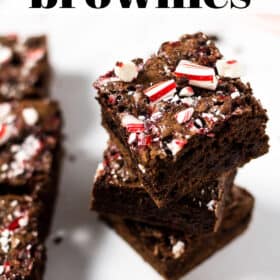
These peppermint brownies come together in one bowl and you’ll have them in the oven in 10 minutes. The hardest part will be waiting for them to cool!
Why you’re going to love these peppermint brownies:
- They’re quick and easy! You can have these brownies mixed and in the oven in less than 10 minutes. They come together quickly – and in JUST ONE BOWL I might add. Seriously, the hardest part of making these brownies is letting them cool.
- There’s no fancy kitchen gadgets or cooking skills required to make them! One bowl, one spoon, one square pan. No mixer required – just good old fashioned stirring!
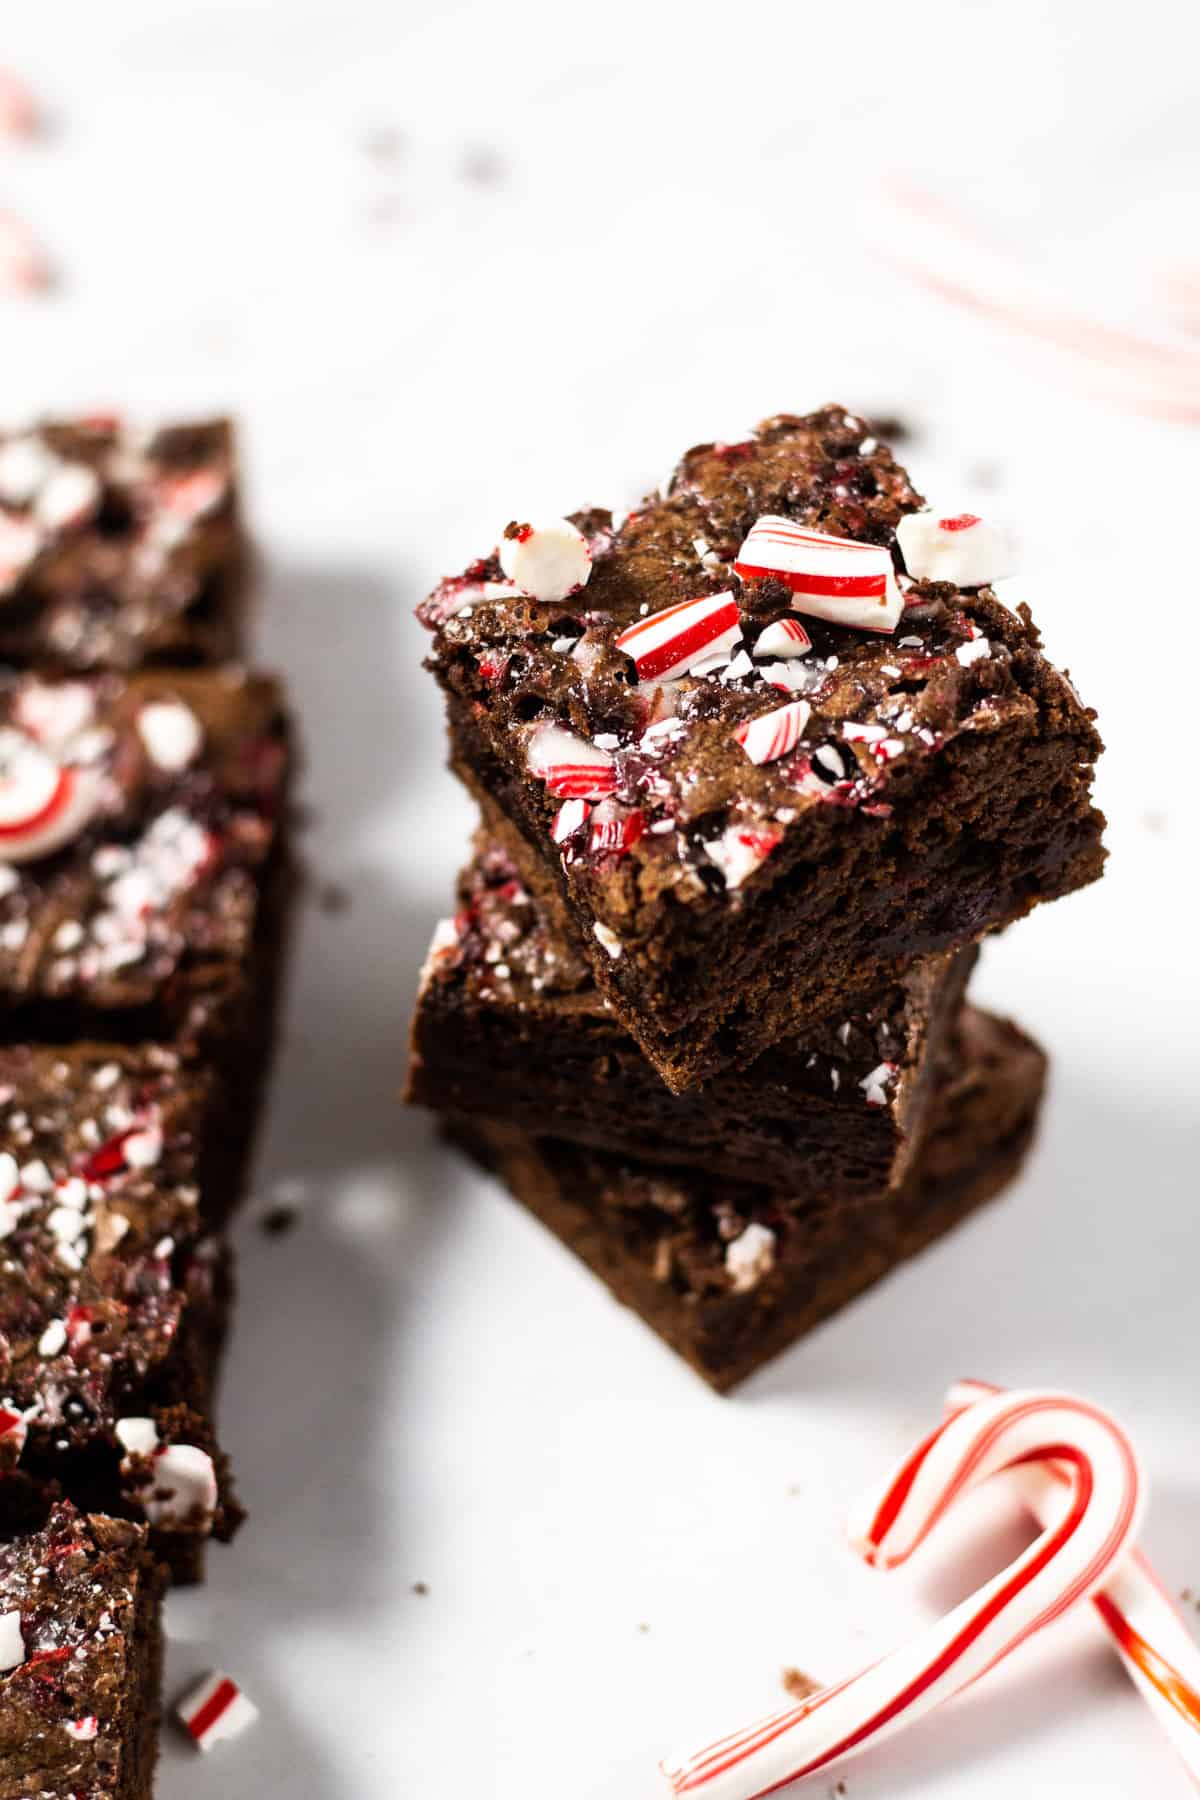
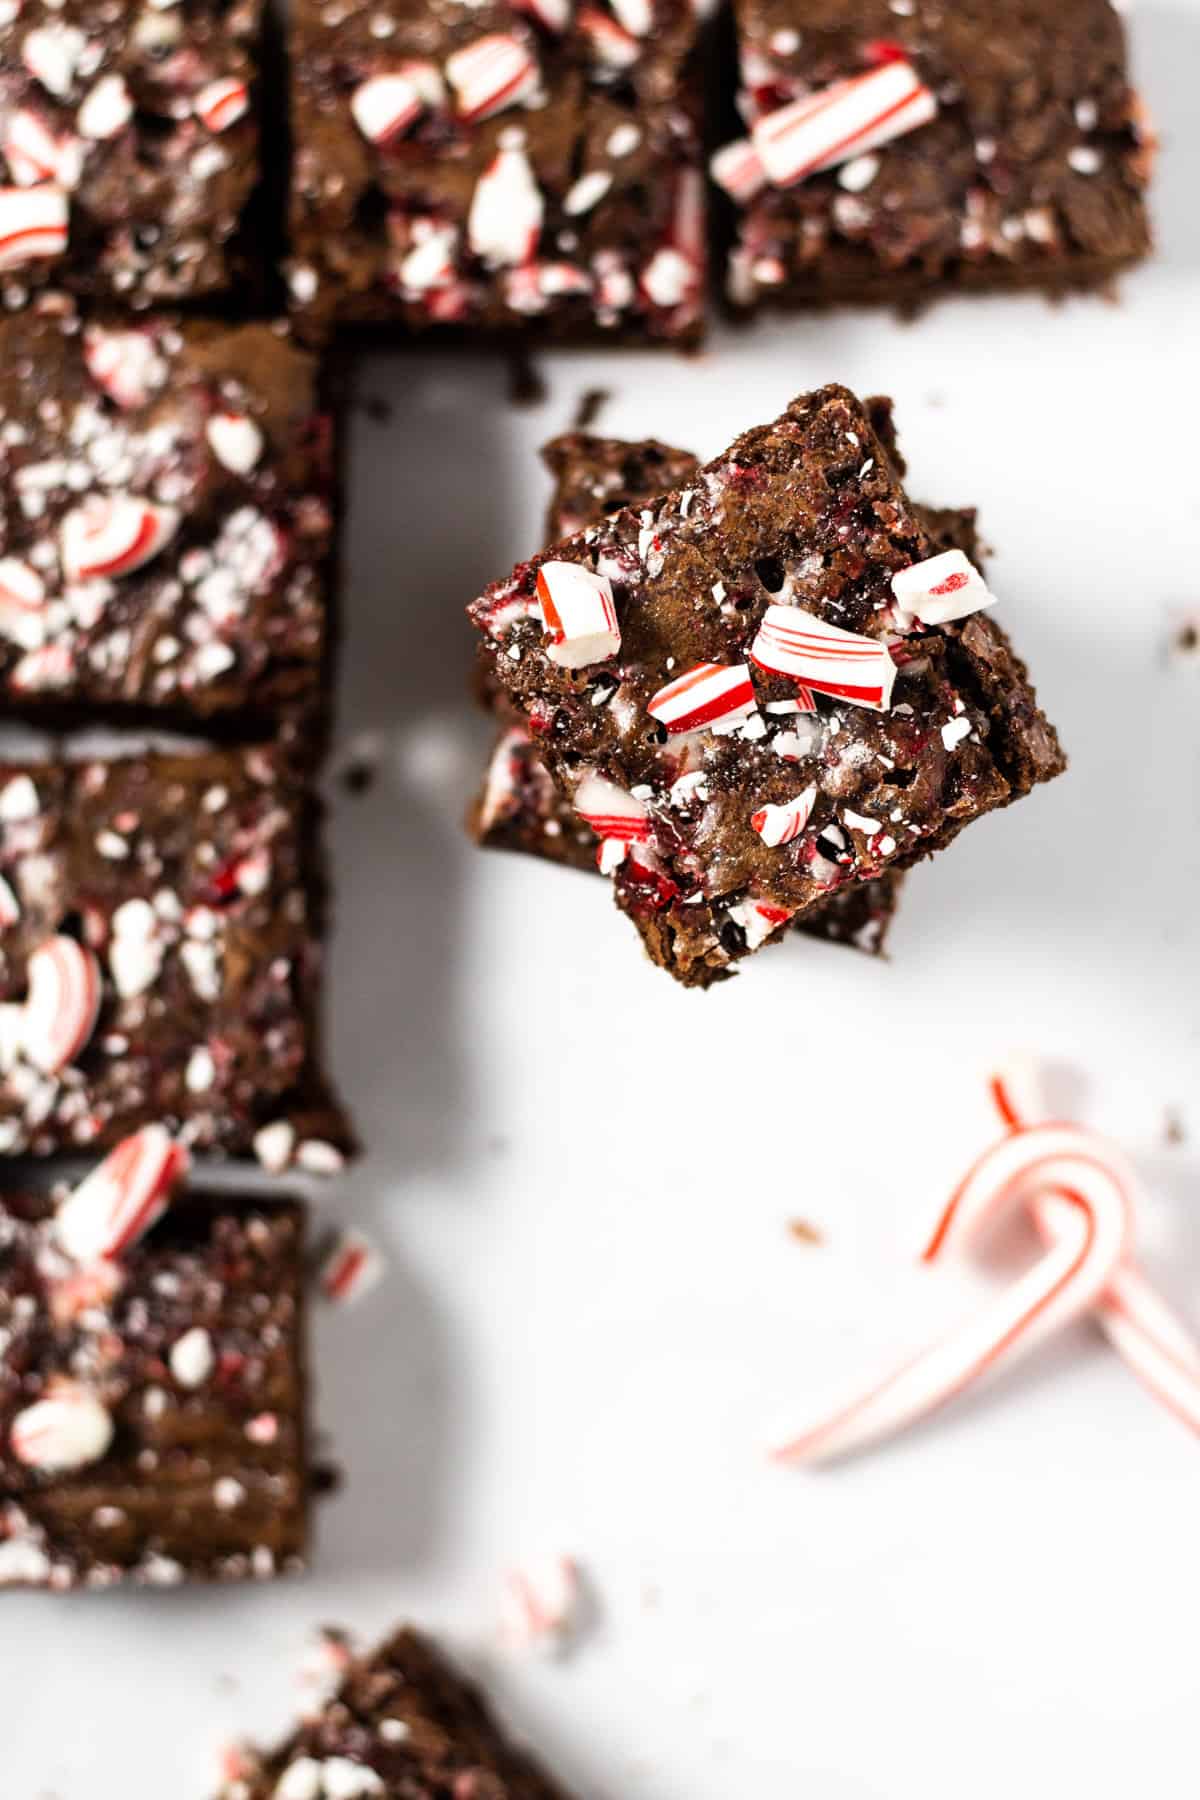
- They have JUST the right amount of peppermint flavor! Peppermint extract and crushed candy canes combine to give these brownies the perfect hint of peppermint – so as not to outshine the rich, chocolate flavor!
How to make peppermint brownies:
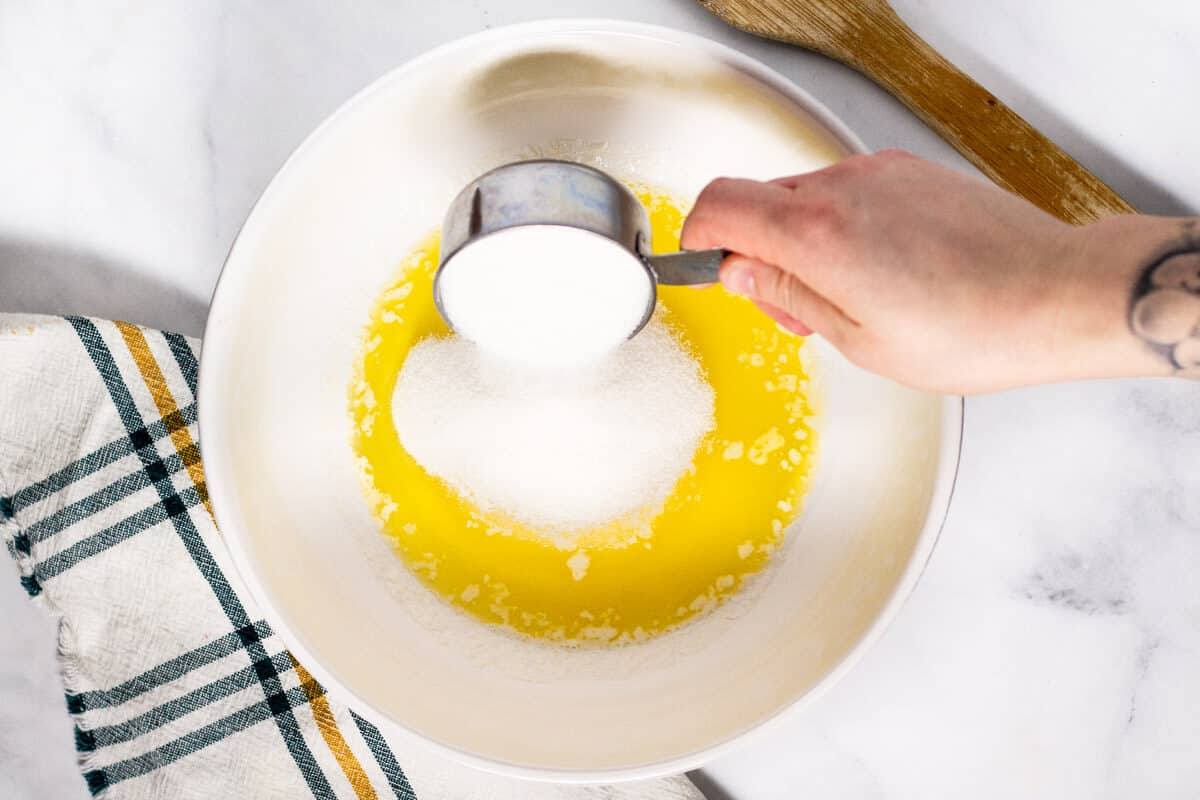
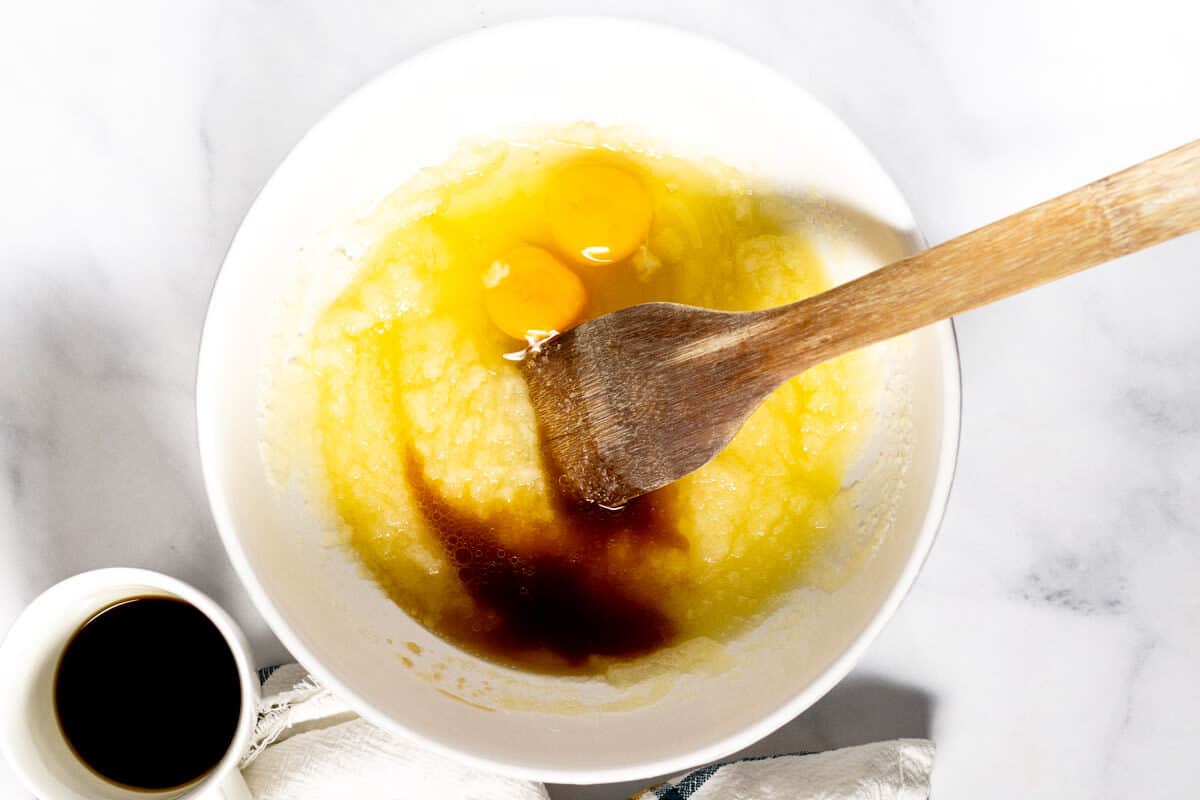
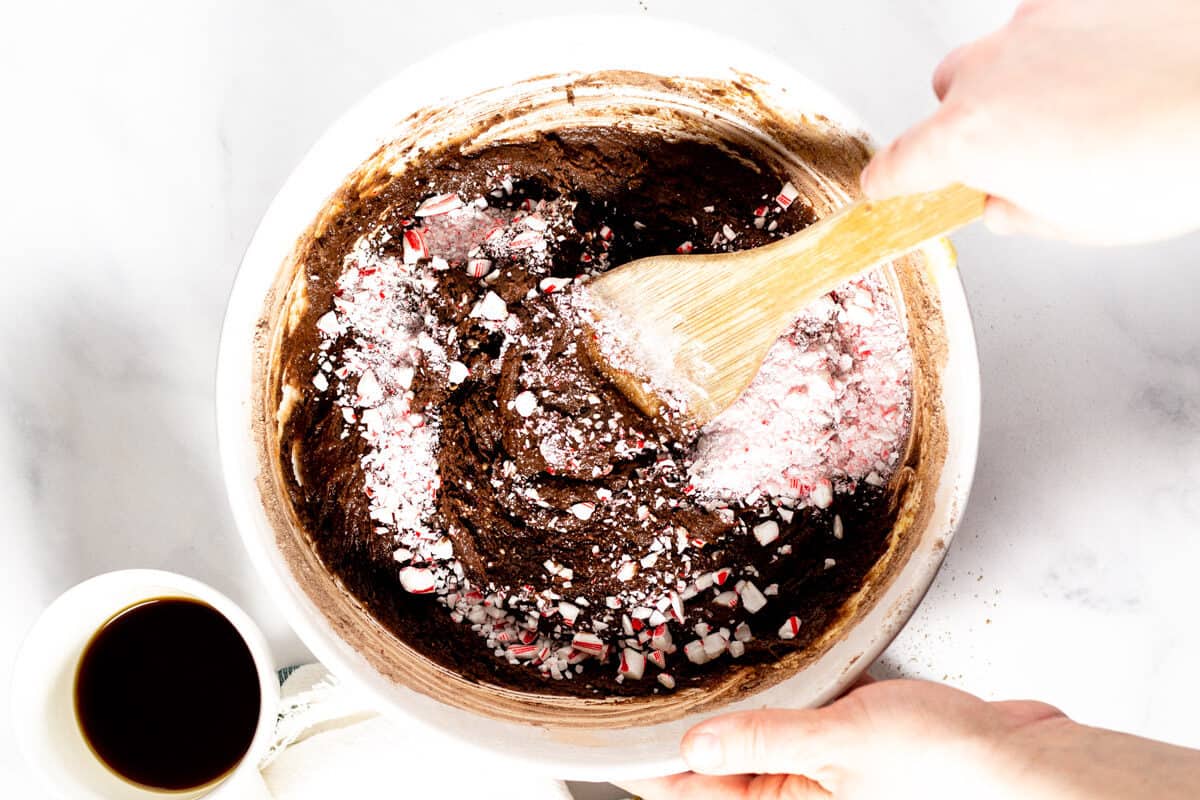
You’ll start by melting a whole stick of butter, then combining it with a big scoop of sugar. Just an FYI, the best brownies ALWAYS start with butter and sugar…
Stir in eggs, coffee and peppermint extract until combined.
Then add flour, cocoa powder and salt.
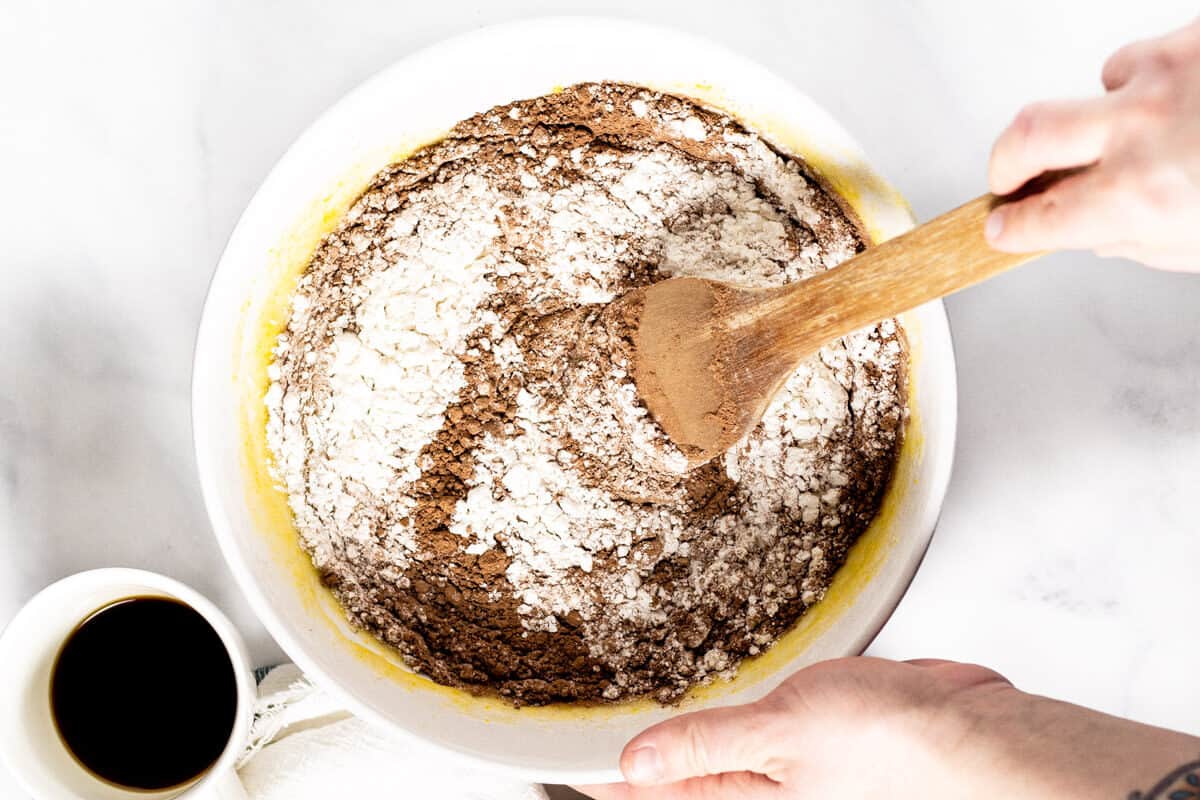
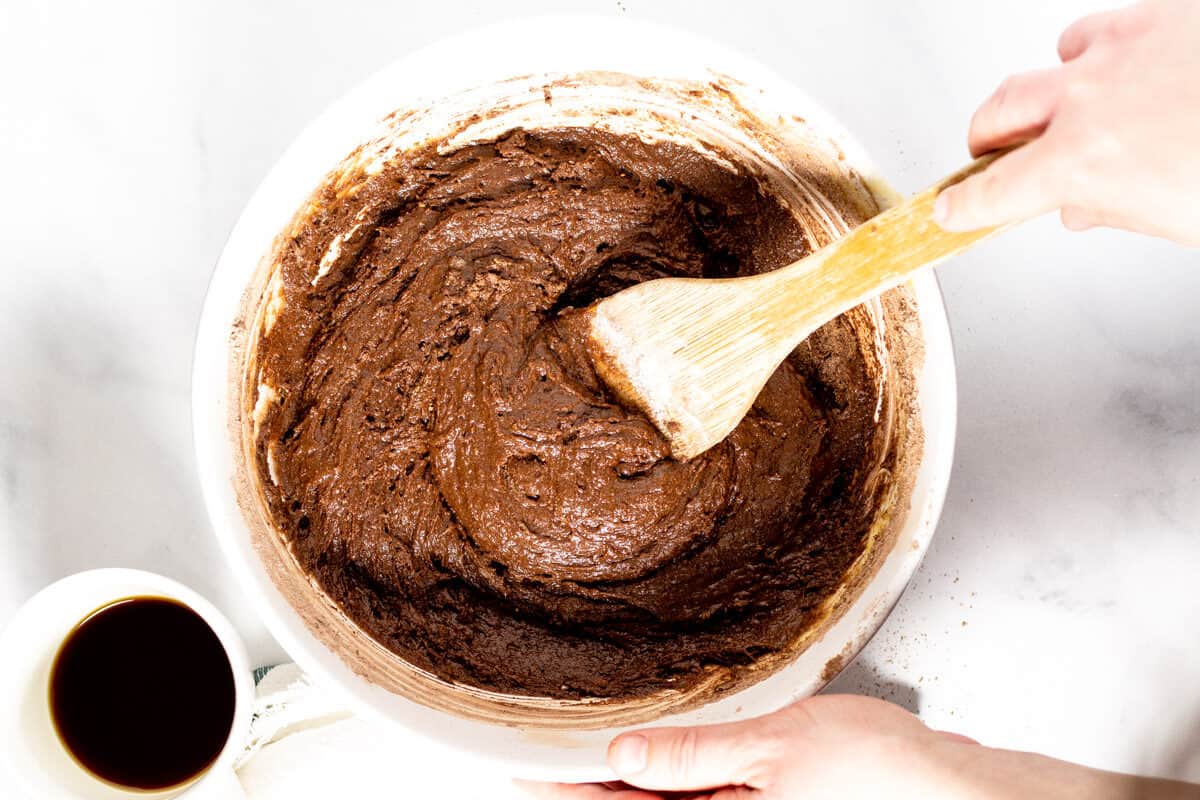
Mix until just combined.
Add half the crushed candy canes.
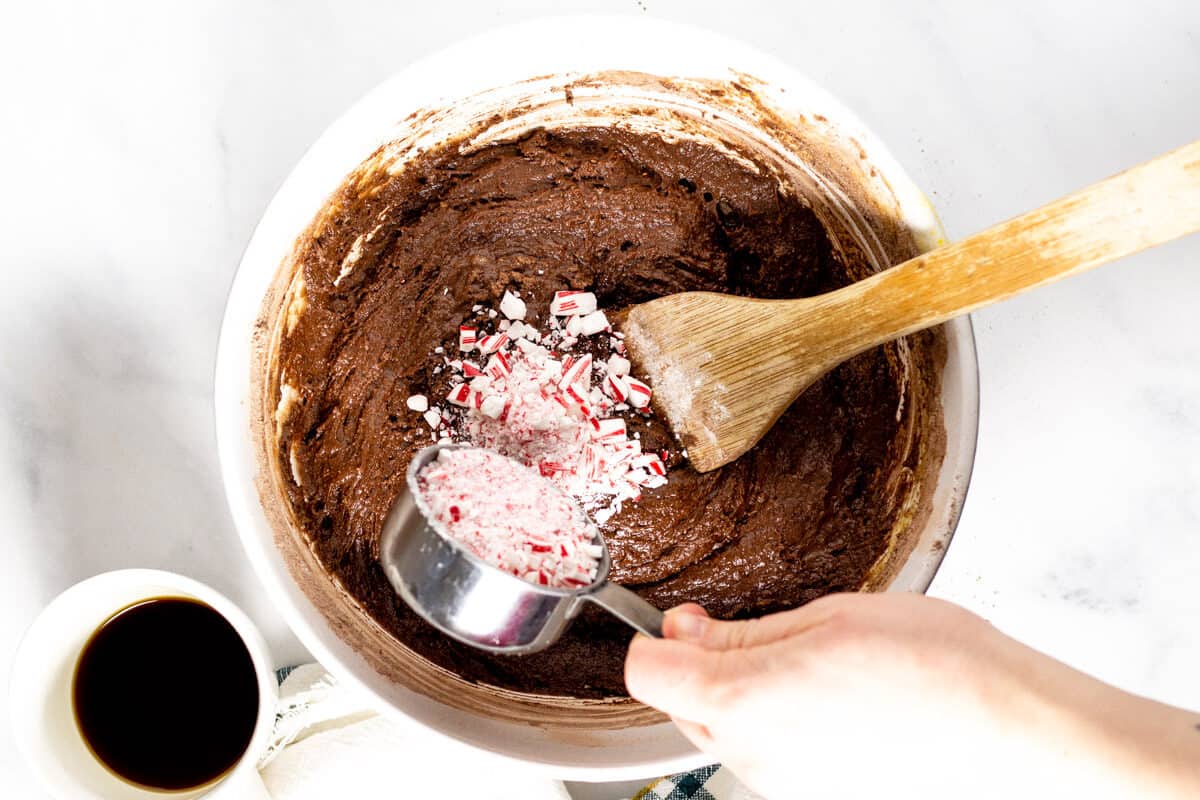
Fold them into the batter until just combined.
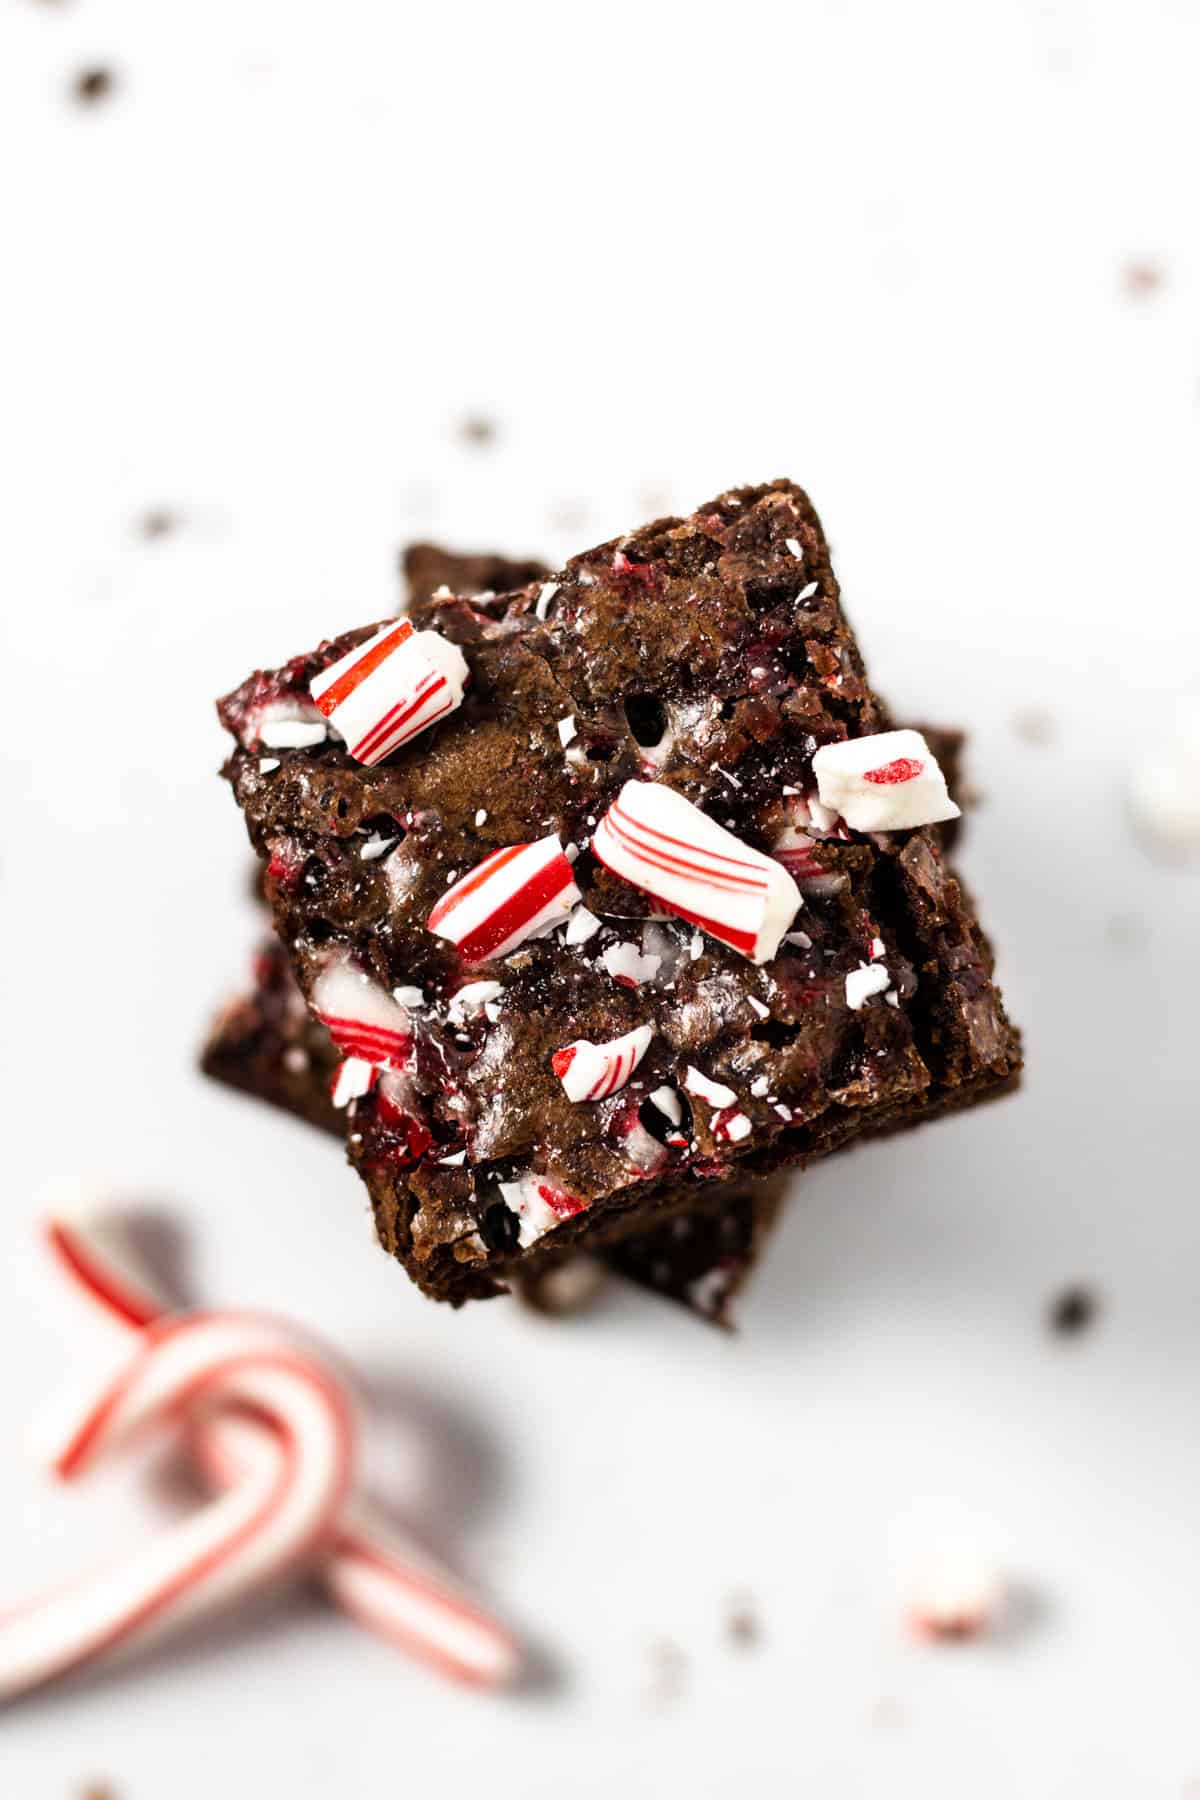
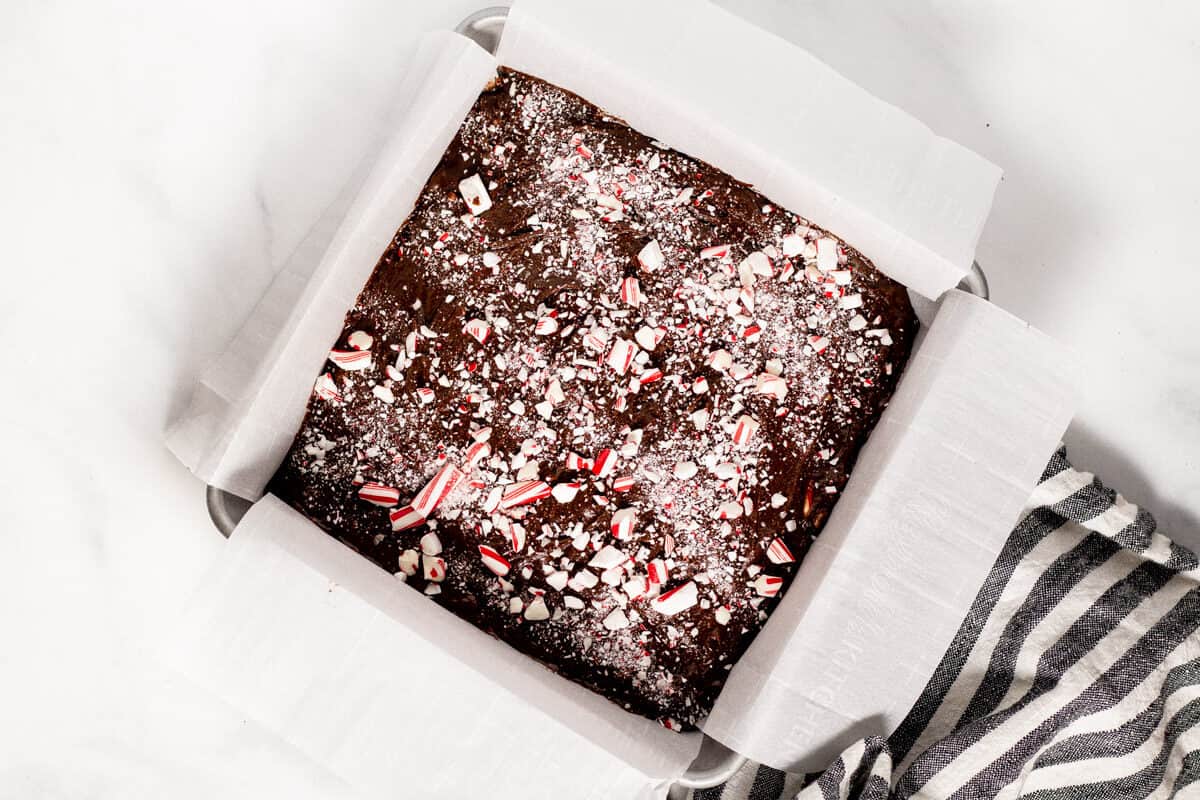
Pour batter into a lined 8×8 baking dish. Sprinkle brownies with crushed candy canes.
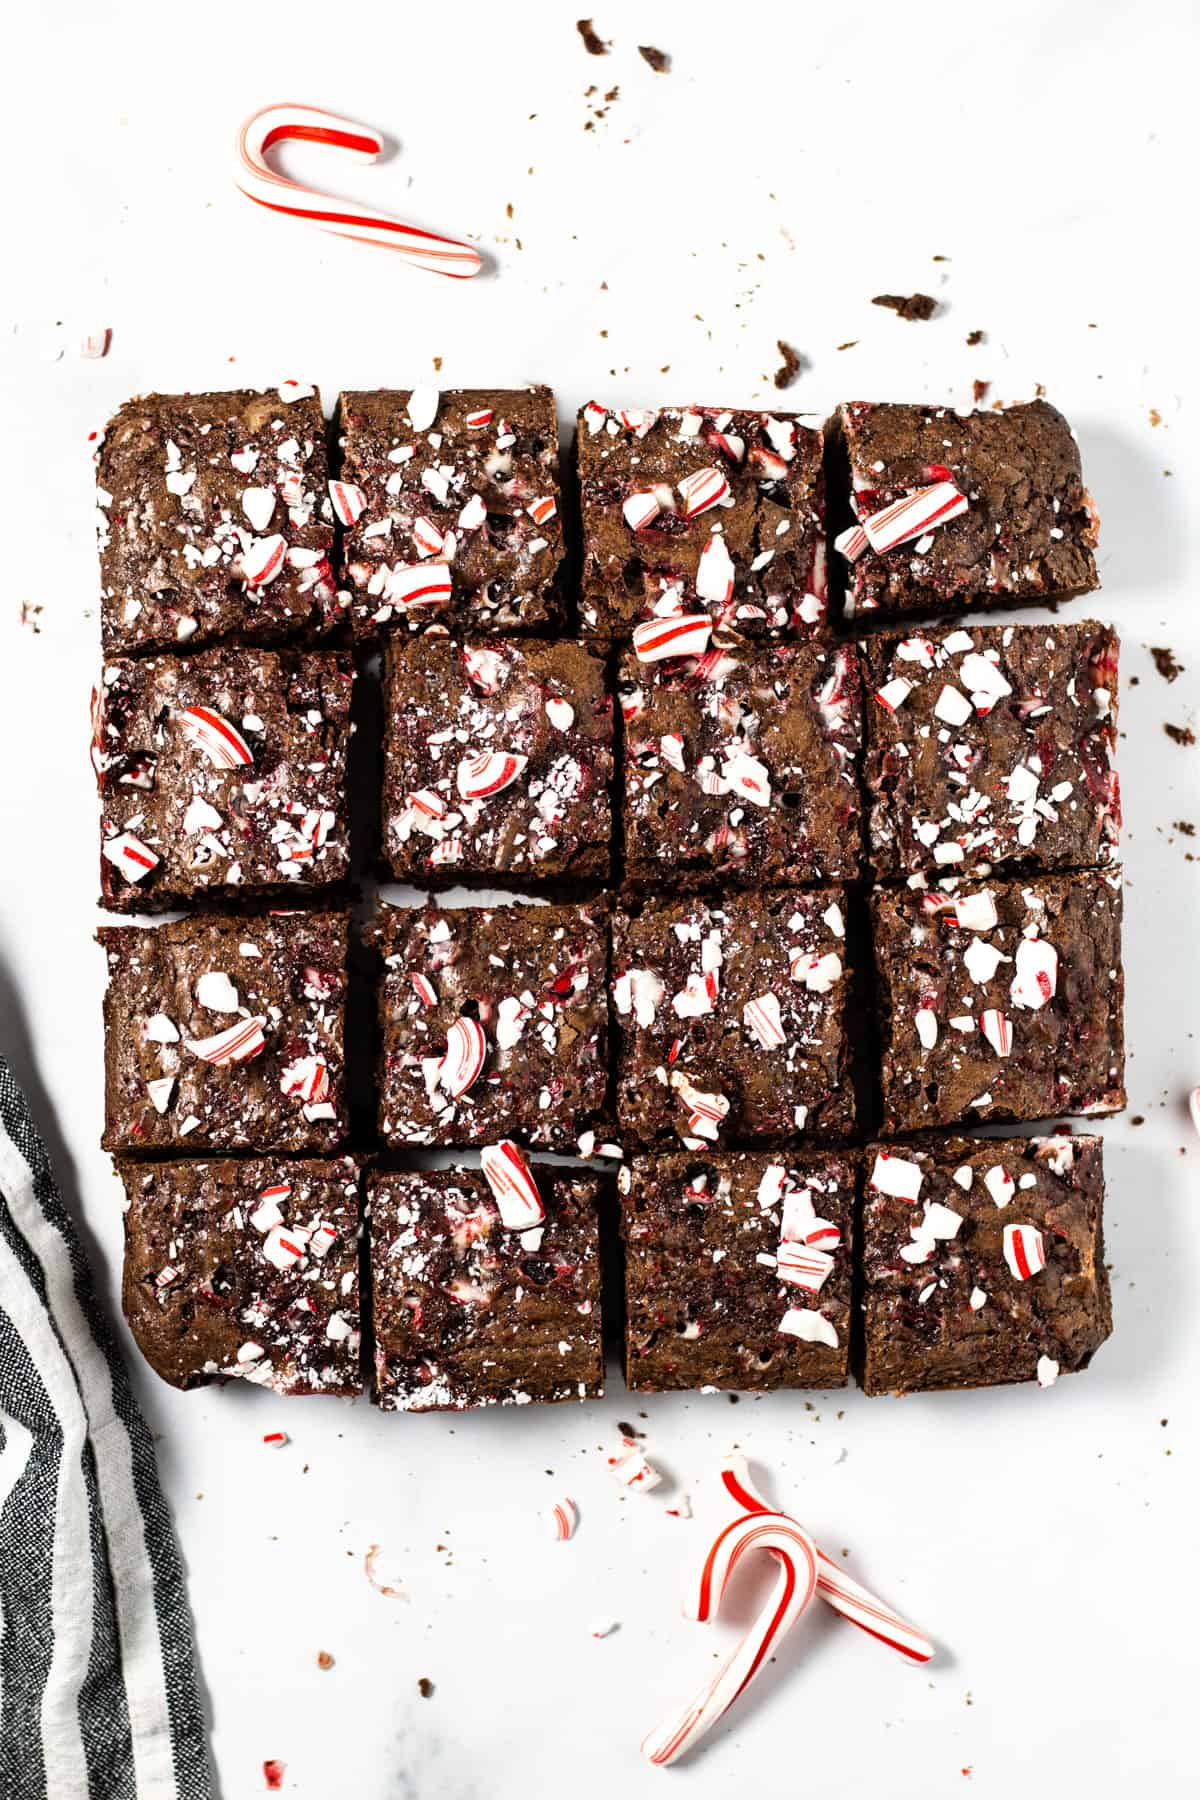
Bake for 20-25 minutes or until the edges start to pull away from pan and the center is set. Let cool for an hour, then slice and serve!
How to know when brownies are done:
- The line between under baked and over baked is a thin one when it comes to these peppermint brownies (and really any brownies in fact). I always err on the side of caution and pull them from the oven before I think they’re done.
- They will continue to bake in the pan even after they have been removed from the oven. And since you’re leaving them in the pan to cool, they’ll continue to bake for quite a while.
- While you can’t use the traditional “clean toothpick” trick that you can with cakes, you can still use a toothpick to help you decide when to pull them from the oven.
- If you stick a toothpick in the center of the pan and it comes out with goopy batter, that tells you the brownies are not done.
- If you stick a toothpick in the center and it comes out with several moist crumbs, they’re done and need to get out of the oven ASAP.
- If you stick a toothpick in the center and it comes out clean, your brownies are over baked. But they’ll still taste delicious! They just may have a bit of a drier texture.
- When the top of the brownies are set and the edges start to pull away from the pan, that’s also a good indication that your brownies are done.
- It’s also really important to remember that all ovens bake differently. So stay close to the oven and keep an eye on things. Check the brownies after 15 minutes and use your best judgement from there.
Frequently asked questions:
- Where can I find peppermint extract?
- Peppermint extract is located right near the vanilla extract in the baking aisle at your grocery store.
- What makes cocoa powder better than melted chocolate in a brownie recipe?
- The combination of cocoa powder and butter gives these brownies the most rich, luxurious flavor with the perfect chewy texture. This combination of flavor and texture is not achievable with melted chocolate.
- Melted chocolate instead of cocoa powder in a brownie recipe will almost always give you a fudgier (not a word, I know) texture. I am not a fudge fan and prefer a chewier brownie.
- Can I make candy cane brownies ahead of time?
- Yes! The peppermint brownies should really cool for at least an hour or two before serving, so it’s ideal that you do make them at least a few hours ahead of time.
- You can store them in an airtight container on the counter for up to a week. But clearly, they will never last that long!
- Can I freeze peppermint brownies?
- Sure! Freeze baked and cooled brownies in an airtight container for up two months. The day before eating them, thaw for 12-24 hours in the fridge.
- I cannot guarantee that they will taste exactly the same as fresh baked brownies, but they’ll be pretty dang close!
More Easy Dessert Recipes

Did you love this recipe?
Please leave a 5-star rating and review below!
Want to save this recipe?
Enter your email below & we’ll send it straight to your inbox. Plus you’ll get great new recipes from us every week!
Easy Peppermint Brownies

These peppermint brownies are the perfect holiday treat for your family! They come together in one bowl and you’ll have them in the oven in 10 minutes. The hardest part will be waiting for them to cool!
- Prep Time: 10 minutes
- Cook Time: 25 minutes
- Total Time: 35 minutes
- Yield: 12 brownies 1x
- Category: Dessert
- Method: Baking
- Cuisine: American
Ingredients
- 1 stick butter, melted and cooled slightly
- 1 cup sugar
- 2 eggs
- 2 tablespoons strong brewed coffee, at room temperature
- 2 teaspoons peppermint extract
- 3/4 cup flour
- 1/2 cup cocoa powder
- pinch of Kosher salt
- 1/2 cup crushed candy canes
Instructions
-
Preheat oven to 350 degrees.
-
In a large bowl stir together butter and sugar until combined.
-
Stir in eggs, coffee and peppermint extract until combined.
-
Then add flour, cocoa powder and salt and mix until just combined.
- Fold in half of the crushed candy canes.
-
Line an 8×8 baking dish with parchment paper and pour batter into the pan. Use a spatula to spread it in an even layer.
-
Sprinkle the brownies with most of the remaining crushed candy canes, reserving a 1/2 tablespoon or so to sprinkle on after they have baked if desired.
-
Bake for 20-25 minutes or until the edges start to pull away from pan and the center is set.
-
Sprinkle with remaining crushed candy canes and let cool for at least an hour before slicing.
Nutrition
- Serving Size: 1 brownie square
- Calories: 186
- Sugar: 17.2 g
- Sodium: 14.5 mg
- Fat: 9 g
- Carbohydrates: 25.7 g
- Fiber: 1.6 g
- Protein: 2.7 g
- Cholesterol: 51.2 mg
This post was originally published in December of 2018. It was updated in November of 2019 to include process shots, step-by-step instructions and tips for making the best peppermint brownies every single time!
These are delicious! I made them for the third time, adding baking powder which caused them to rise unevenly and turn out a lil more cakey. I liked this texture, fluffy brownies are always a win, but I’ll leave it out next time for that fudgy consistency 🙂
Good to know – incase anyone is looking for a more cake-like texture. I’m so glad you’ve enjoyed this recipe, Kayla! Thanks for taking the time to leave a review 🙂
Would it work to mix up the batter but bake the brownies the next day?
I don’t think it would work well, unfortunately. These brownies seem to do best when they’re mixed and then baked right after. Good question, Julie!
I read the recipe above but do not see flour in the ingredients but it is in the instructions. How much flour do you add to this recipe?
Flour is listed as the 6th ingredient in the recipe card. You use 3/4 of a cup. Hope that helps!
Why line the pan with parchment paper? This made it very hard to spread batter and I have no idea how they’ll be after baking. Can’t you just grease the pan?
The parchment paper just makes it easier to get the brownies out of the pan. You can grease the pan if you prefer.
When you say stick of butter in the recipe, do you mean a half cup or stick or a one cup stick?
One stick of butter is half a cup. I’ve never seen a 1 cup stick of butter – but I suppose there’s a first time for everything! 🙂
So true!!