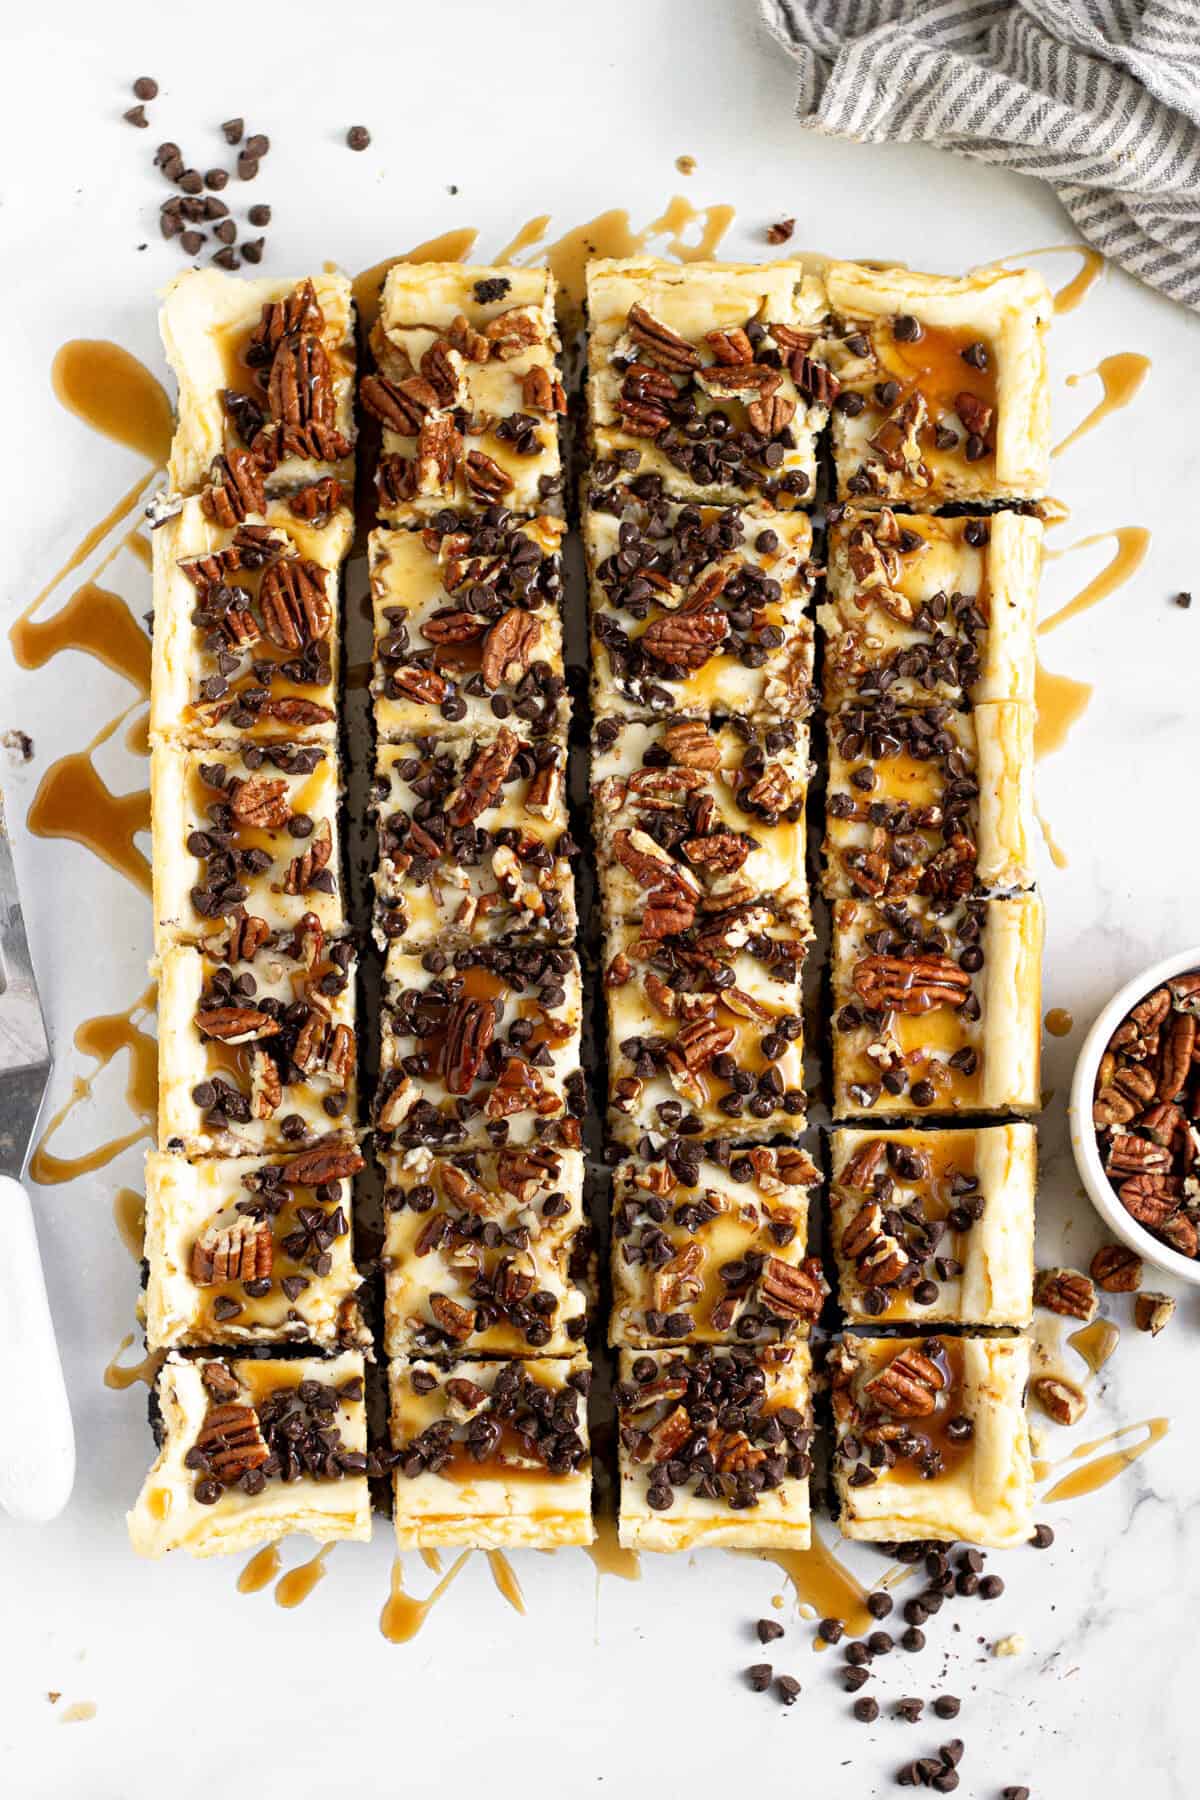
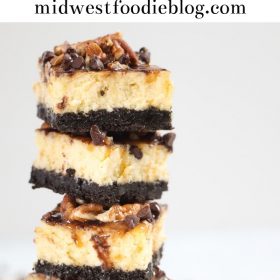
The Best Turtle Cheesecake Bars
12 ingredients and less than an hour is all it takes to make the most delicious, simple dessert you’ll ever eat! Baking these cheesecake bars in a 9×13 pan is the secret to feeding a crowd without any fancy pans or water baths. Cheesecake doesn’t have to be difficult!
I feel like cheesecake has gotten this reputation as being a really difficult dessert. There’s the fancy springform pan, the heavily debated use of the tricky water bath, and the low cooking temperature, mixed with the fact that cheesecake is basically cooked through when it’s still jiggly (and looks like it’s not cooked through). So today, I’m delivering the easiest, most simple, foolproof turtle cheesecake bars. EVER!
You Will Love These
- They’re quick and easy! There’s no fancy springform pan, no water bath. No muss, no fuss. Just simple, straightforward, delicious cheesecake bars! If you need more simple dessert recipes, be sure to check out my Chocolate Peanut Butter Balls, Pumpkin Cheesecake Bars, or Caramel Apple Tart.
- They’re great for a crowd! Cheesecake is always a hit at any family get-together or party. These cheesecake bars bake in a 9×13 pan which means everyone at the party can have a slice!
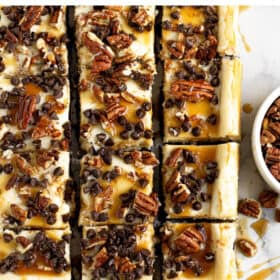
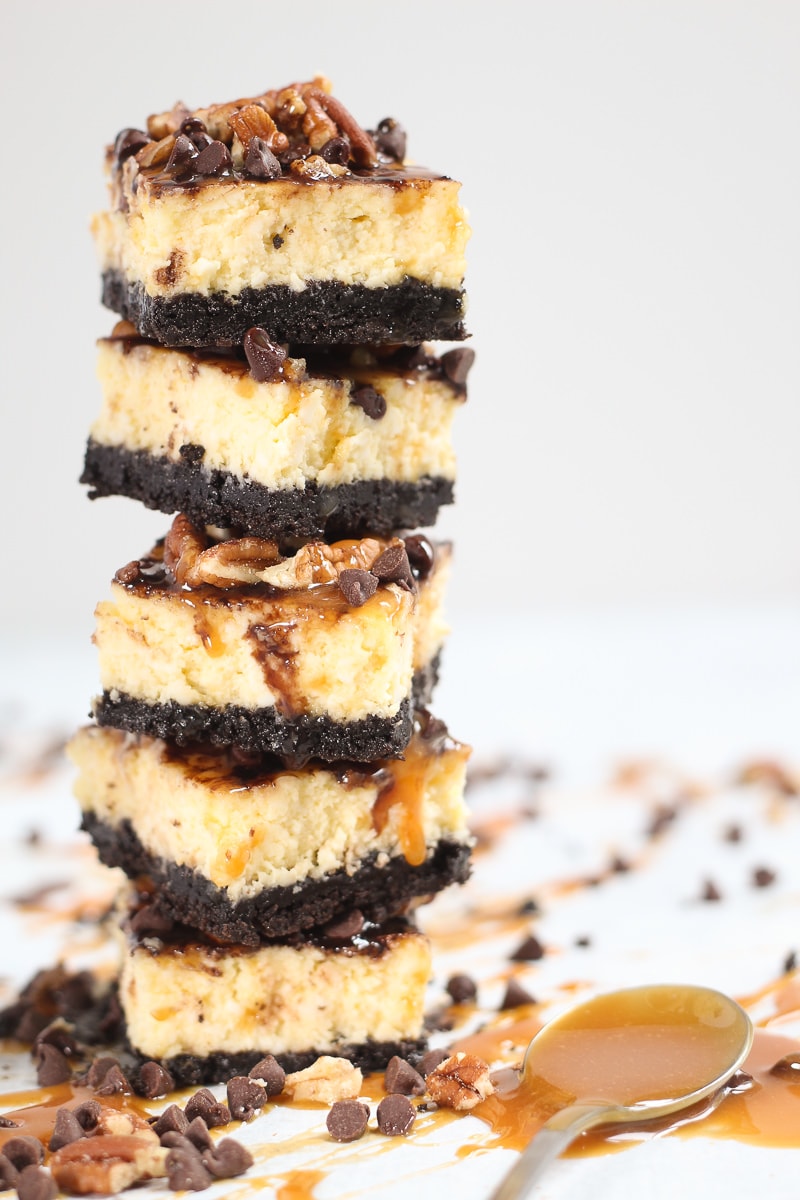
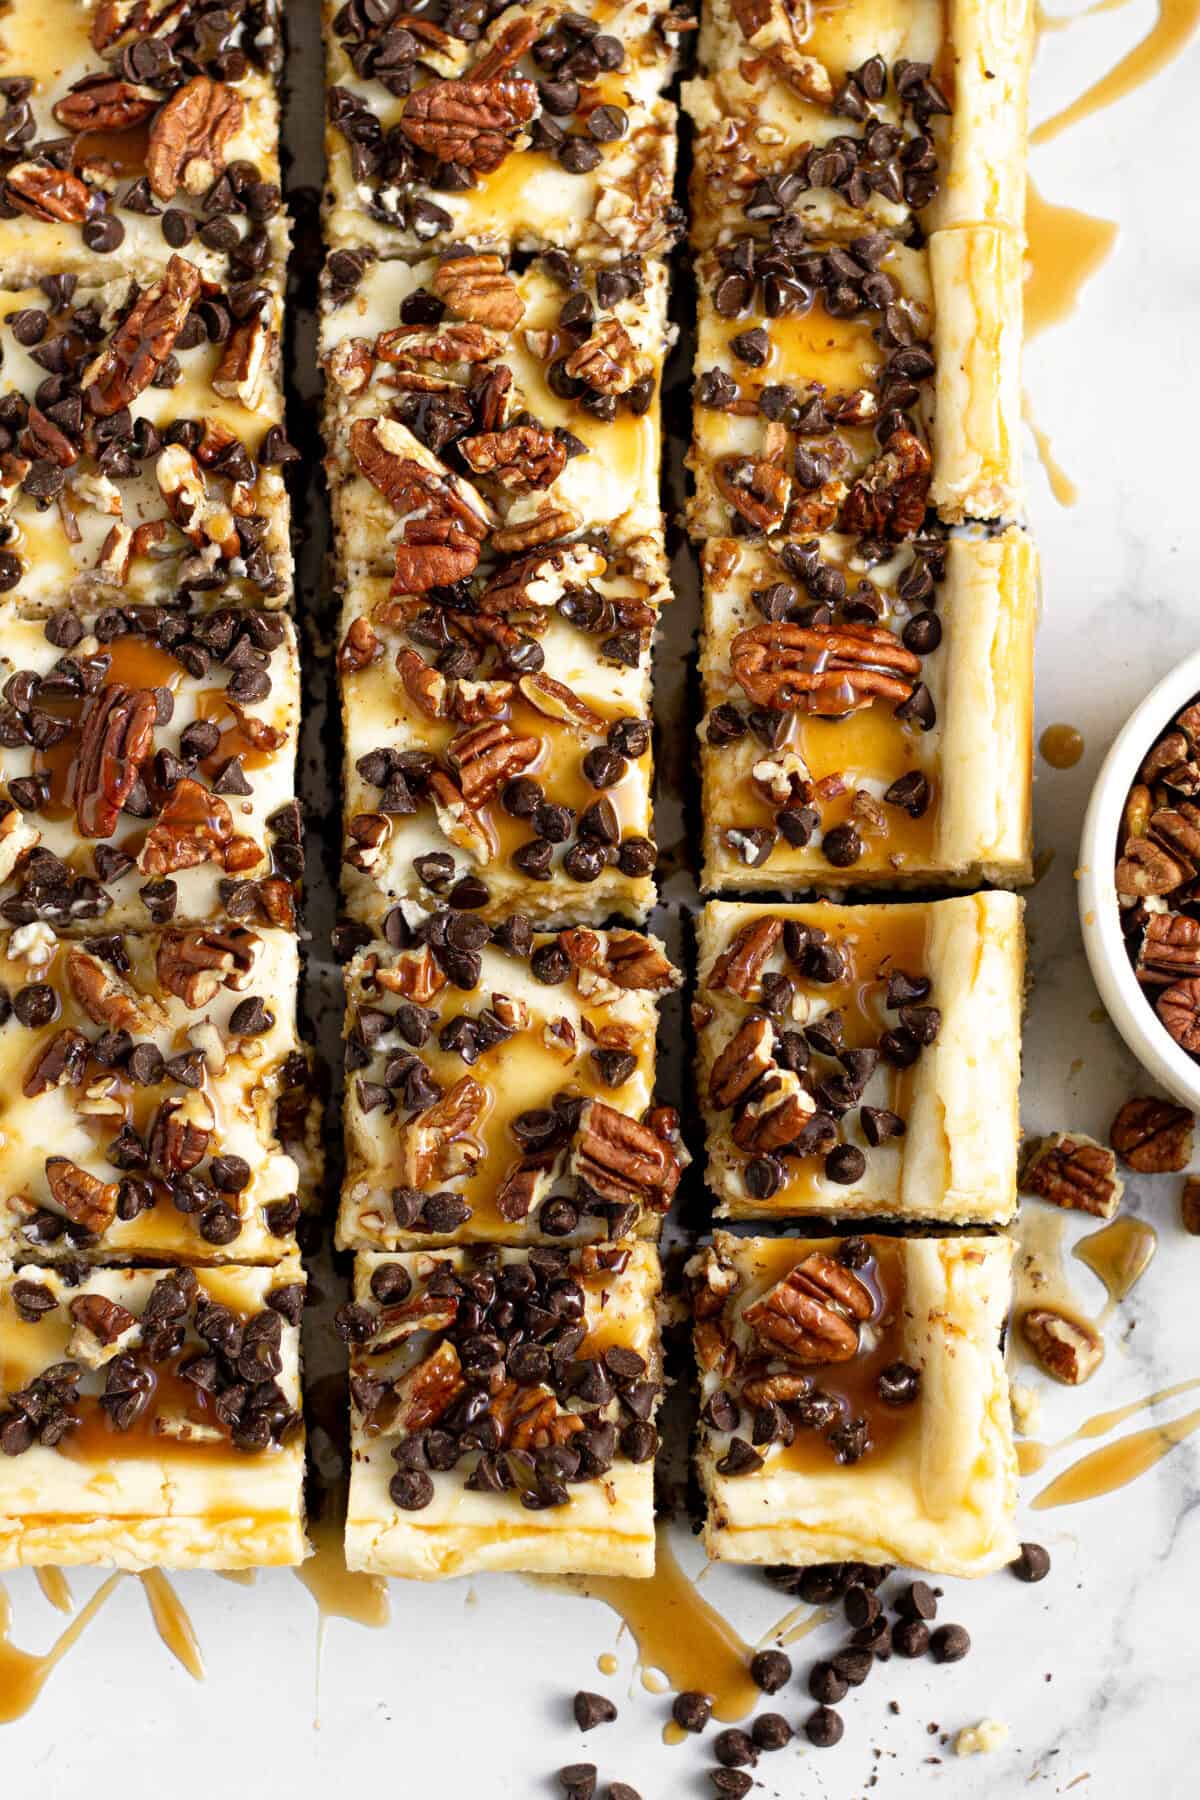
- The flavors are amazing! There’s a time and a place for classic plain cheesecake. But I will ALWAYS choose Oreo cookie crust piled high with creamy cheesecake filling, pecans, caramel, and chocolate chips over a plain Jane cheesecake every single time!

Ingredients and Substitutions
- Oreo Cookies — The crust for these easy turtle cheesecake bars are everyone’s favorite chocolate sandwich cookie — Oreos. And leave the cream filling! Alternatively, you could use whichever brand of this style of cookie you like, or change it up with vanilla Oreos or graham crackers (with some sugar added).
- Butter — Melted salted butter helps bind the Oreo crumbs together to make the crust for these turtle cheesecake bars.
- Cheesecake Filling — All you need to make the easiest and best cheesecake filling EVER is cream cheese softened to room temp, sour cream (also at room temp), granulated sugar, pure vanilla extract, a pinch of Kosher salt, and two eggs at room temp. Stick with full-fat cream cheese and sour cream for this dessert so that you end up with a thick, velvety smooth cheesecake batter.
- Toppings — To make this a traditional turtle cheesecake, top the bars with caramel sauce, mini chocolate chip morsels, and chopped pecans. If you’re not a fan of pecans, you could use whichever nut you prefer, like peanuts or cashews. Feel free to use chocolate syrup or chocolate ganache to top the cheesecake layer instead of chocolate chips!
Instructions
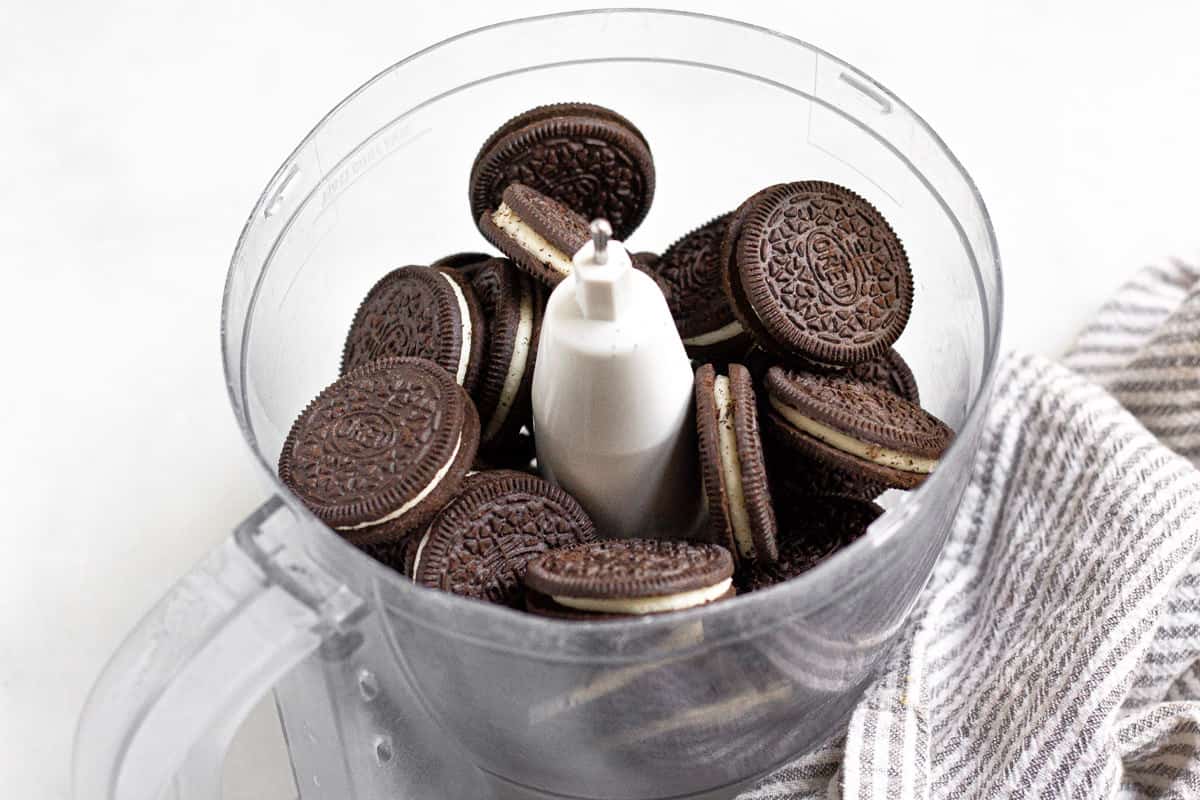
Add Oreos to a food processor.
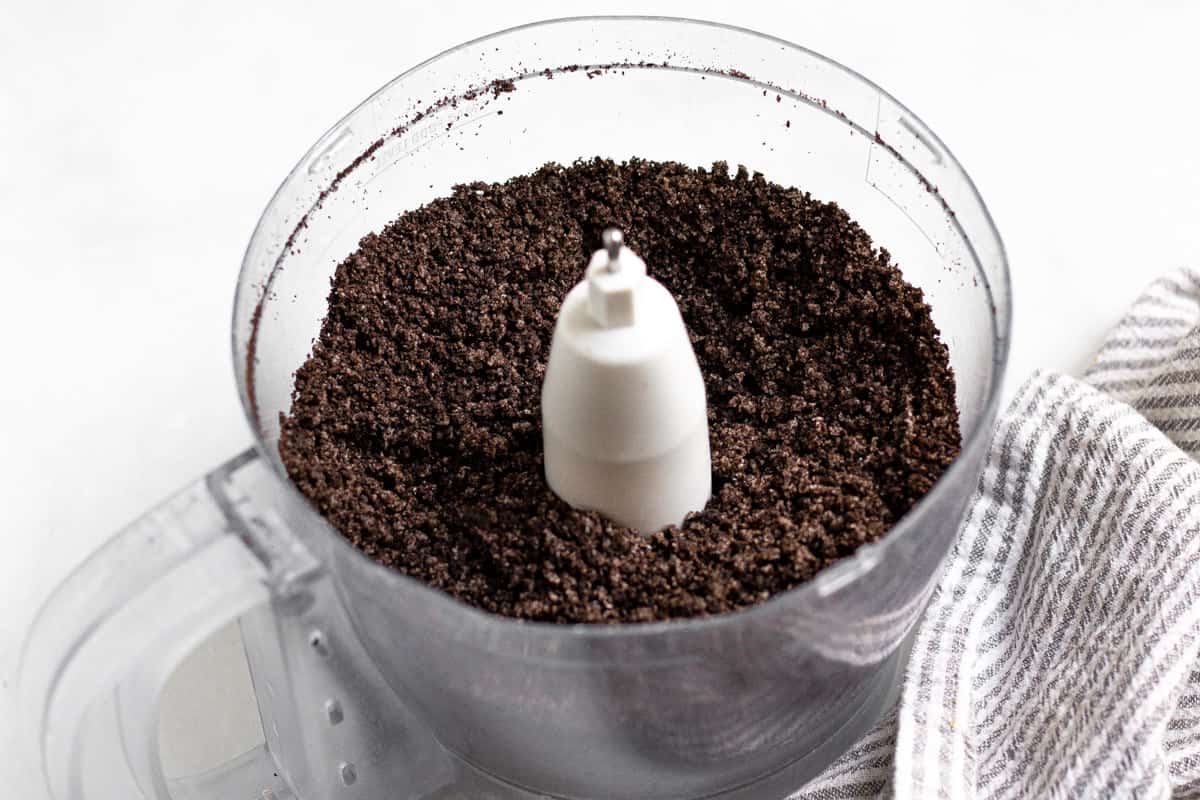
Pulse until the Oreos are crushed into a crumb texture.
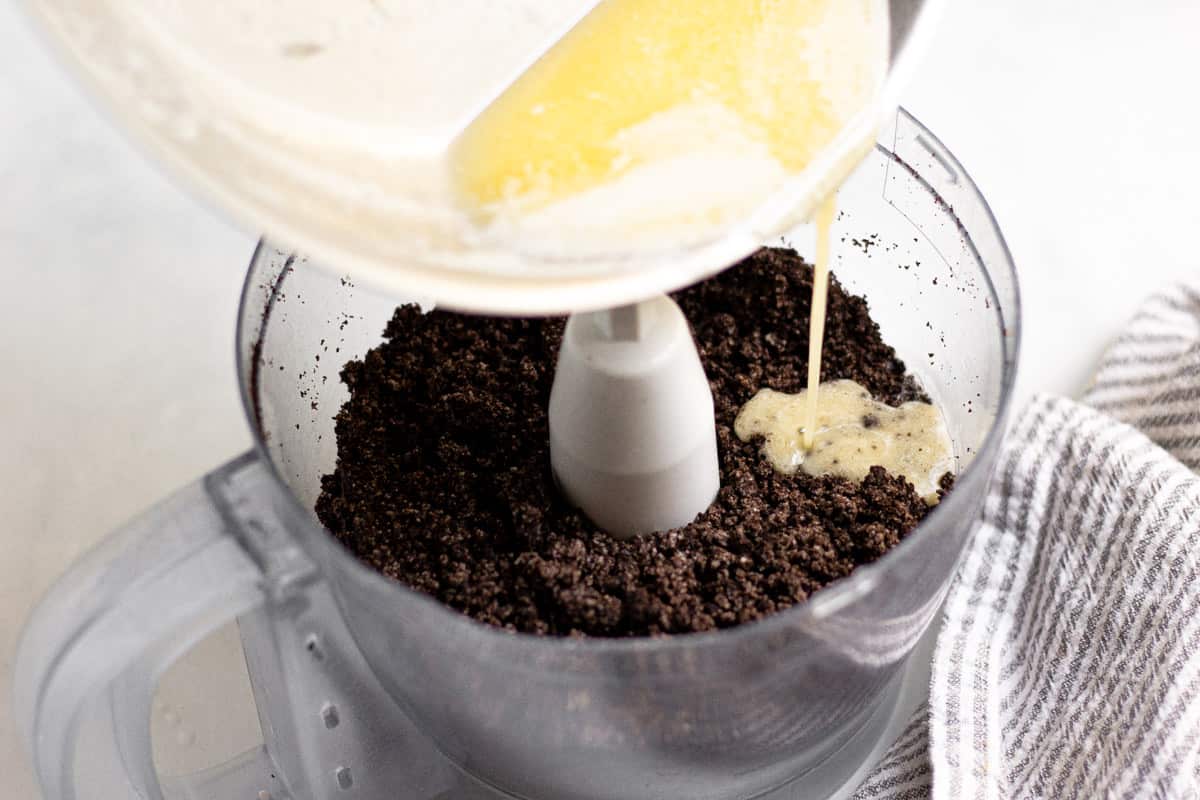
Add butter and pulse until the butter is well incorporated with the Oreos.
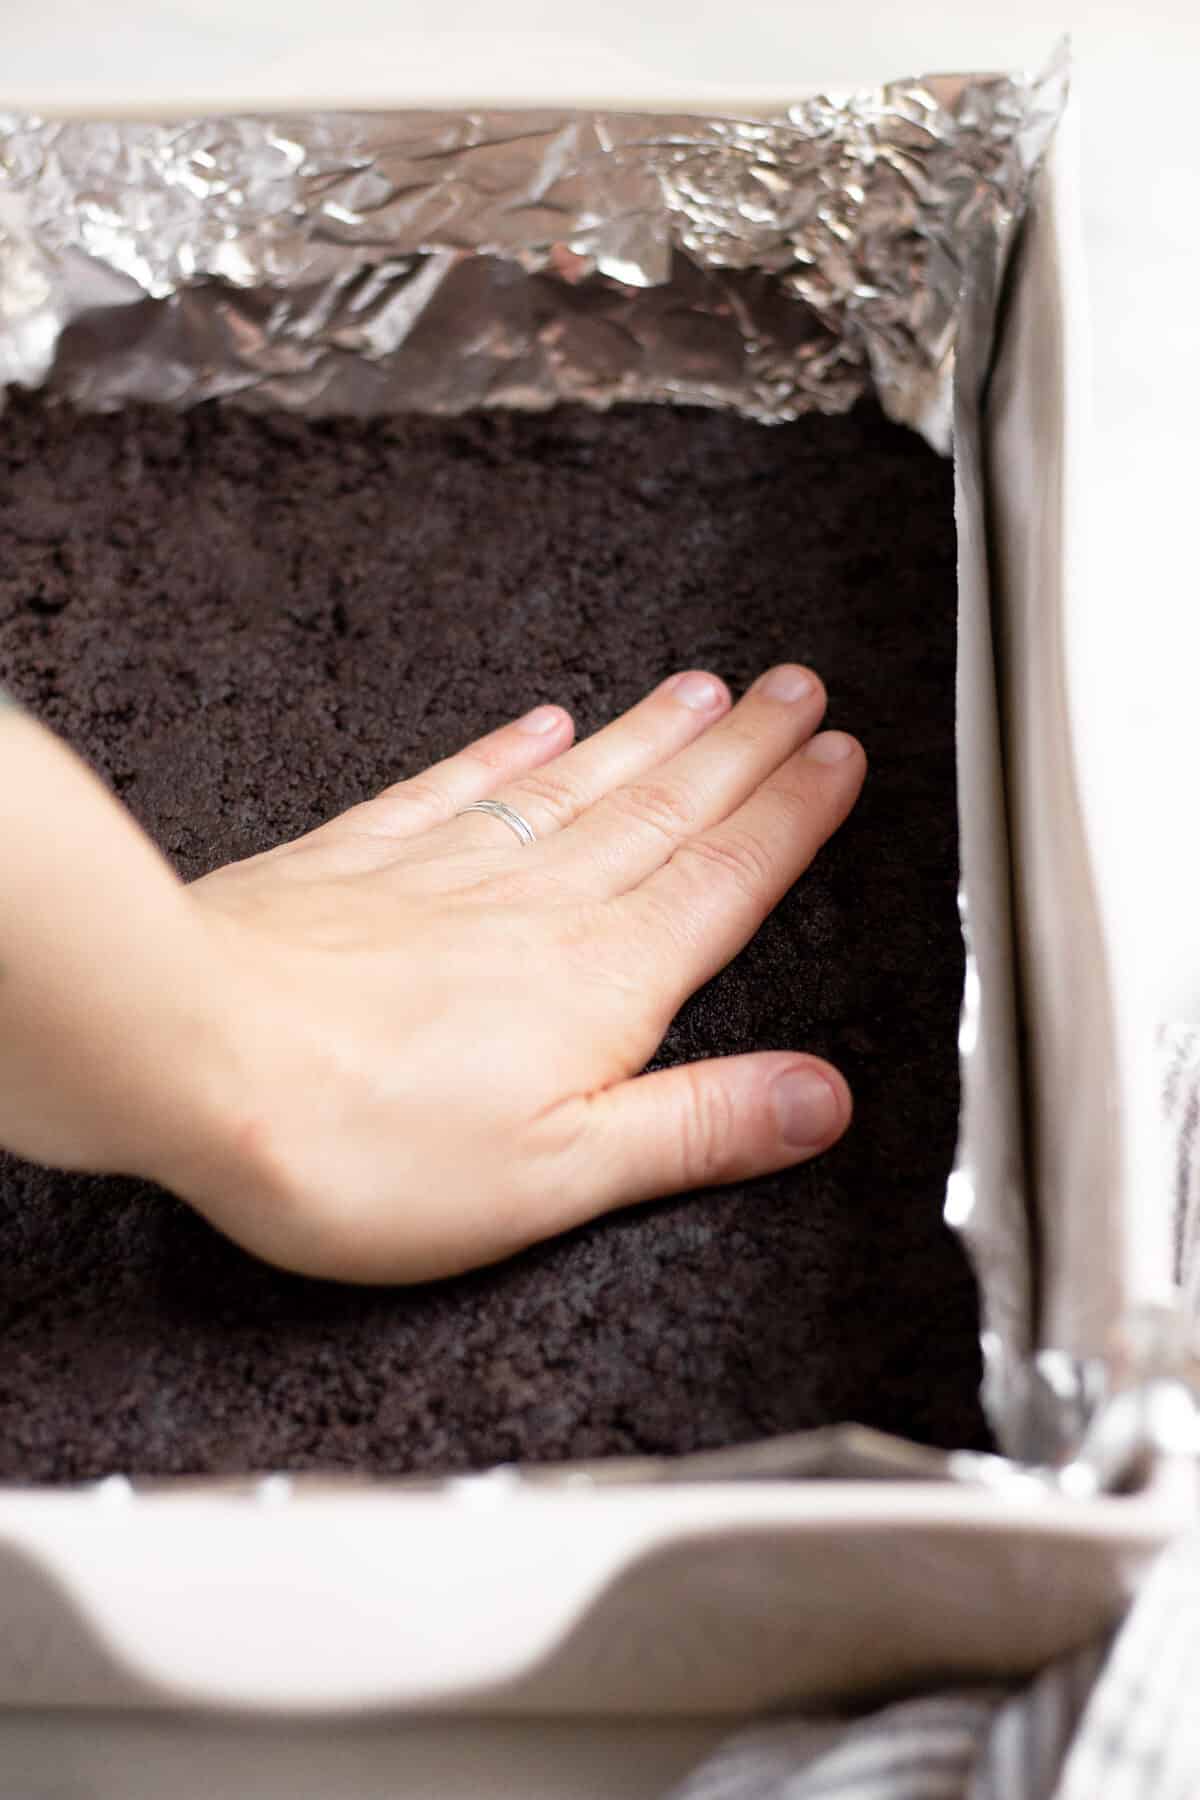
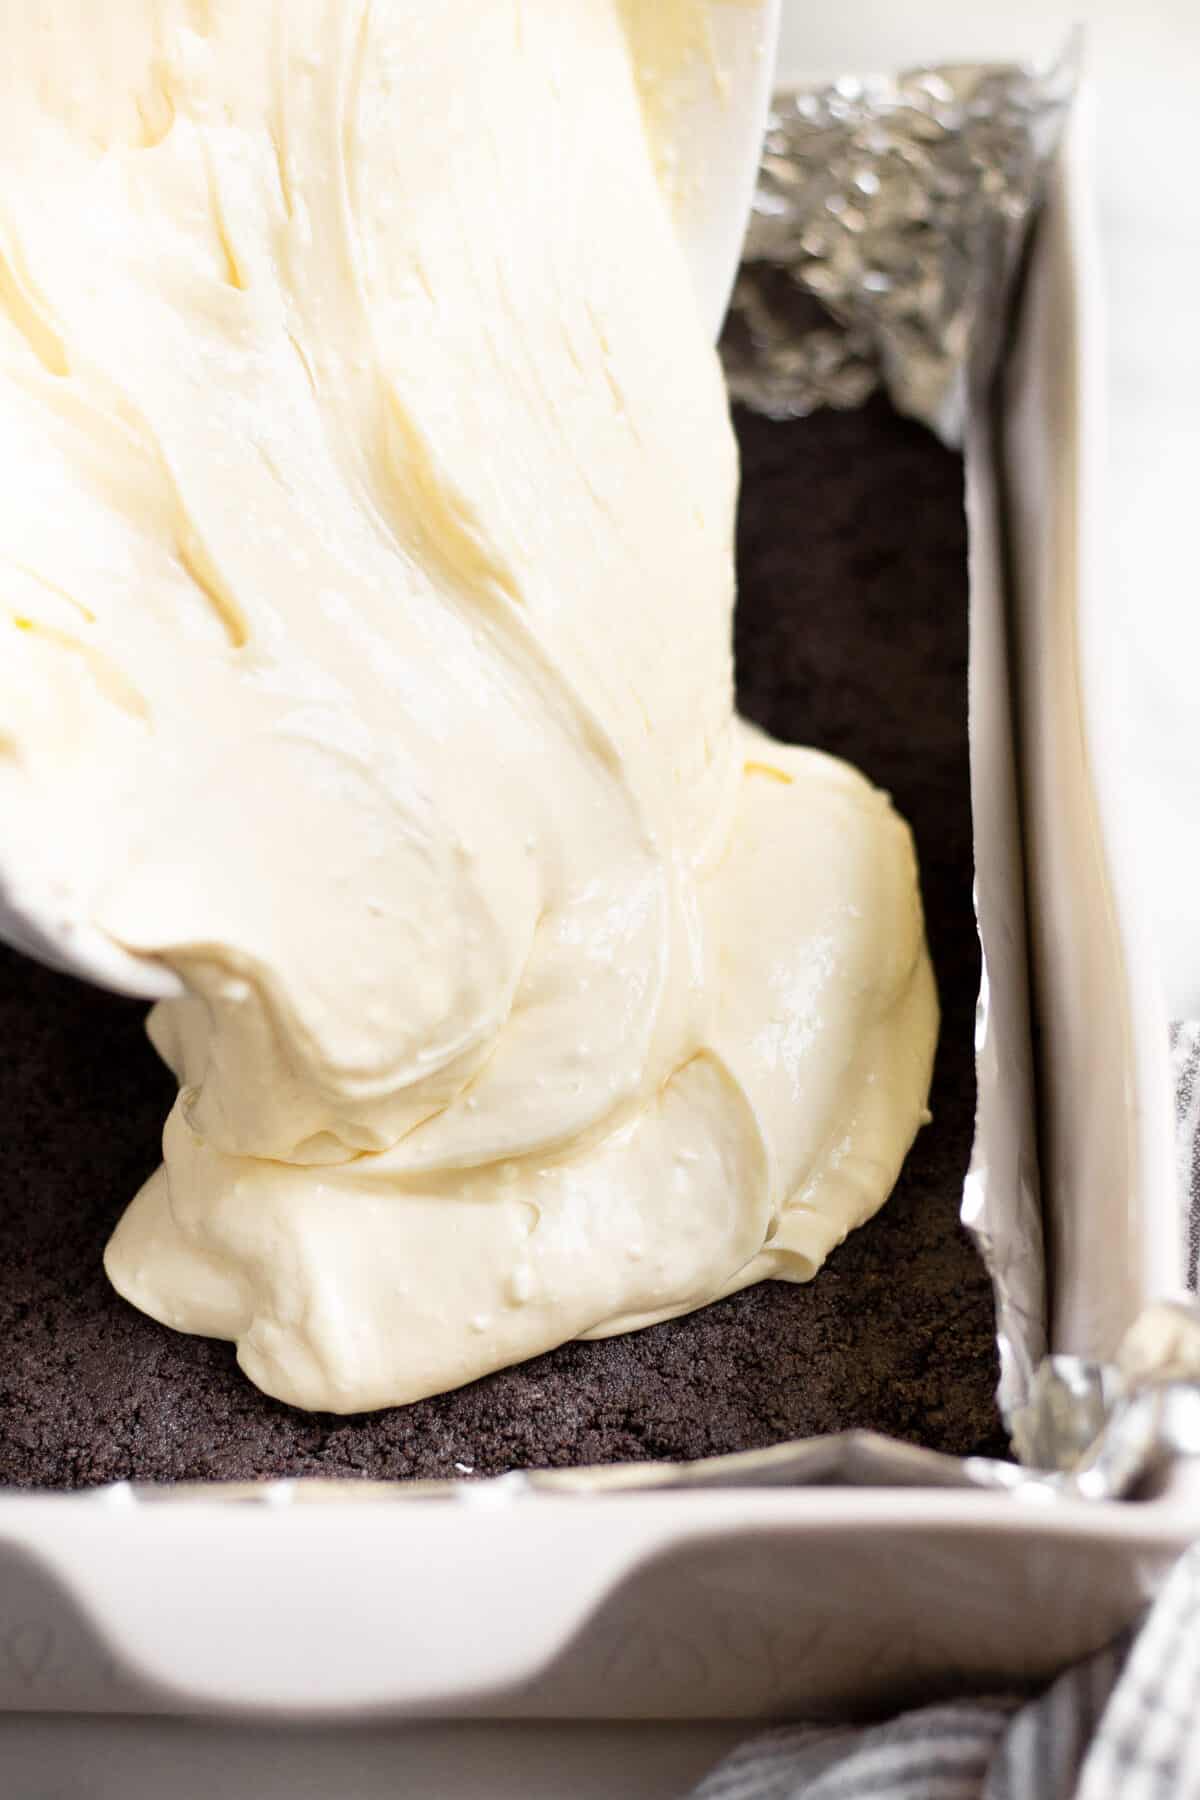
Press mixture in an even layer across the bottom of a foil lined 9×13 pan.
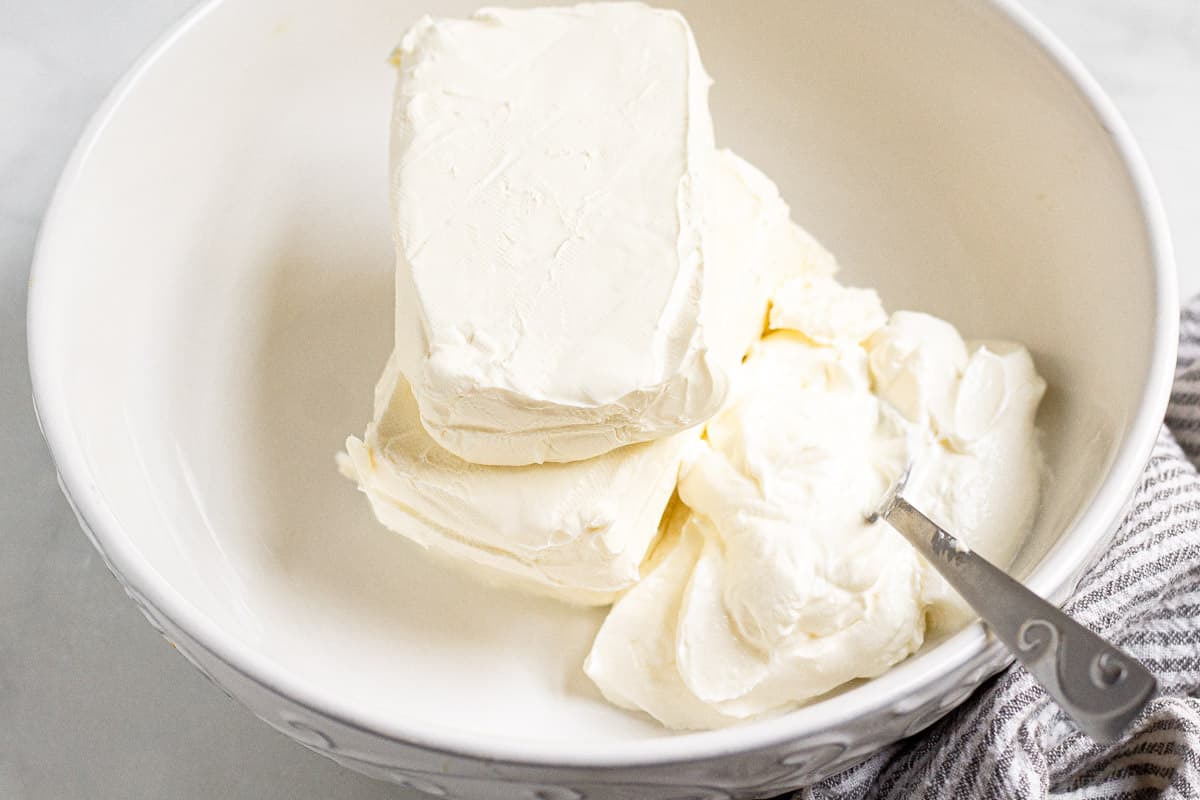
Use a handheld mixer to combine cream cheese and sour cream in a large bowl until mostly smooth.
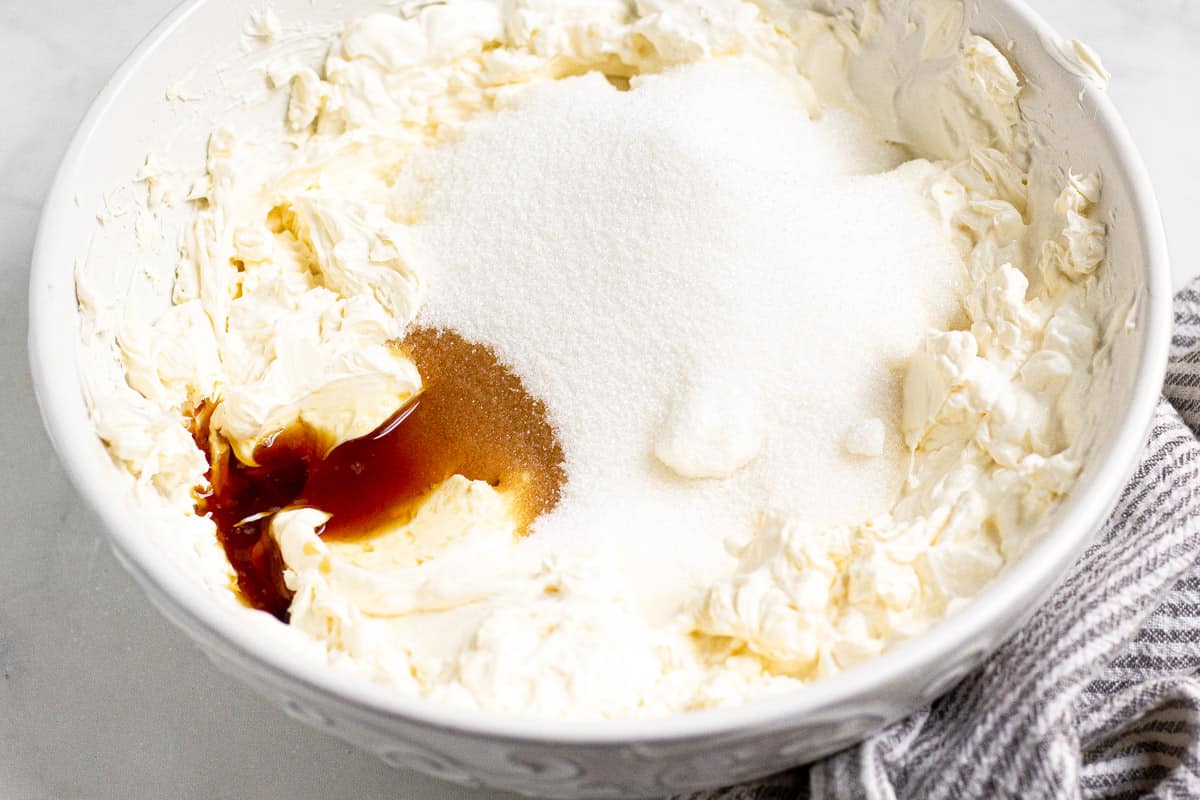
Stir in sugar and vanilla and mix until combined.
Then add eggs and salt.
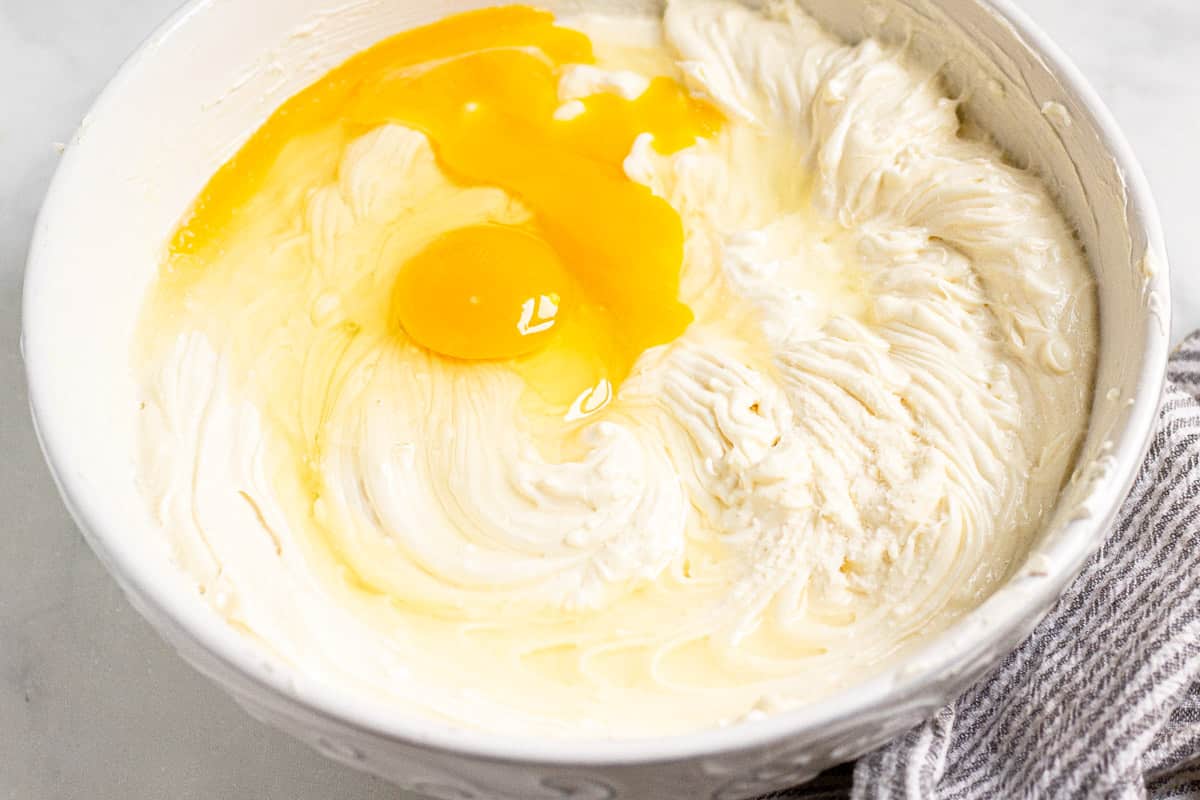
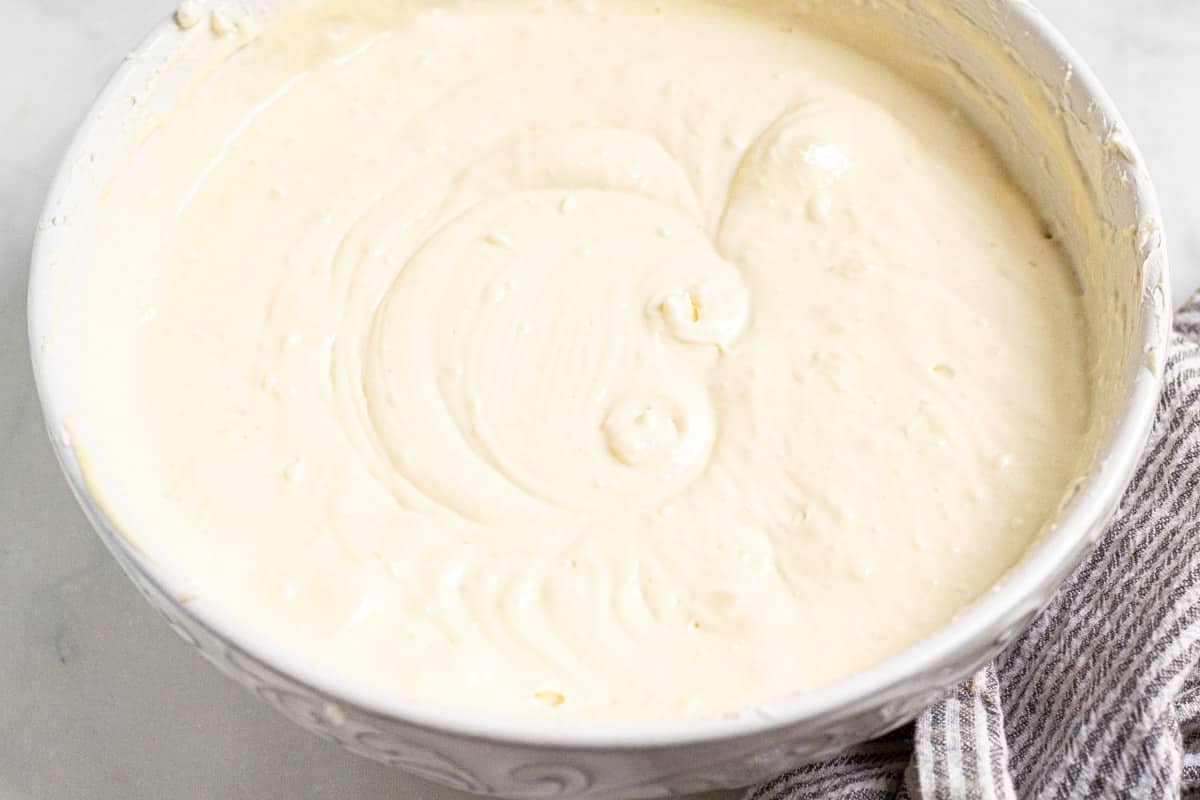
Mix until smooth and creamy.
Pour filling on top of the Oreo crust. Spread in an even layer.
Bake for 40-50 minutes then let them cool for 2 hours. Drizzle with caramel, and add pecans, and mini chocolate chips. Refrigerate for at least 8 hours.
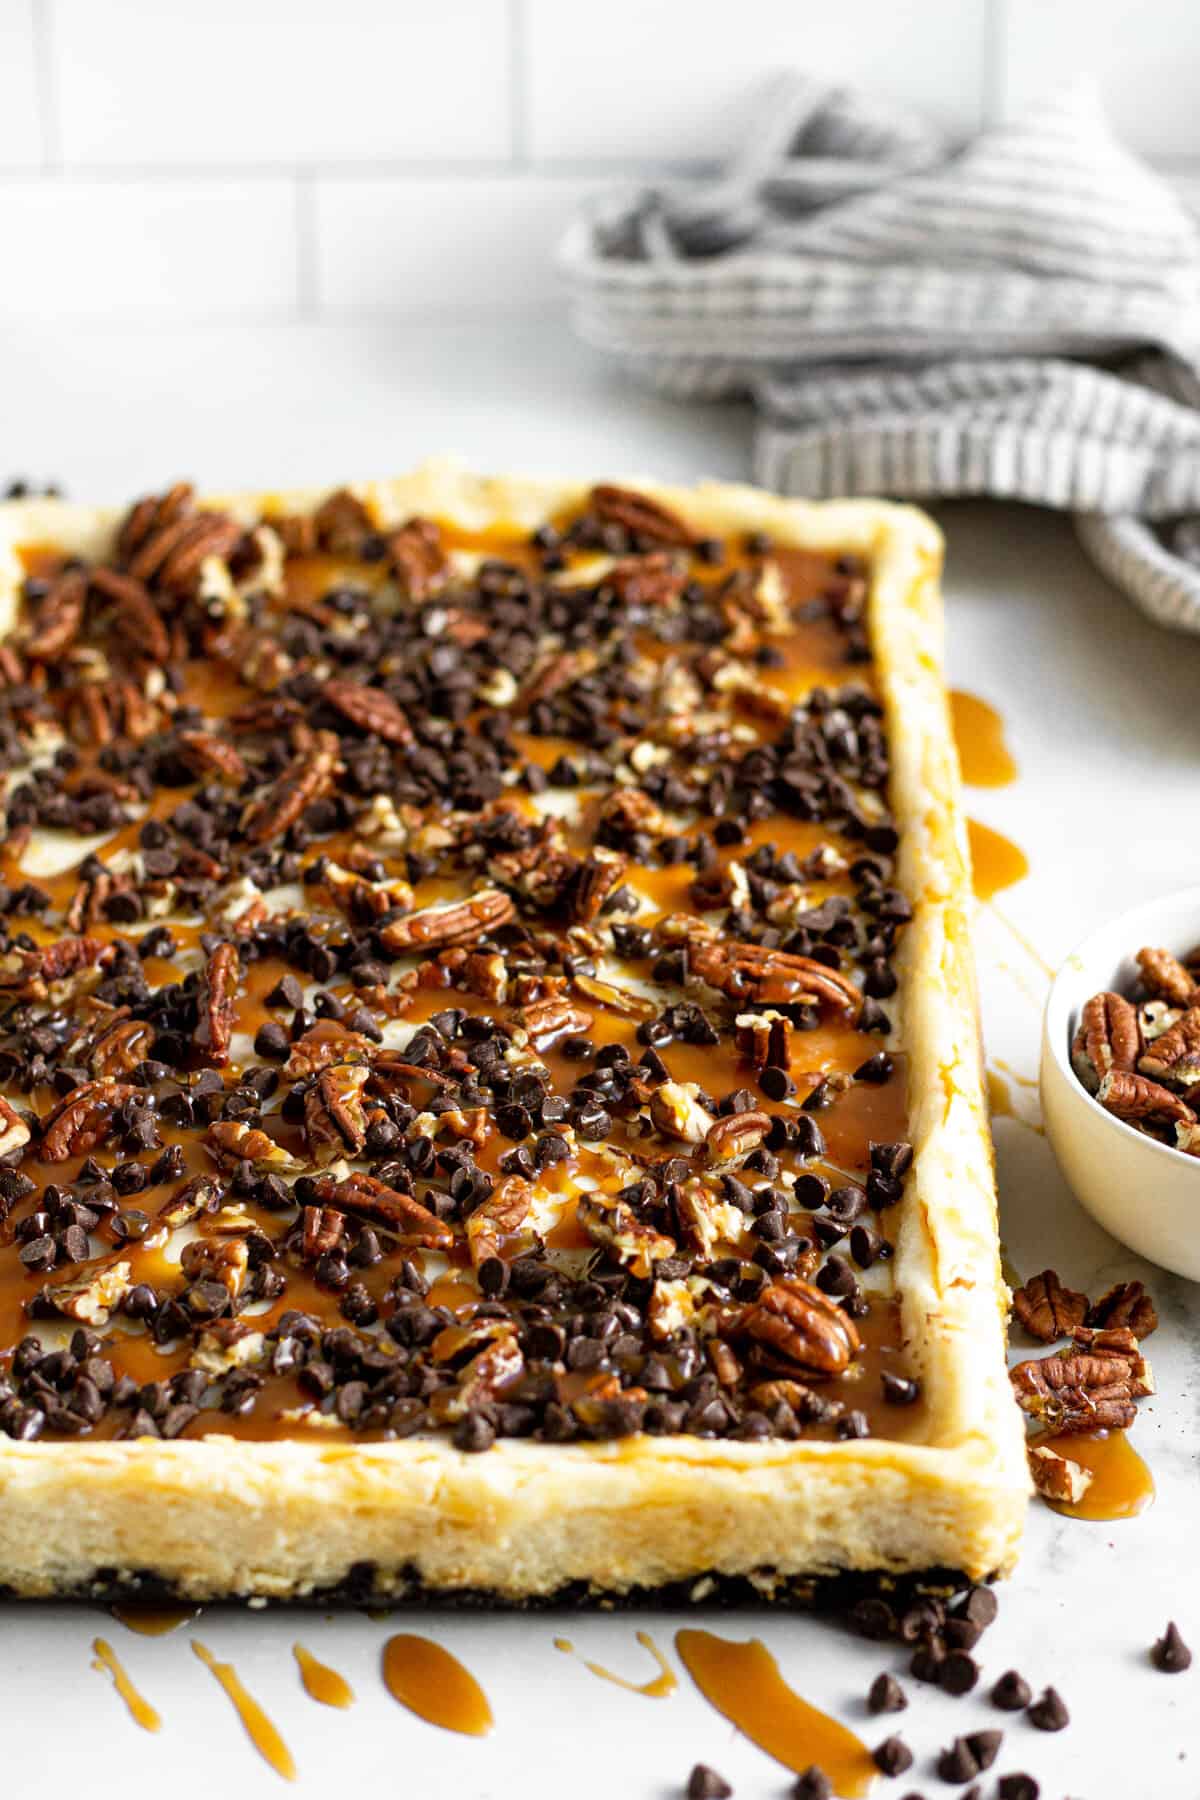
Slice, serve, and enjoy!
Tips
- Be sure to line the pan with tin foil. This is a crucial step in ensuring that your cheesecake bars will be super easy to remove from the pan.
- Trust your gut on cook time. The cheesecake will continue to cook in the pan even after you’ve removed it from the oven. You want to err on the side of underdone rather than overdone.
- Your cheesecake is done when the edges pull away from the sides of the pan and the cheesecake looks set, but the center is still slightly jiggly.
- Leave your room temperature ingredients out overnight. For real, overnight. They will mix best when they are legit at room temp.
Storage and Freezing Instructions
- Store leftover cheesecake bars in an airtight container in the refrigerator for up to 5 days. (Though I doubt they’ll last that long!)
- These turtle cheesecake bars are freezer-friendly! Allow them to cool completely, then wrap tightly in saran wrap and store in a freezer-safe, airtight container or plastic bars. Slice them prior to freezing and wrap them individually so you can easily grab one when you’re craving something sweet!
FAQ
Turtles are candy traditionally made with pecans and caramel dipped in chocolate, with a shape resembling that of a turtle. It’s called a turtle cheesecake recipe because the toppings consist of chocolate, caramel, and pecans – just like turtle candy.
The secret to testing a cheesecake (or in this case, cheesecake bars) for doneness is to jiggle it, meaning give it a gentle shake. You’re looking for the dessert to be nearly set with only the center jiggling slightly. This means it’s done! if the center doesn’t jiggle it’s likely overcooked. Lots of cheesecakes require a hot water bath to guarantee even cooking, but one major reason I love these turtle cheesecake bars is that they don’t need one!
Similar to cakes, brownies, and pies you should use a large, sharp knife to slice these turtle cheesecake bars and wipe the blade with a paper towel in between cuts to ensure perfectly clean, crisp cuts every single time.
Because room temp ingredients help prevent lumps from forming in the batter. The last thing you want with a cheesecake is a lumpy batter! It takes a little planning ahead but ensuring your cream cheese, eggs, and sour cream are at room temperature will yield the most decadent, velvety smooth batter. Totally worth it!
Quick & Easy Desserts
Did you love this recipe?
Please leave a 5-star rating and review below!
Want to save this recipe?
Enter your email below & we’ll send it straight to your inbox. Plus you’ll get great new recipes from us every week!
The Easiest Turtle Cheesecake Bars

No muss, no fuss. Just simple, straight forward, easy to make, delicious Turtle Cheesecake Bars.
- Prep Time: 15 mins
- Cook Time: 40 mins
- Total Time: 55 minutes
- Yield: 20 bars 1x
- Category: Dessert
- Method: Oven
- Cuisine: American
Ingredients
Crust:
- 12 oz. Oreo cookies
- 5 tablespoons melted butter
Filling:
- (3) 8 oz. packages full fat cream cheese, room temperature
- 8 oz. sour cream, room temperature
- 1 cup granulated sugar
- 1 tablespoon vanilla extract
- 2 eggs, room temperature
- Pinch Kosher salt
Topping:
- 1/2 cup caramel sauce
- 1/2 cup chopped pecans
- 1/3 cup mini chocolate chips
Instructions
- Preheat oven to 325 degrees and line a 9×13 pan with tin foil.
- Add Oreos to a food processor. Pulse until they are crushed into a crumb texture.
- Pour melted butter into the food processor and pulse until the butter is well incorporated with the Oreos.
- Press mixture in an even layer across the bottom of the baking dish.
- In a large bowl use a hand held mixer to combine cream cheese and sour cream until mostly smooth.
- Add sugar and vanilla and mix until combined.
- Then add eggs and salt and mix until smooth and creamy.
- Pour filling on top of the crust and spread in an even layer.
- Bake for 40-50 minutes or until the edges of the cheesecake start to pull away from the sides of the pan and the center is set but still jiggly.
- Remove from oven and allow to cool for 2 hours on the counter. Top with caramel, pecans and mini chocolate chips.
- Refrigerate overnight or for at least 8 hours.
- Slice, serve and enjoy!
Notes
Be sure to line the pan with tin foil. This is a crucial step in ensuring that your cheesecake bars will be super easy to remove from the pan.
Trust your gut on cook time. The cheesecake will continue to cook in the pan even after you’ve removed it from the oven. You want to err on the side of underdone rather than overdone.
Your cheesecake is done when the edges pull away from the sides of the pan and the cheesecake looks set, but the center is still slightly jiggly.
Leave your room temperature ingredients out overnight. For real, overnight. They will mix best when they are legit at room temp.
This post was originally published in August of 2018. It was updated in October of 2019 to include process shots, step-by-step instructions and tips for making the best turtle cheesecake every single time!
I made these for a church potluck and they were a hit! Received lots of compliments about how good they were. Will definitely be making these again!
Aren’t they the best?! And so easy!! I’m so glad that you’ve enjoyed them and thank you for leaving a review, Chelsea 🙂
I love this recipe, it’s my go to for a crowd.
My question is, can I make it in a smaller plan to have it thicker? If so, would the temp be the same but the time would be longer?
Good question! I think you could definitely try it in a smaller pan. Are you thinking an 8×8 or 9×9? I’d guess maybe an additional 10-15 minutes would do the trick but that’s just a guess! I’d definitely keep a close eye on them after the 50 minute mark. Please let us know if you do give it a try and how it turns out!