Easy Walking Taco Casserole Recipe
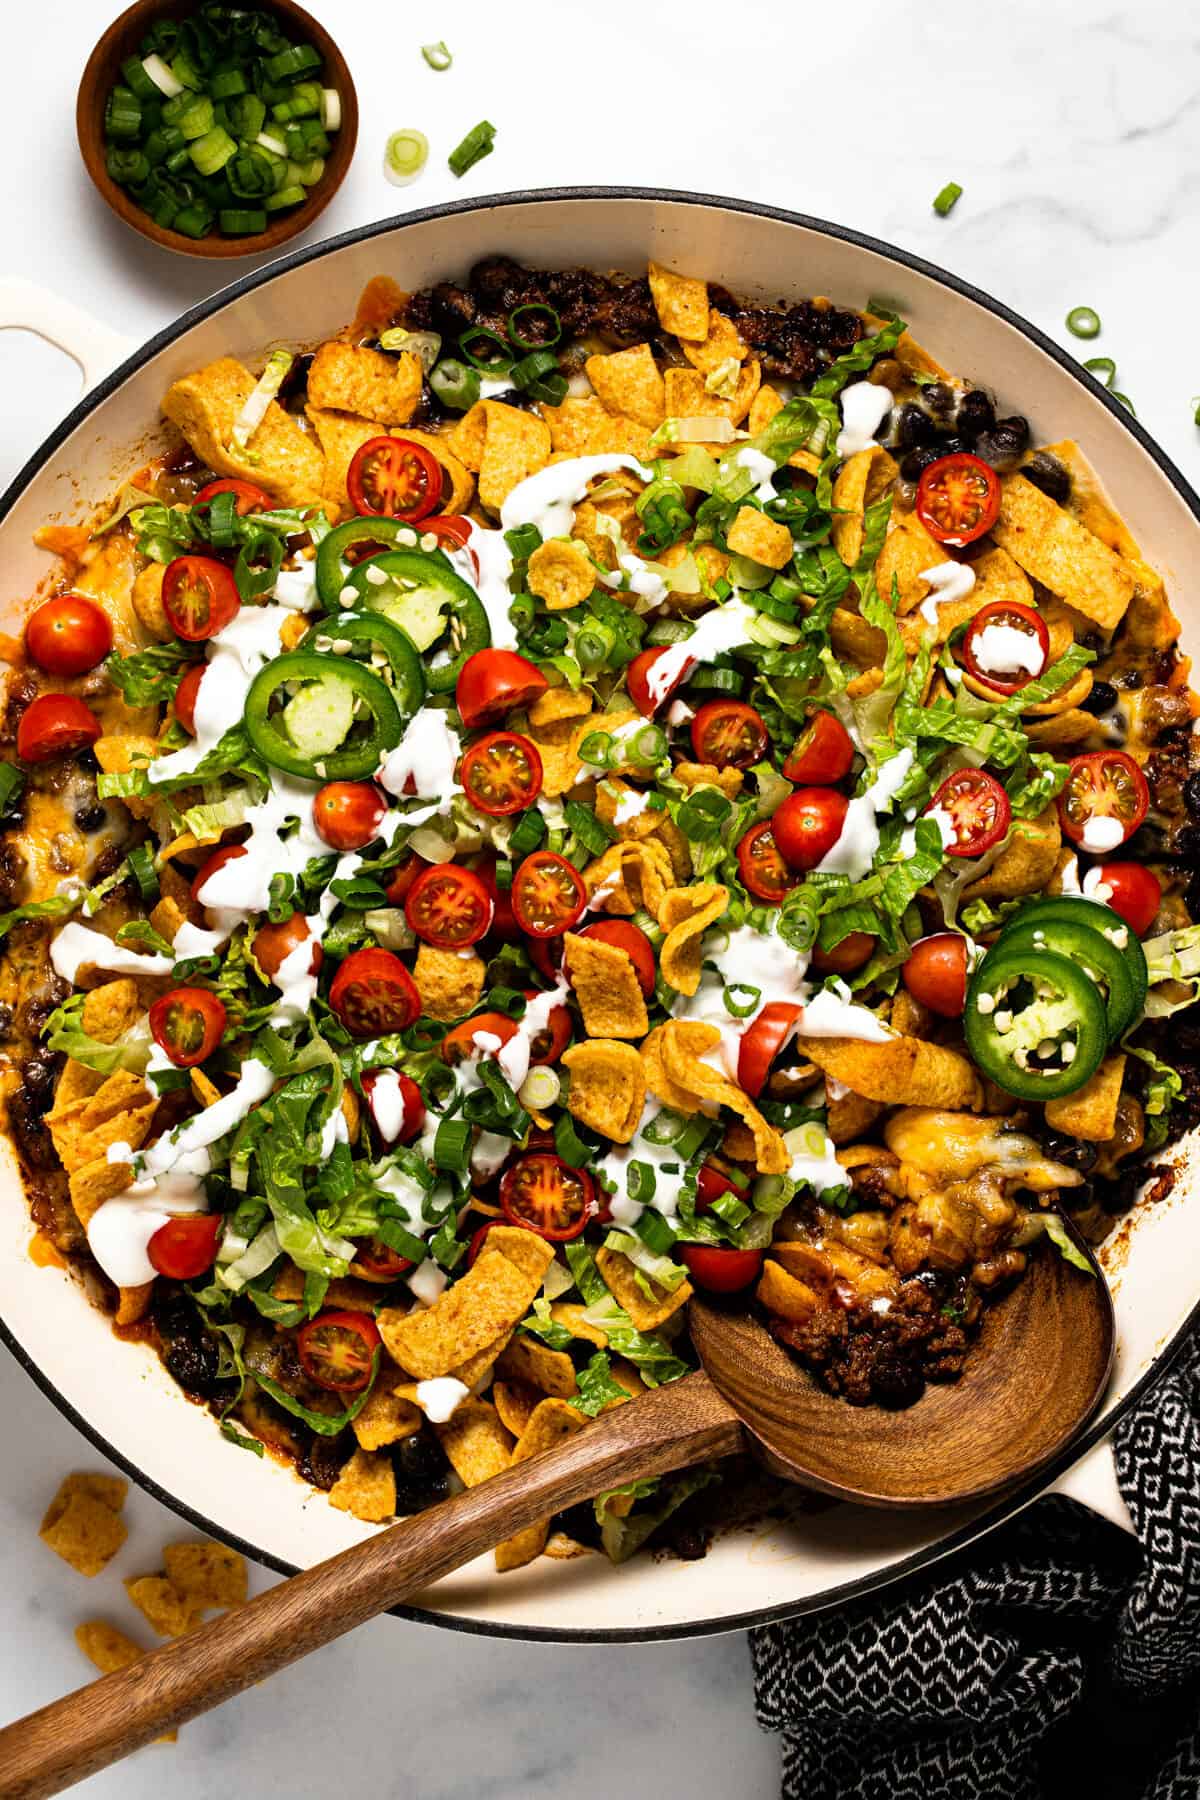
This walking taco casserole recipe takes just 25 minutes from start to finish and comes together all in one pan for a tasty alternative to your classic taco Tuesday family dinner! It’s loaded with all your favorite taco flavors including a signature homemade seasoning blend!
You Will Love This
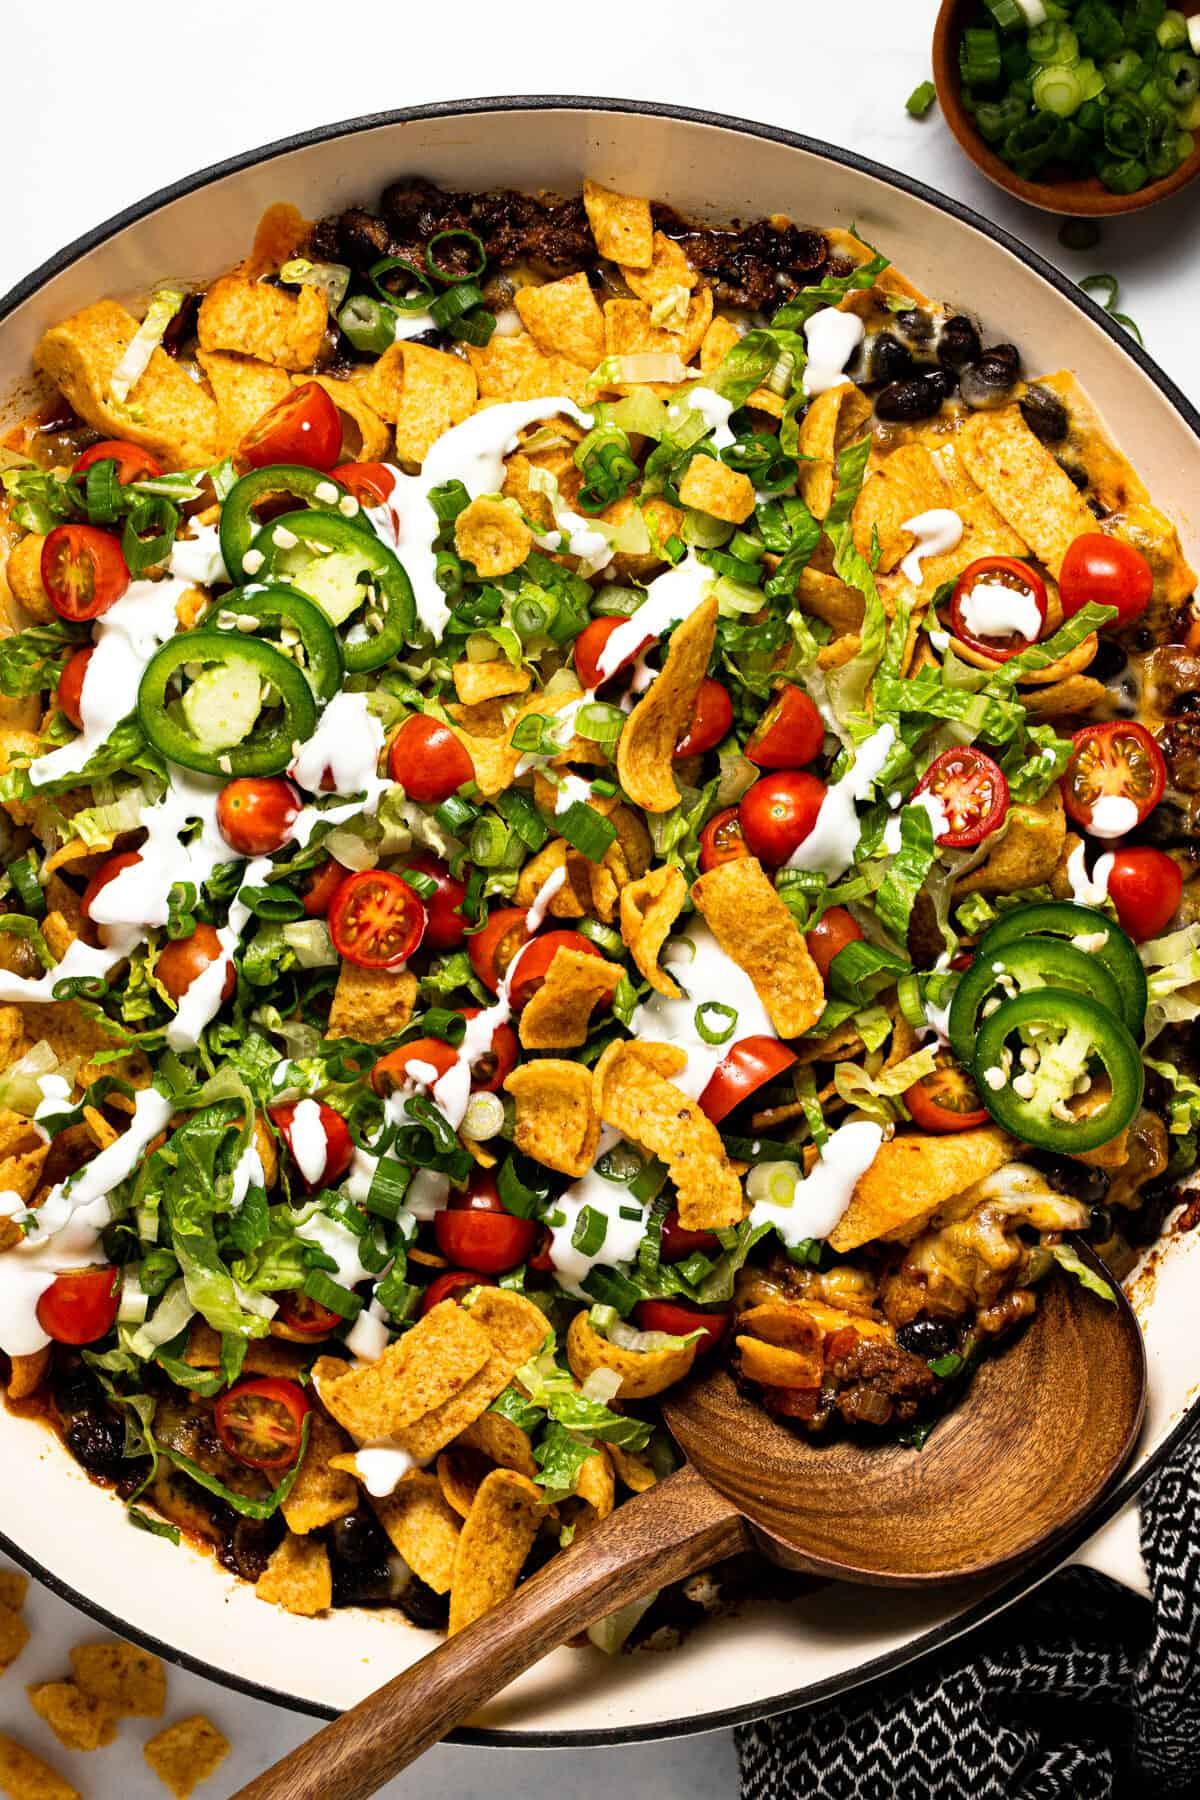
- If you grew up eating walking tacos at the softball field like I did, you are going to LOVE this walking taco casserole recipe. It’s got browned ground beef with a simple homemade taco seasoning plus onion, garlic, and black beans. The seasoned beef layer is topped with plenty of shredded cheese which gets perfectly melty and ooey gooey in the oven. Top that with a hearty layer of crunchy Fritos and then crisp lettuce, ripe tomatoes, and cool sour cream for a delicious one-pan family dinner that takes less than a half-hour to throw together!
- If you’re looking for more tasty one-pan dinners be sure to check out my Tasty Tater Tot Casserole, Easy Dorito Casserole, and Skillet Pot Pie.
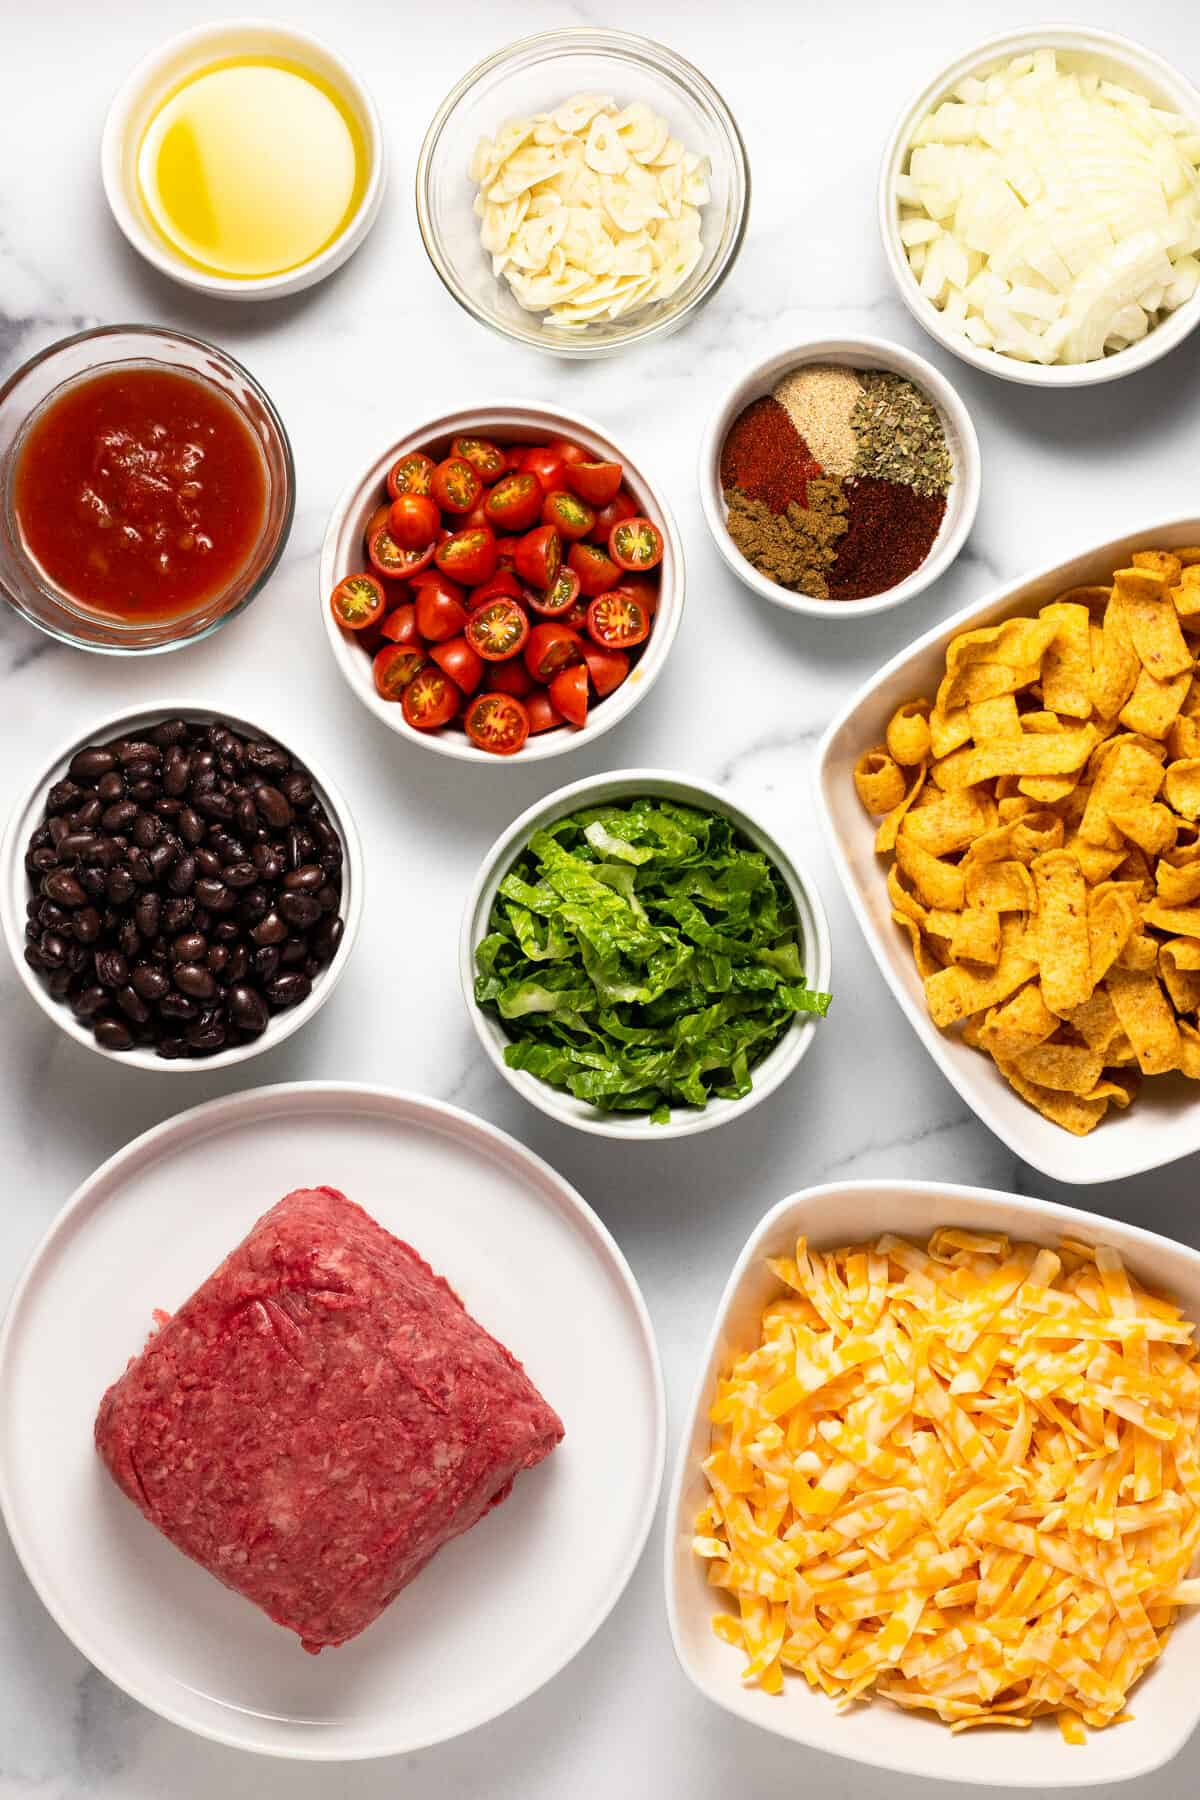
Ingredients and Substitutions
- White Onion – You can also use yellow or red onion in place of the white onion in this recipe.
- Garlic Cloves – If you don’t have fresh garlic on hand, try a 1/2-1 teaspoon of garlic powder in place of the fresh garlic.
- Ground Beef – I like to use 80/20 ground beef that is organic, grass-fed and grass-finished for the best flavor in this taco bake. If you can find locally raised ground beef where you’re at – even better!
- Black Beans – You can omit black beans if you don’t have any on hand. Or you can use pinto beans or even kidney beans in their place.
- Herbs & Spices – Chili powder, cumin, paprika, garlic powder, and dried oregano are my go-to favorites when I’m making this walking taco casserole. If you don’t have those on hand, you can totally use a store bought taco seasoning mix instead. I like to use low sodium taco seasoning so I can adjust the salt levels myself.
- Restaurant Style Salsa – If you have 5 minutes to throw together my quick and easy Restaurant Style Salsa, I highly recommend doing that. If not, your favorite store-bought brand will work too!
- Shredded Cheese – I like to use a Colby jack for this recipe, but any of your favorite cheeses will work. Cheddar cheese and Monterey jack cheese both taste amazing in this casserole. If you can, buy a block and shred it yourself as it will melt a bit better than the pre-shredded cheese. If not, pre-shredded will work just fine!
- Fritos – Regular Fritos or scoops will work in this casserole recipe. If you don’t have Fritos on hand, tortilla chips or even Doritos will work as well, but Fritos are going to give you that classic walking taco flavor.
Instructions
Sauté onion then add garlic, spices, and herbs and cook.
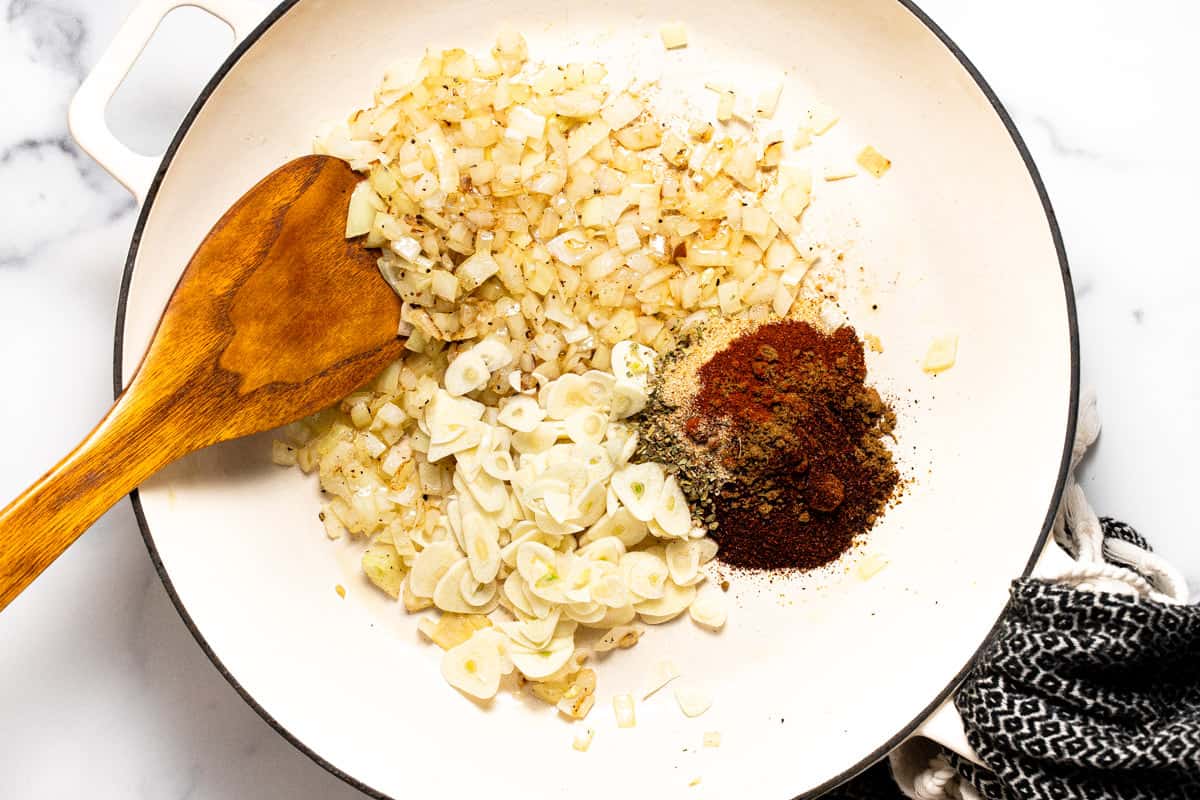
Cook beef, crumbling with a spatula or wooden spoon until cooked through.
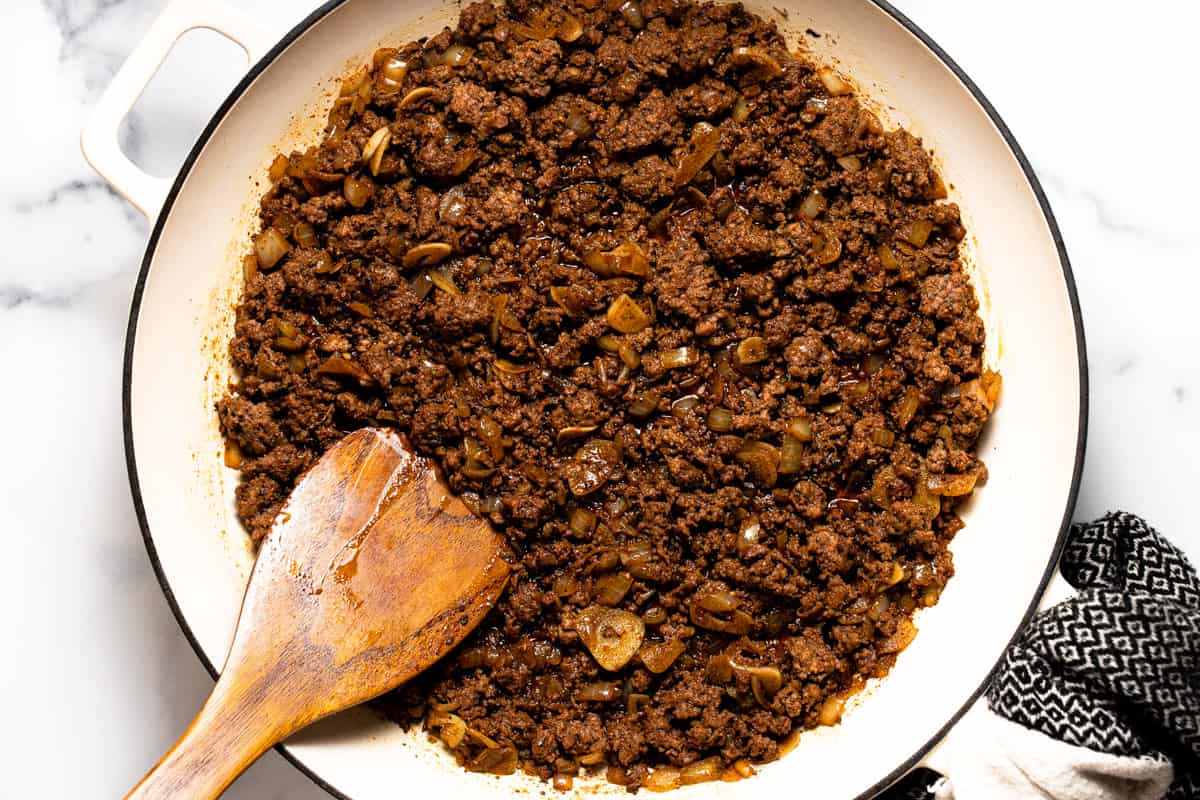
Add salsa and black beans and stir to combine.
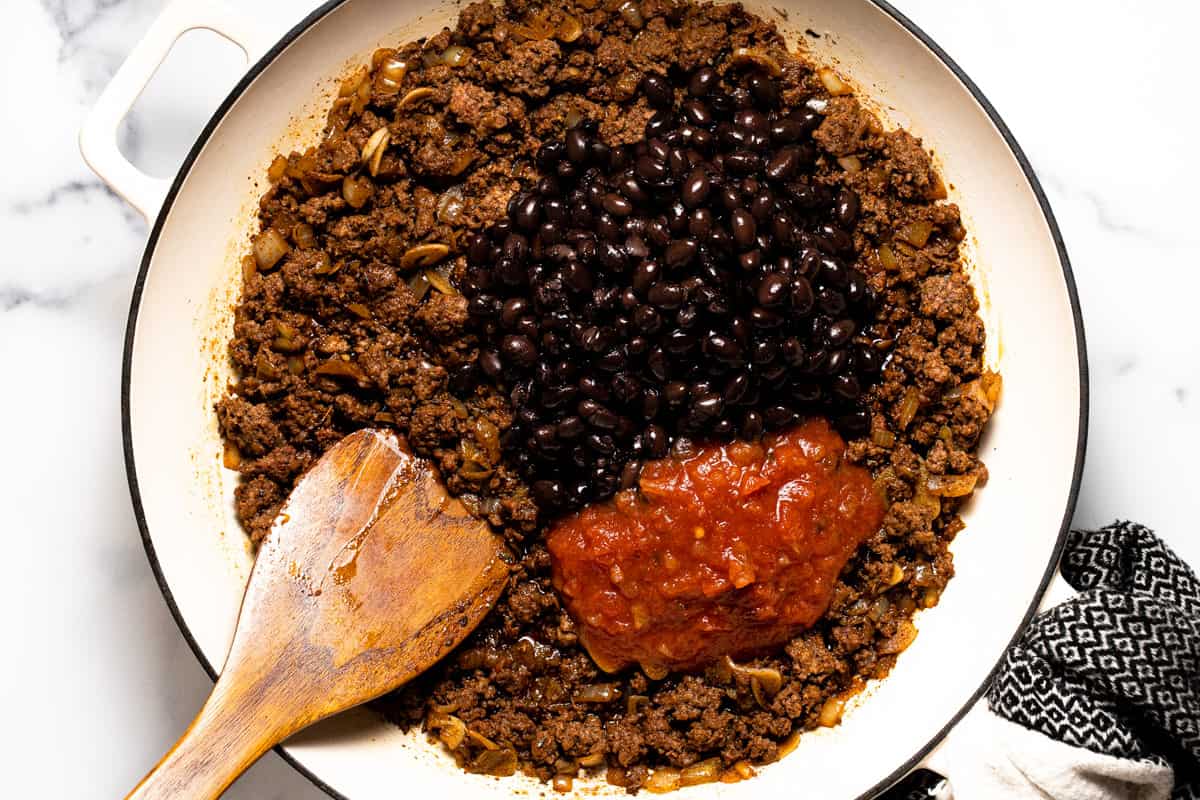
Sprinkle the beef mixture with cheese.
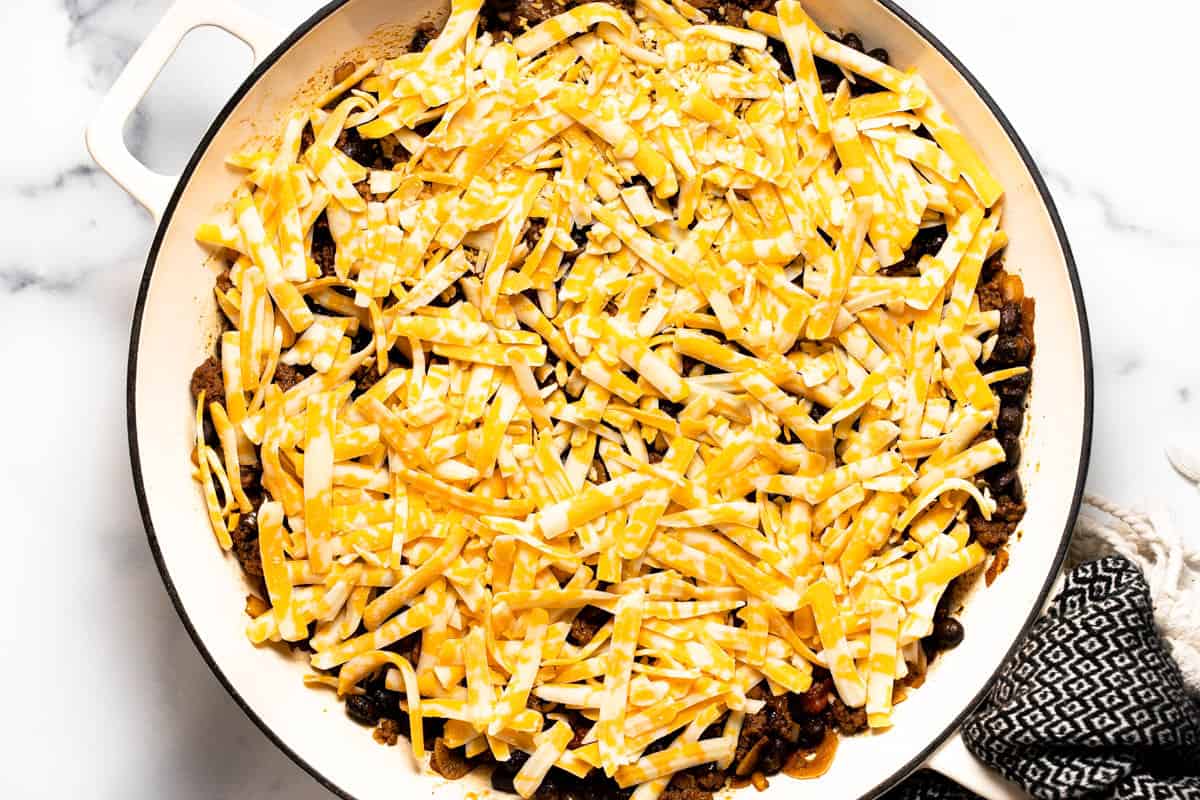
Bake until cheese is melted.
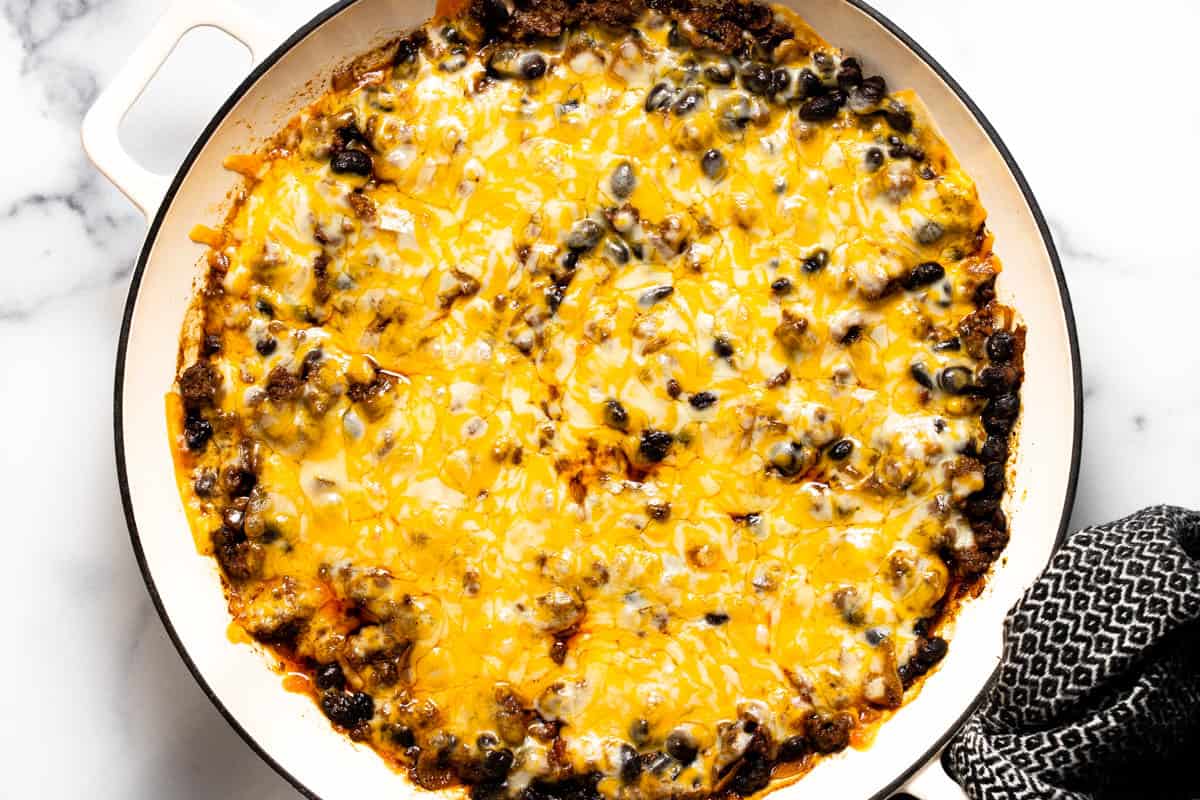
Add a layer of Fritos.
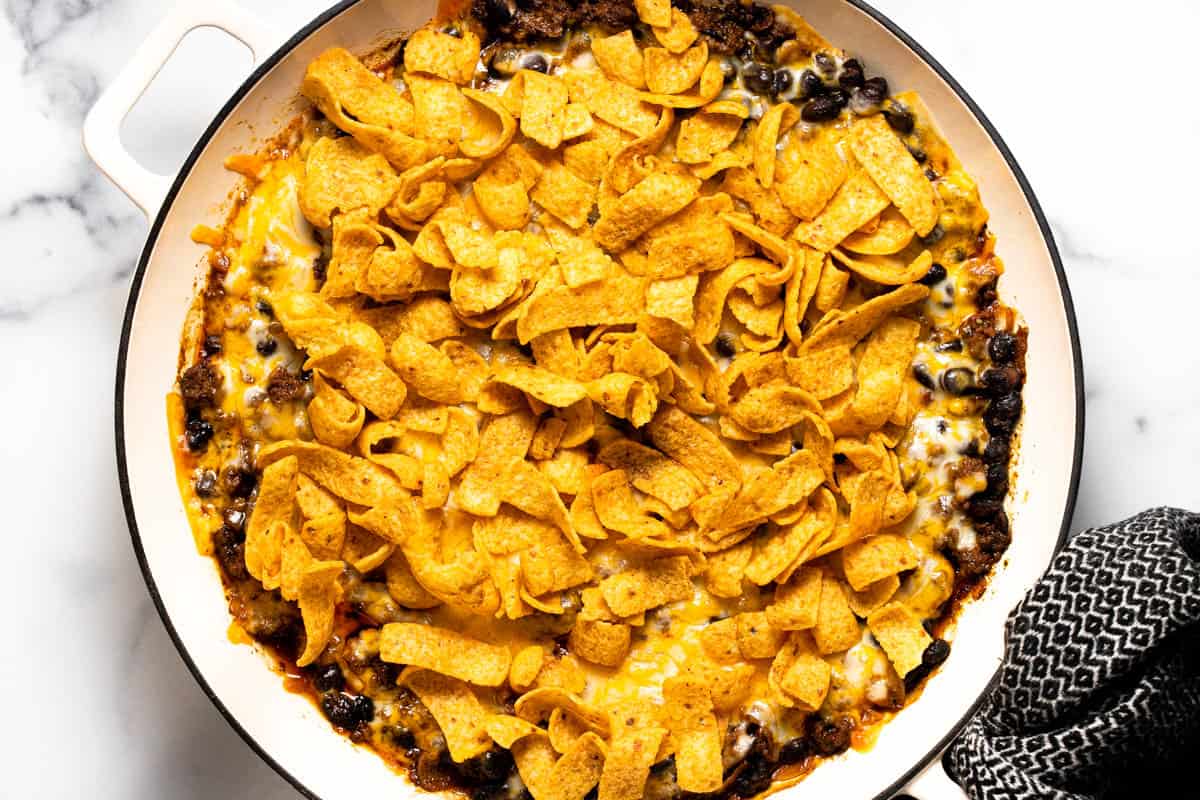
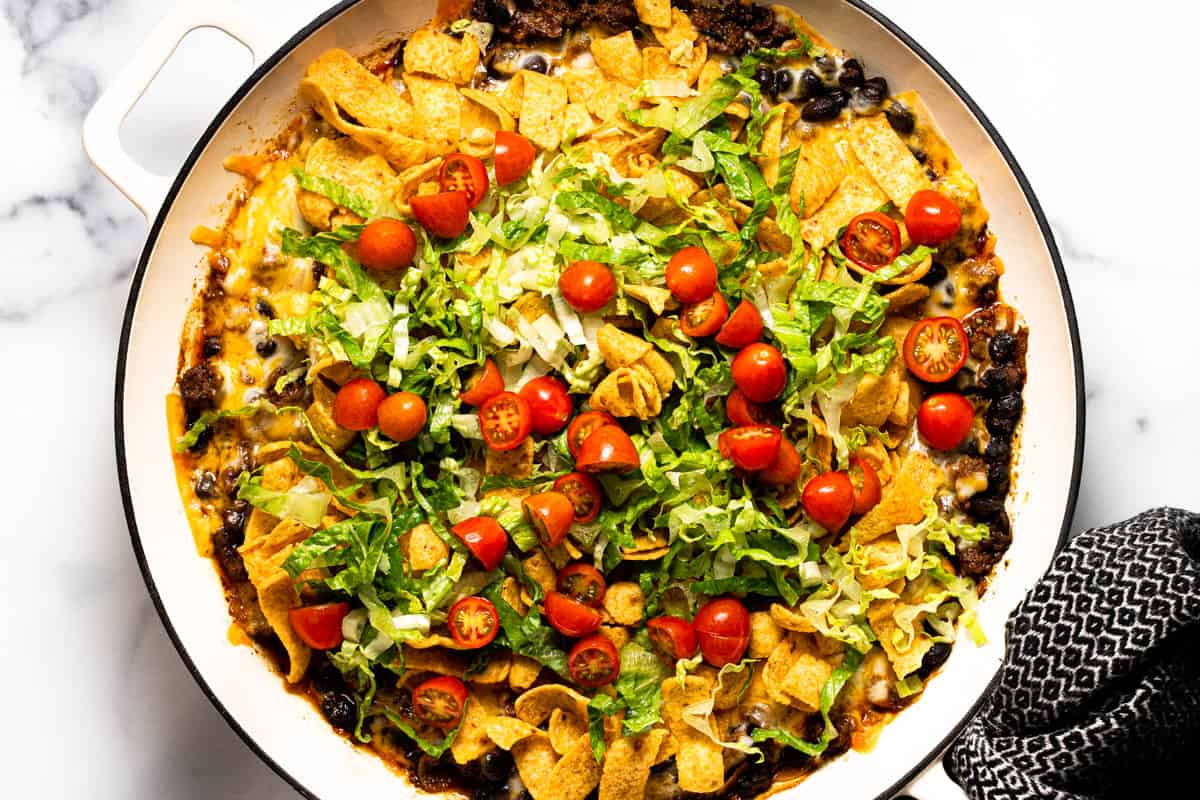
Garnish with lettuce, tomato and whatever else you enjoy on tacos!
Tips
- Depending on what percentage of fat is in the ground beef you use, you may end up with a bit of excess grease at the bottom of the casserole. Using a lean ground beef will mean less grease overall, but keep in mind that fat equals flavor! I prefer to use an 80/20 ground beef for maximum flavor, and then use a slotted spoon to drain the excess grease. Also, remember fat doesn’t make you fat and it’s not the enemy!
- Feel free to switch up the ingredients you use in this taco casserole recipe! You could add corn, use ground turkey instead of beef, or garnish with sliced green onions! Use what you’ve got in the pantry or fridge!
Frito Pie vs. Walking Taco Casserole
- If you’re a Frito pie fan, you’re going to love this walking taco casserole! While there are many variations of both, Frito pie can include seasoned ground beef mixed with enchilada sauce or even a chili-type mixture that’s spooned over Fritos.
- Some also call classic walking tacos Fritos pie and serve them with single-serve Fritos chip bags (opened on their sides) and topped with classic taco ingredients of seasoned beef, lettuce, tomato, and sour cream.
- It’s thought that Frito pie originated in Texas, becoming a southern staple, and then moved its way up to the Midwest where we (of course) made it into a casserole – which is also arguably a hot dish if you want to get technical.
- Here in the Midwest, we love a good casserole recipe and our pies are generally filled with fruit (or chocolate), so I chose to call this walking taco casserole.
Make Ahead, Storage, Freezing, and Reheating
- Make Ahead: You can prep this walking taco casserole recipe up to 5 days in advance so it’s perfect to throw together over the weekend and then enjoy on a busy weeknight. Make according to the recipe instructions, but before baking, seal tightly and refrigerate. An hour before baking, remove casserole from the fridge and set out on the counter for an hour to come to room temp. Then follow recipe instructions for baking but keep in mind that you may need to add a few minutes to the baking time.
- Storage: Store leftover taco casserole in an airtight container in the refrigerator for up to a week.
- Freezing: You can freeze this casserole before baking too! Just seal it well with foil or plastic wrap and place inside a freezer safe Ziploc baggy. Freeze for up to 3 months. Thaw overnight in the fridge before baking.
- Reheating: Reheat leftover casserole in a 350 degree oven for 20 minutes or so until heated through.
FAQ
As the name implies, it’s basically a taco that you can eat while you’re walking! In the Midwest, these are a classic staple at the concession stand of any softball/baseball/football game so chances are if you grew up playing sports (or watching them) you grew up eating walking tacos! They’ve got all the classic tacos fixings piled high inside a bag of Fritos. In recent years, Doritos have also crossed the threshold into walking taco territory becoming a new favorite among the younger generation.
Yes! The term walking taco (AKA traveling taco) was a term coined in the Midwest. They are enjoyed across the US but are called different things depending on the region you’re in. In the southern states, you may hear it called a Frito pie while on the west coast they are sometimes called pepper bellies.
More Family Favorite Dinners
Did you love this recipe?
Please leave a 5-star rating and review below!

Walking Taco Casserole
This walking taco casserole takes just 25 minutes from start to finish and comes together all in one pan for a tasty alternative to your classic taco Tuesday family dinner! It’s loaded with all your favorite taco flavors and a signature homemade seasoning blend!
- Total Time: 25 minutes
- Yield: 10 servings 1x
Ingredients
- 1 tablespoon olive oil
- 1 white onion, diced
- 6 cloves garlic, thinly sliced
- 1 lb. ground beef
- 1 (15 oz.) can black beans, drained and rinsed
- 1 tablespoon chili powder
- 2 teaspoons cumin
- 1 teaspoon paprika
- 1 teaspoon garlic powder
- 1 teaspoon oregano
- 1/2 cup restaurant style salsa
- 8 oz. shredded cheese
- 3 cups Fritos
- 1 cup shredded lettuce
- 1 cup diced tomato
Garnish:
- sliced green onion
- sliced jalapeno
- sour cream
- fresh chopped cilantro
- taco sauce
- sliced black olives
Instructions
- Heat oven to 350 degrees.
- Heat olive oil in a large pan over medium high heat.
- Add onion along with a couple pinches of salt and pepper. Cook, stirring frequently for 4 minutes.
- Add garlic, chili powder, cumin, paprika, garlic powder, dried oregano, and a couple pinches of salt and pepper. Cook, stirring frequently for 30 seconds or so.
- Add raw ground beef and cook, crumbling with a spatula until cooked through.
- Stir in salsa and black beans.
- Cover taco meat with cheese and bake, uncovered, for 5 minutes or until the cheese is melted.
- Add a layer of Fritos, then a layer of lettuce, then a layer of tomatoes.
- Garnish with sour cream and sliced jalapeno and enjoy!
Equipment
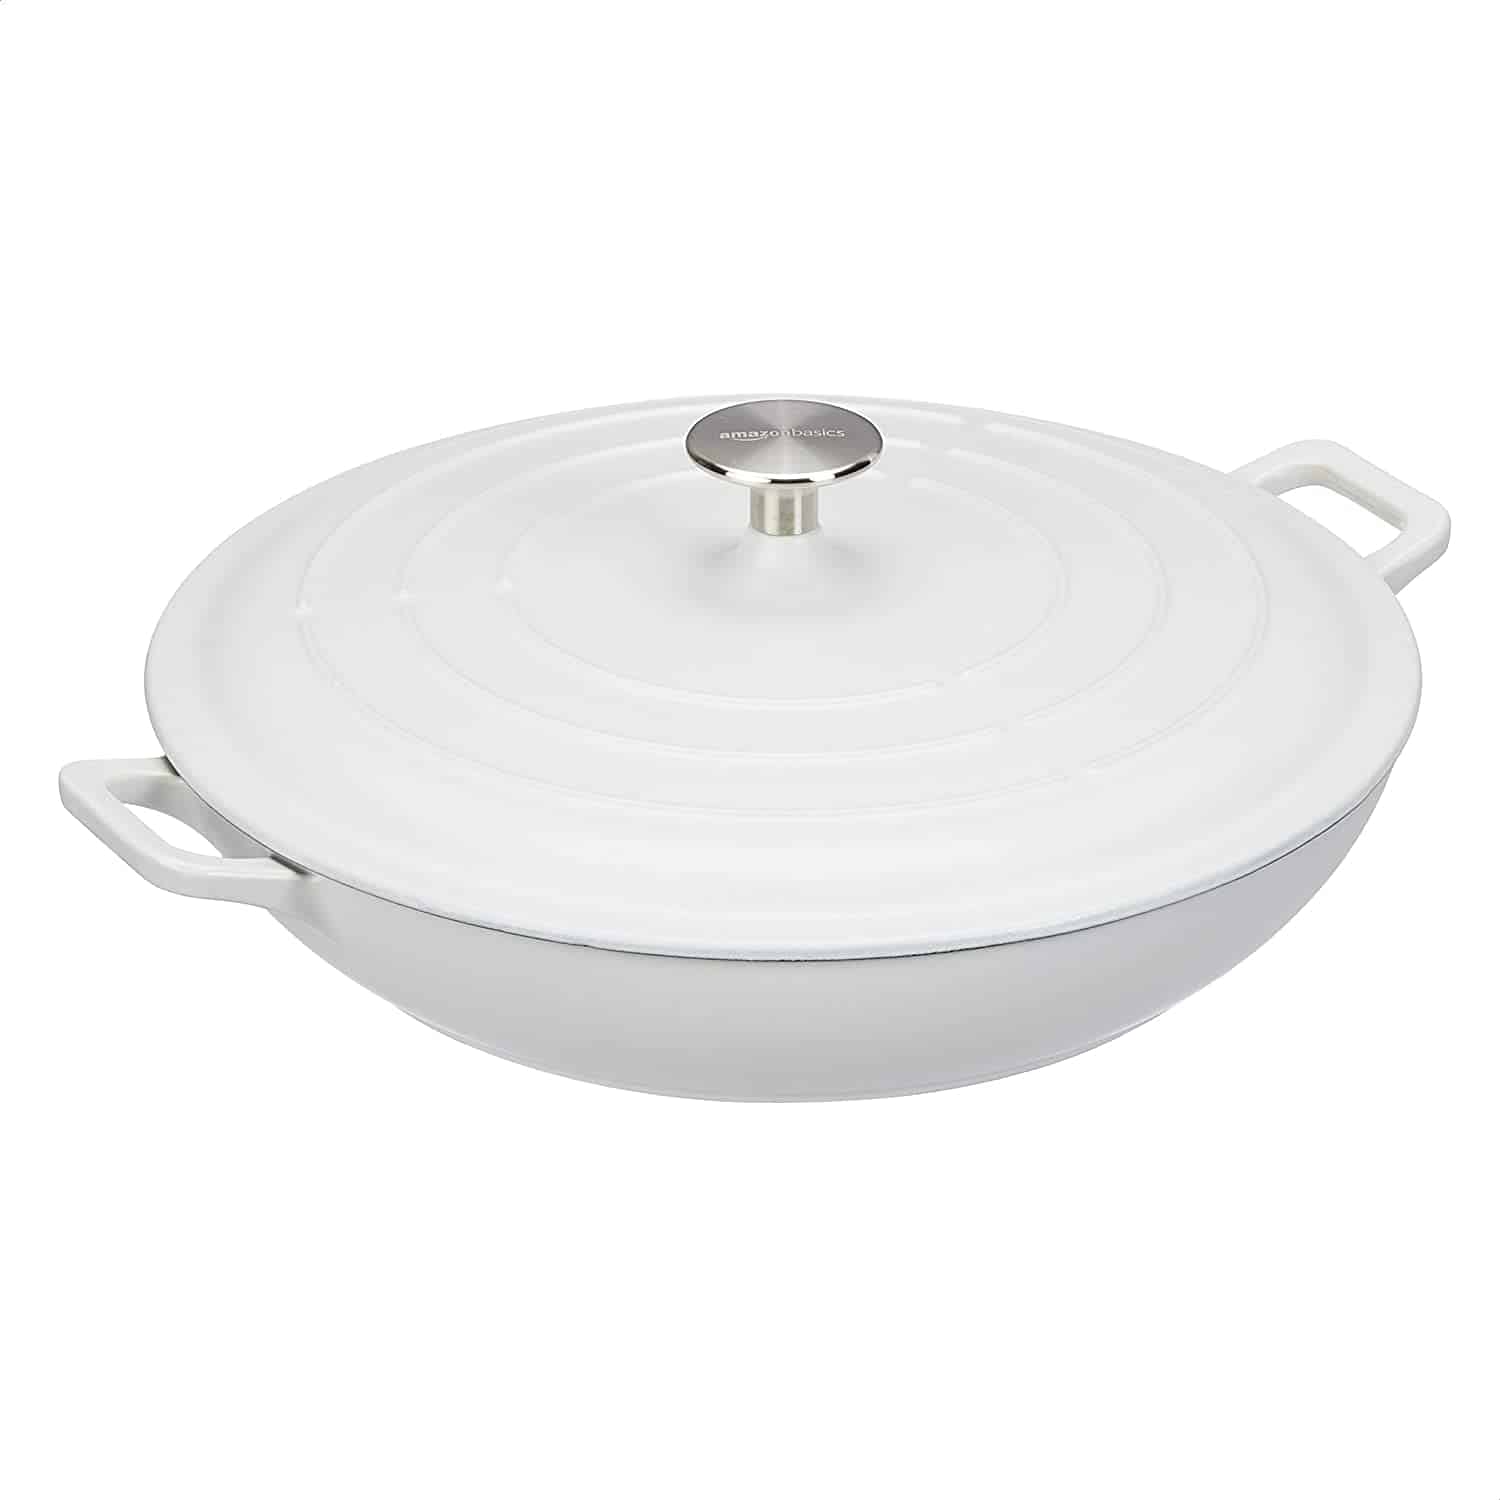 Buy Now →
 Notes
- Depending on what percentage of fat is in the ground beef you use, you may end up with a bit of excess grease at the bottom of the casserole. Using a lean ground beef will mean less grease overall, but keep in mind that fat equals flavor! I prefer to use an 80/20 ground beef for maximum flavor, and then use a slotted spoon to drain the excess grease. Also, remember fat doesn’t make you fat and it’s not the enemy!
- Feel free to switch up the ingredients you use in this taco casserole recipe! You could add corn, use ground turkey instead of beef, or garnish with sliced green onions! Use what you’ve got in the pantry or fridge!
- Prep Time: 10 minutes
- Cook Time: 15 minutes
- Category: Main Dish
- Method: Stove Top + Oven
- Cuisine: Mexican/American
Nutrition
- Serving Size:
- Calories: 360
- Sugar: 2 g
- Sodium: 592.8 mg
- Fat: 17.9 g
- Saturated Fat: 7.2 g
- Carbohydrates: 24 g
- Fiber: 5.6 g
- Protein: 26.1 g
- Cholesterol: 67.7 mg




this dish was great! Very easy to make. Will make it for superbowl, and take to Mexico with me. Giant size nachos!!
This is perfect for the Superbowl, Pat! I’m so glad you enjoyed this walking taco casserole 🙂
What side would you serve with this if you were serving at a book club? And how many individual servings will it really serve. That casserole looks to me like it would be 10 small servings. What is the serving size in your recipe?
I think 10 servings should be accurate, especially if you’re serving a side along with them and it’s a group of women. I would maybe do a simple salad, Spanish rice, or a corn salsa with chips. My corn salsa recipe is super easy: https://midwestfoodieblog.com/corn-salsa-recipe-from-chipotle/. Or my creamy street corn dip with chips: https://midwestfoodieblog.com/corn-dip/
This looks great! But we can’t do Fritos. Do you recommend any subs for the Fritos? Thanks!
Is there another type of crunchy chip that you guys eat with tacos? Tortilla chips would work well in place of the Fritos. Or even Doritos!
Any small corn chips would work. I would cut and fry my own for a family dinner. (Fresh is best. But who wants to stand over a fryer at a party?) But it is cheaper to make em they store well, and it’s easier to control how salty they are as well as size n shape. I’ve made bones ,ghosts,stars,bells,halfmoons, football, for themed parties.
Great idea, Patricia!
This was really good! The spice mixture was perfect – just the right amount of heat and then the jalapeño kicks it up for those (like me) who like it hot! Thank you so much😁
Family loved it! No left overs ♥️Looking forward to making it again, think I’ll add rice to it next time too! Super yummy, easy and fun to make with your pickey eaters!
My oldest does such a better job of eating if she helps cook and this one is fun, yummy and easy with little in the kitchen 🥰
Excellent meal for dinner and lunch. I added rice to make it stretch. Perfect easy peasy meal.
Adding rice is such a great idea!!! I am going to try that next time. Thanks for leaving a review, Yvette – I really appreciate it 🙂
Make this! So yummy! I served the fresh toppings on the side because I knew I would be reheating in the microwave. My family loved this and we are not fans of hard shell tacos that break. Needless to say, they didn’t leave very much.
I am so glad that your family enjoyed this recipe, Michele! Thanks for leaving a review I really appreciate it 🙂
Hi is there a way to make this vegan?
Yes! I have a really delicious vegan taco “meat” that would be great for the base. Then just add vegan cheese and vegan sour cream, etc. Here’s the vegan taco recipe: https://midwestfoodieblog.com/vegan-quinoa-and-lentil-tacos/