Flatbread Pizza Dough Recipe – NO YEAST
This flatbread pizza dough recipe requires only flour, salt, water, and olive oil – NO YEAST! And it takes less than 5 minutes to throw together! Top it with your favorite sauce, sprinkle with cheese, add veggies, and dinner is done!
You Will Love This
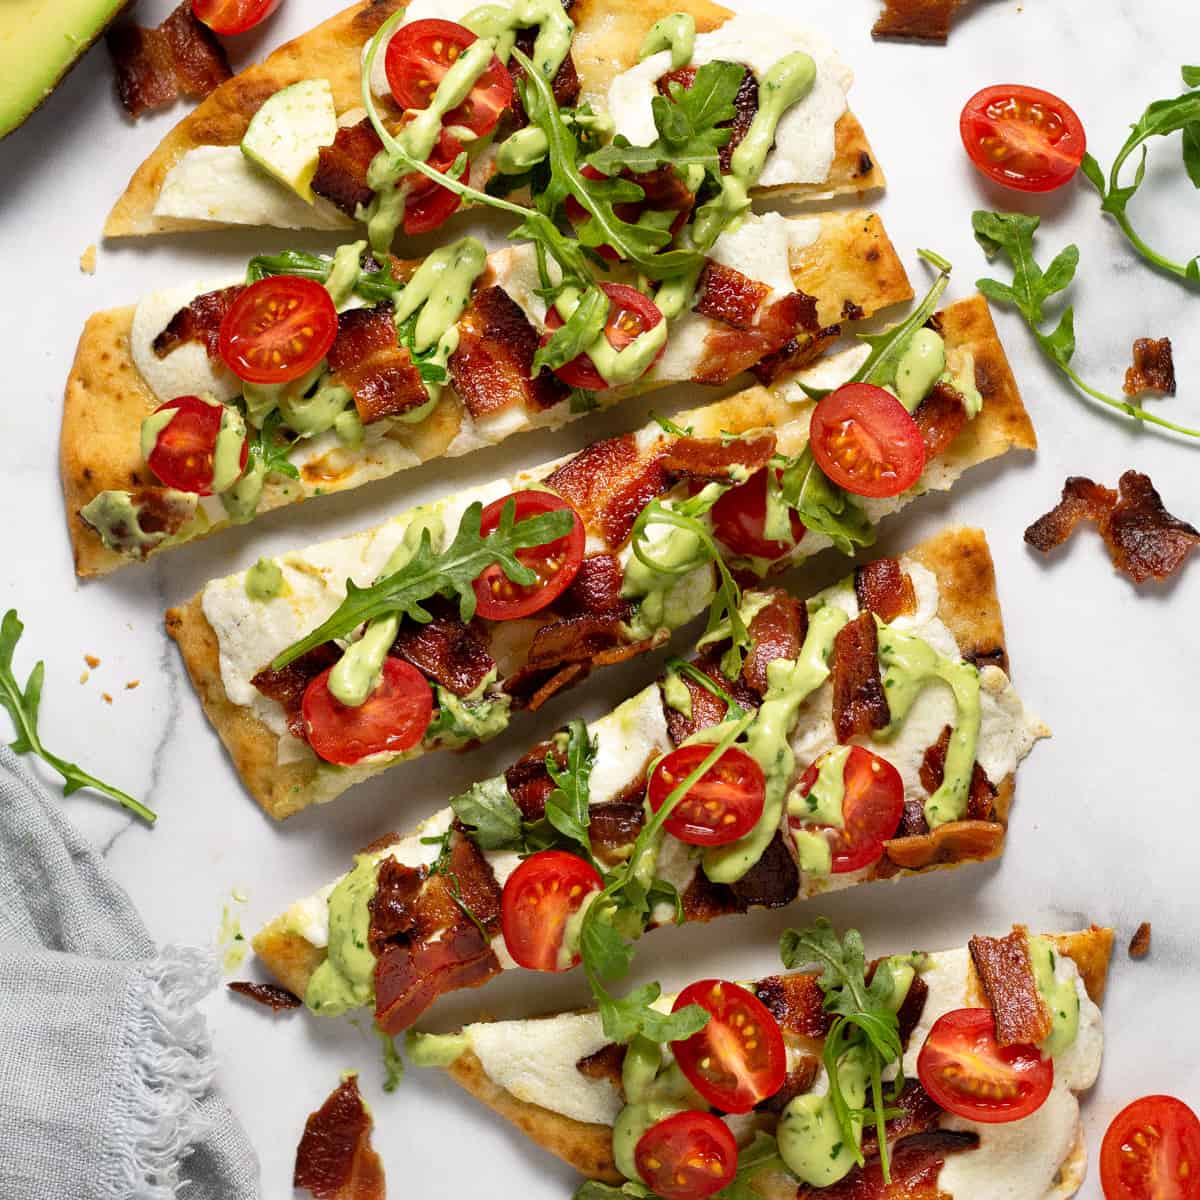
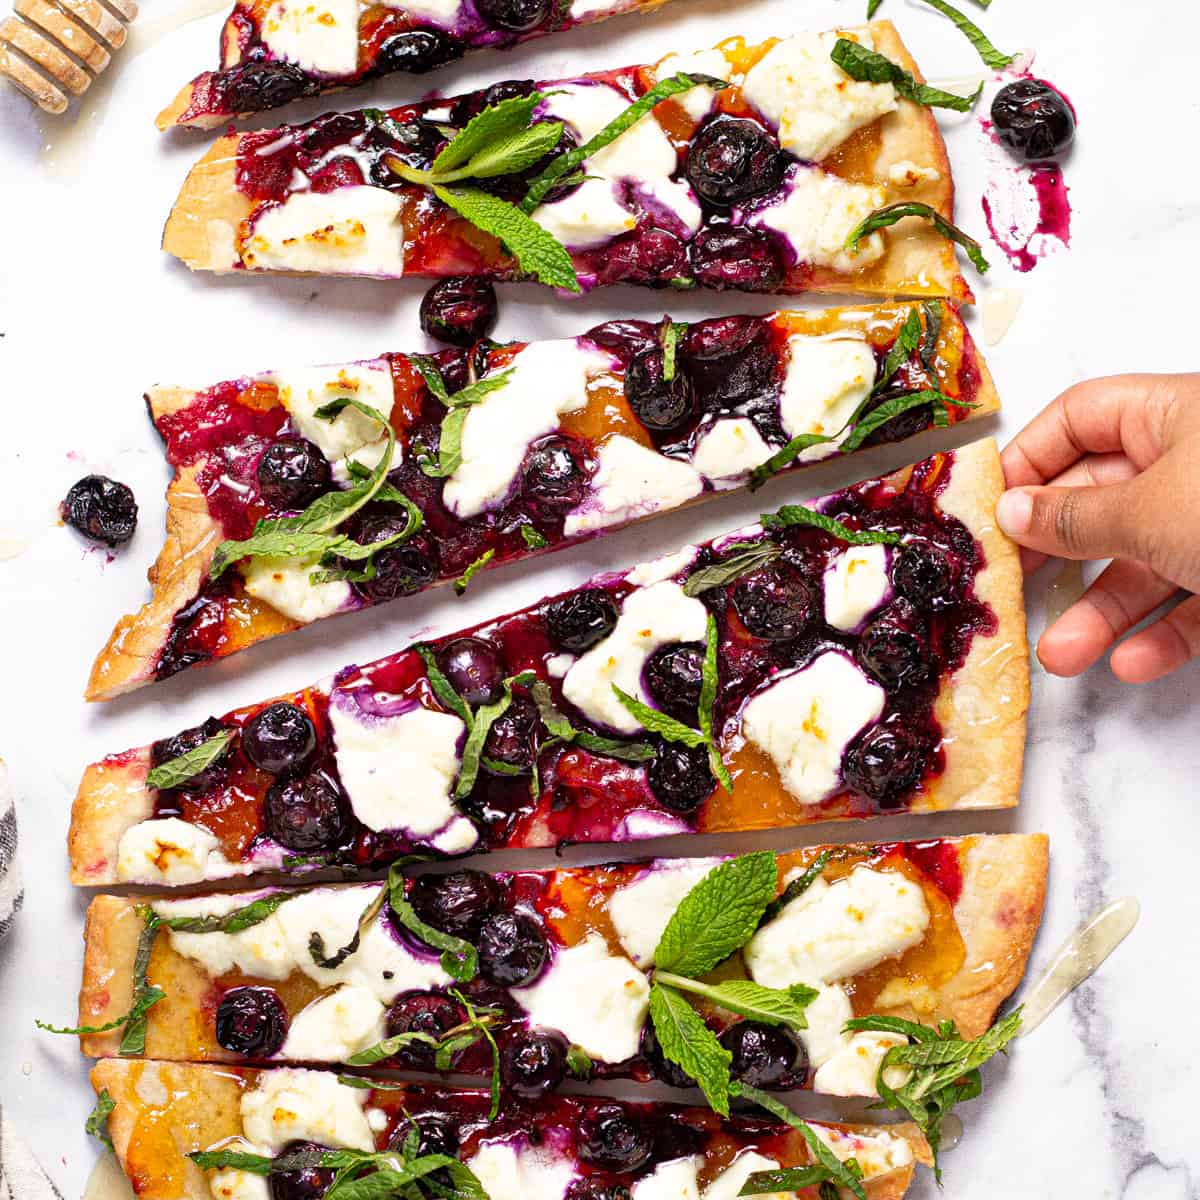
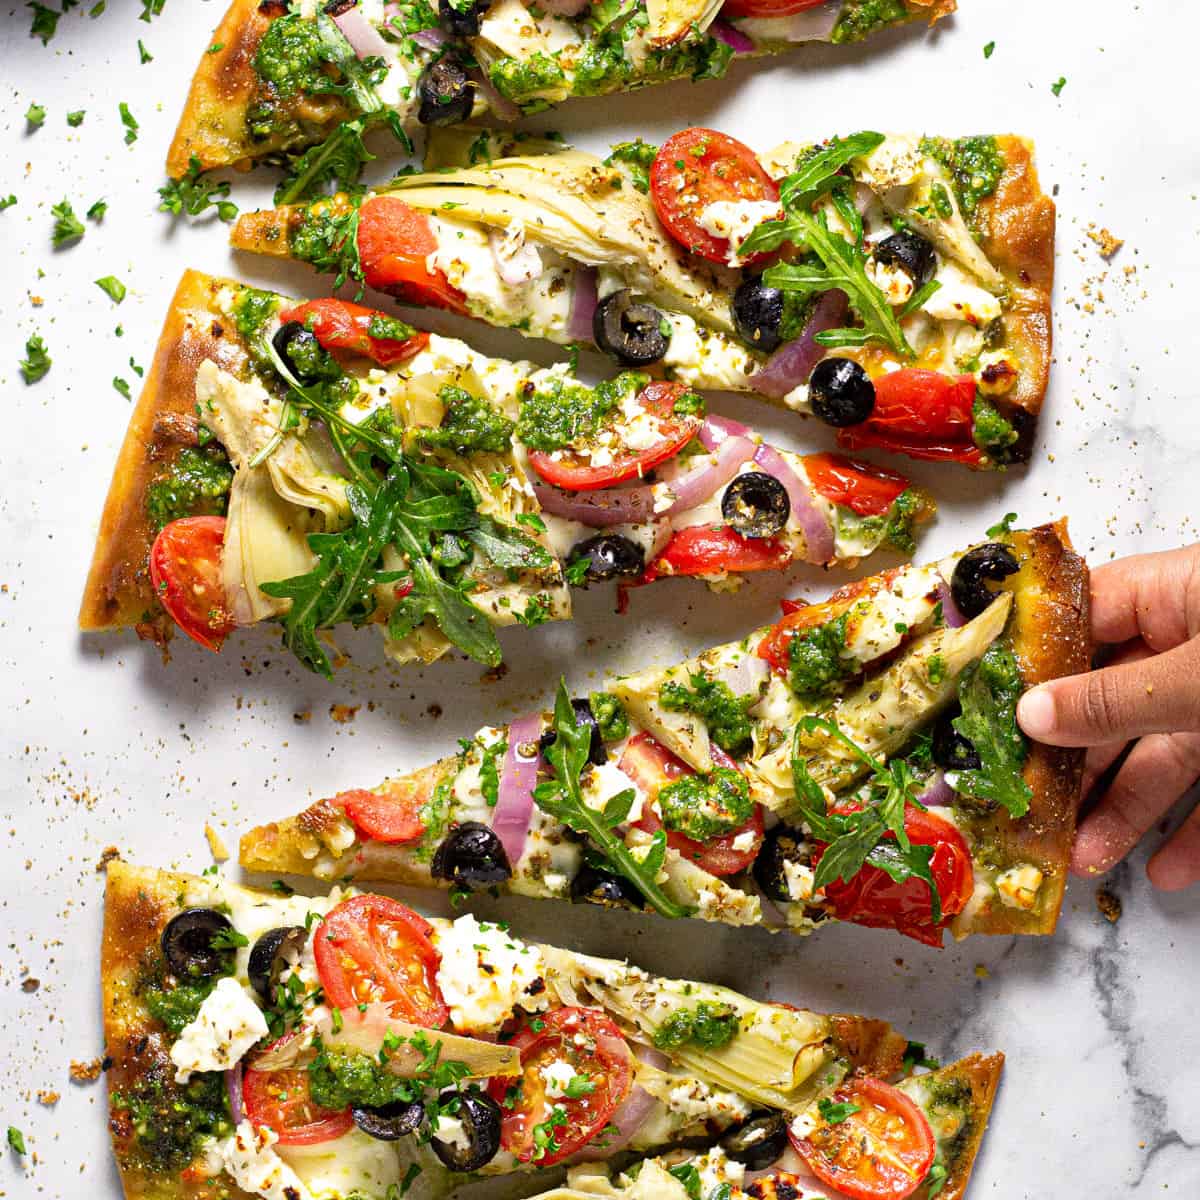
- It takes 5 minutes to make. What more could you want? I love a nice homemade flatbread or pizza dough with yeast, but all that rising means that you need to plan at least a couple hours in advance. I’m not always that on top of things! You can have your own homemade flatbread prepped, topped, and in the oven in less than 10 minutes. Last-minute dinner for the win! Be sure to try my Easy Margherita Flatbread, BLT Flatbread, Blueberry Goat Cheese Flatbread, and Mediterranean Flatbread.
- You can make it as thick or thin as you want. If you’re feeding a big family, roll the dough crispy cracker-thin. If you’re more into a doughy flatbread leave it a little thicker for a more pillowy, chewy texture!
- Your kids can help make dinner! You might be surprised how much your kids are willing to help out with dinner if you give them the opportunity. Let them help you measure the flour and pour the water. Once the dough ball comes together, let them help you knead it and get their hands messy. Chances are good once they see all the hard work (their hard work) that went into making dinner, they’ll be more likely to eat it.
Ingredients and Substitutions
- All-Purpose Flour – All-purpose flour makes a good pizza thin or thick flatbread pizza crust, and it’s what most of us have on-hand. If you prefer thin crust, though, using bread flour instead can add some depth of flavor and crisp texture to the crust.
- Table Salt – Kosher salt, or another large-grain salt, can work if that’s all you have, but a smaller grain mixes in better to create a more even gluten structure in your dough.
- Warm Water – Yes, the water needs to be warm. Cold water can leave you with sticky flatbread pizza dough.
- Olive Oil – Pizza dough needs oil to help it stretch. Most recipes call for olive oil because it adds a rich flavor, but veggie oil will work too if it’s all you have.
- Cornmeal – If you don’t have cornmeal, you can use flour to keep your pizza dough from sticking. You might have a little flour dust on the bottom of your flatbread pizza when you’re done, but it’s better than nothing if you don’t have cornmeal.
Instructions
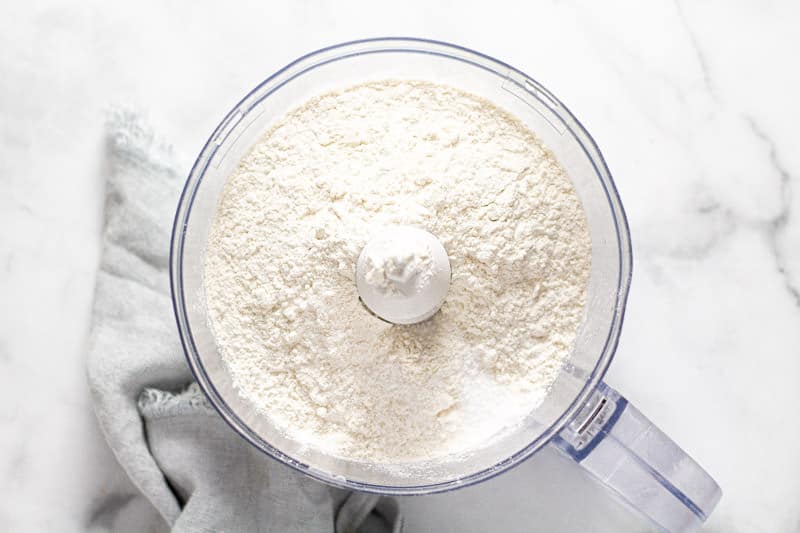
Add flour and salt to a food processor and pulse until well mixed. You can also just use a large bowl and fork to combine all the ingredients!
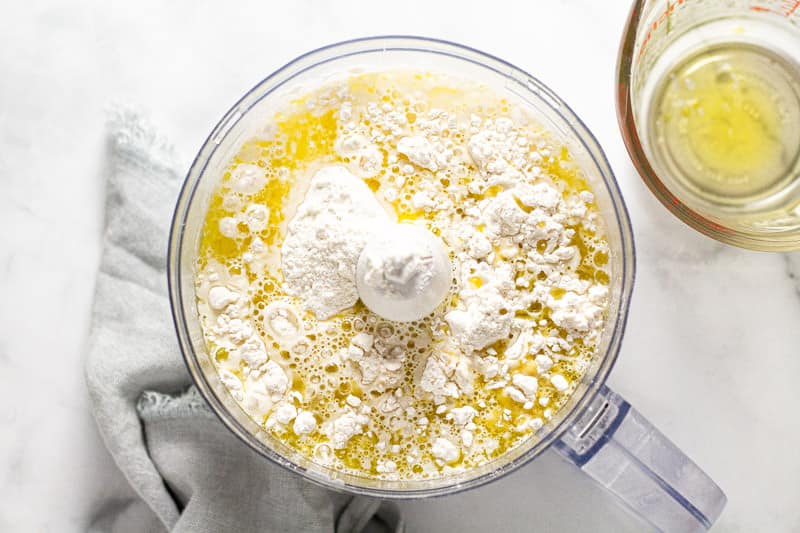
Then add water and oil.
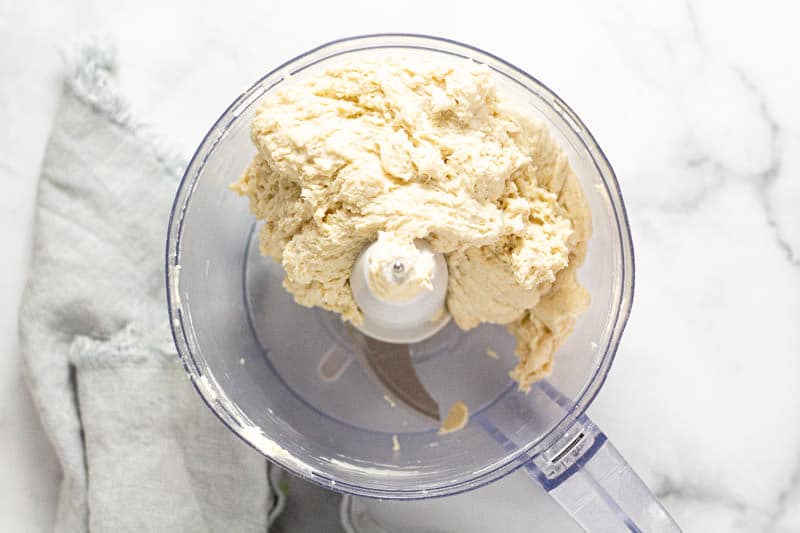
Pulse until a dough ball forms (about 1 minute or so). Scrape down sides with a spatula as needed.
Transfer dough ball to a lightly floured surface.
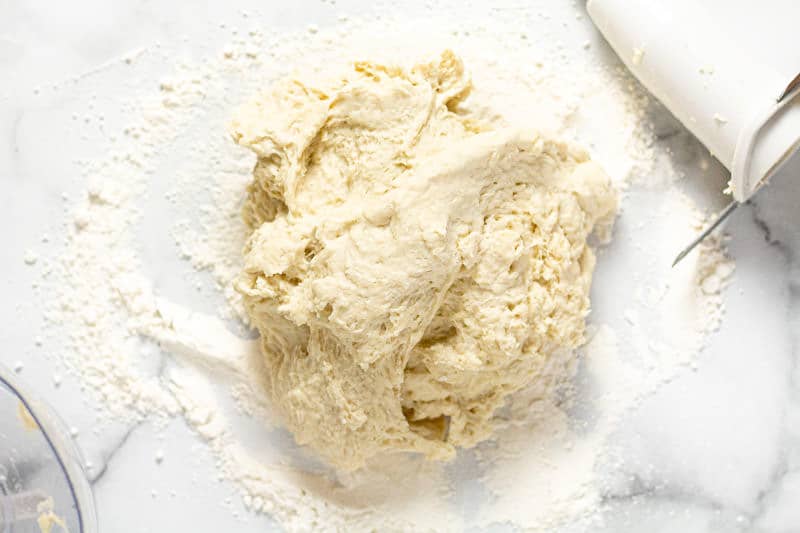
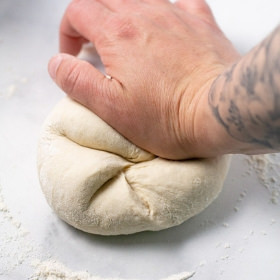
Knead the dough for about 1 minute or until the surface of the dough is smooth.
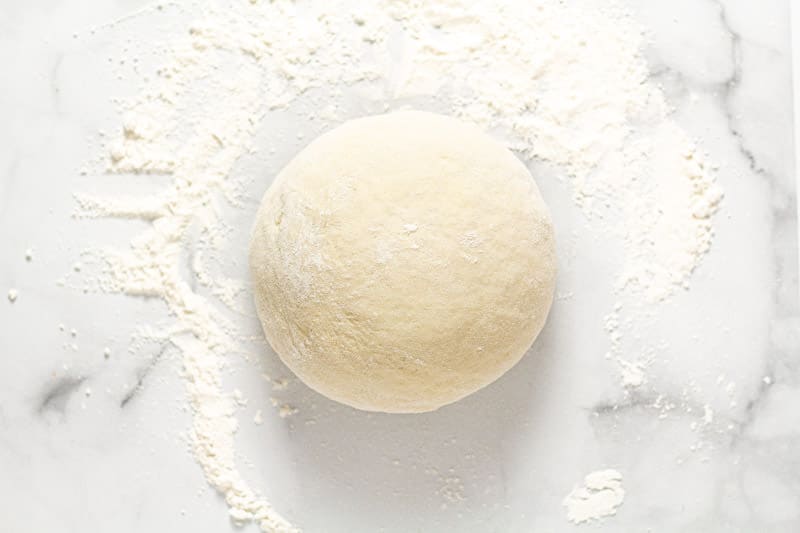
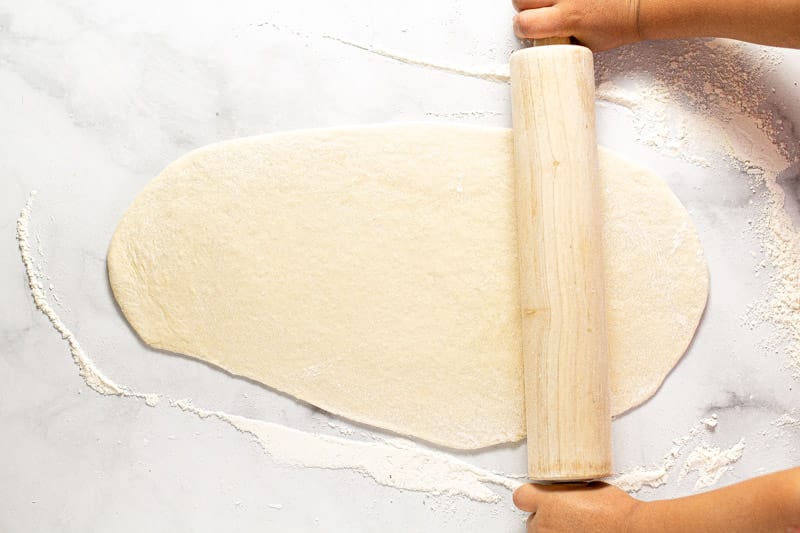
Divide dough into 2 equal balls. Use a rolling pin to roll each dough ball out into a long oval of your desired thickness.
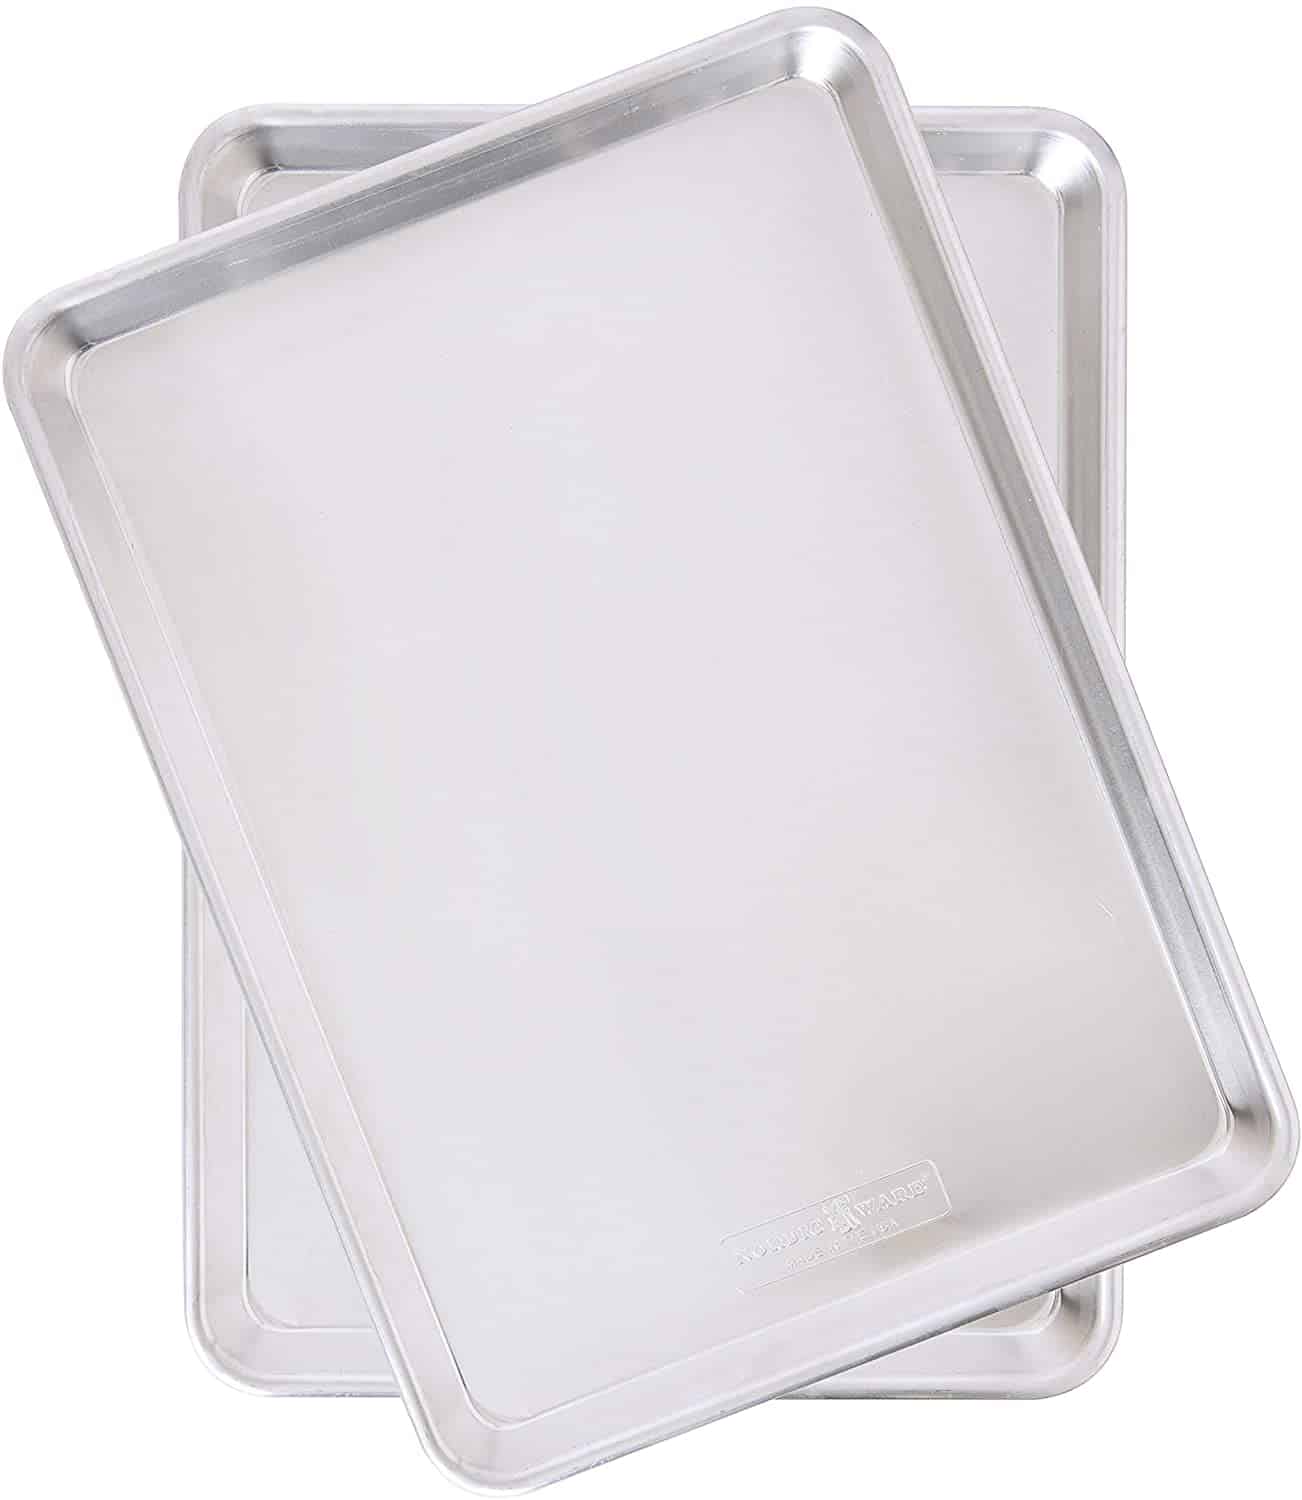
Dust 2 baking sheets with cornmeal and place a flatbread crust on each.
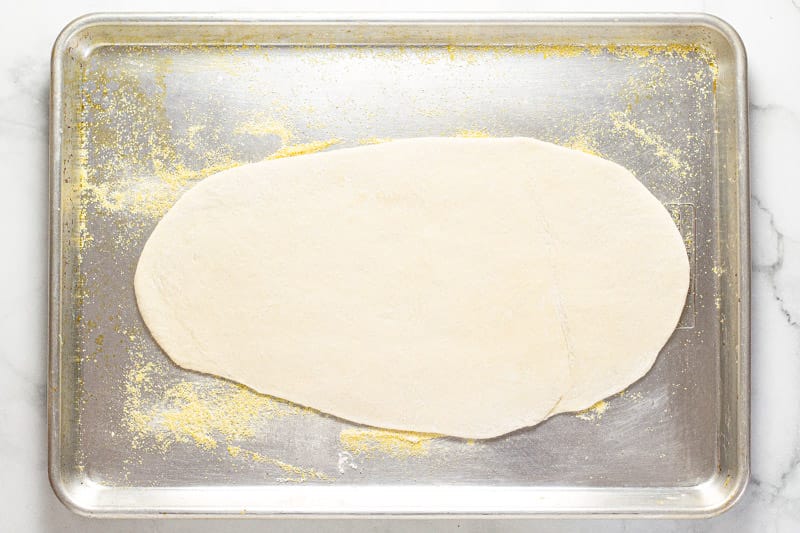
Poke the surface of the flatbread all over with a fork. Bake flatbreads for 5-8 minutes or until the edges of the flatbread are turning golden brown and the flatbread is nearly cooked through.
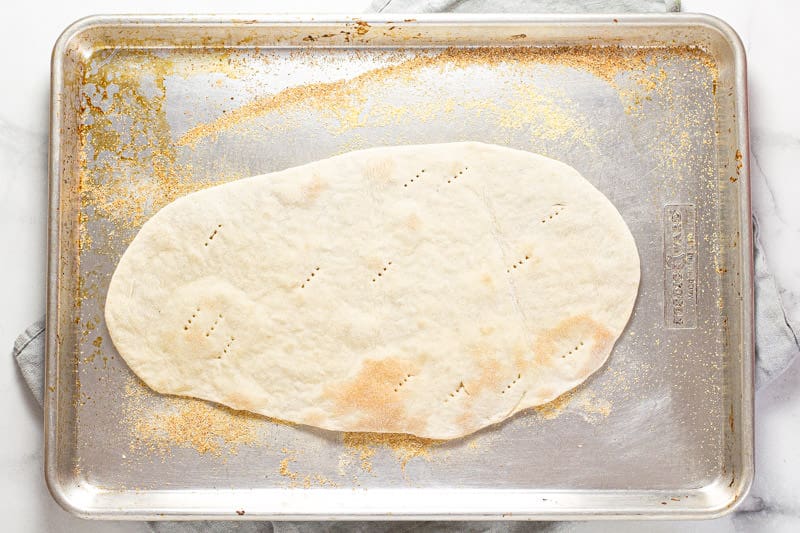
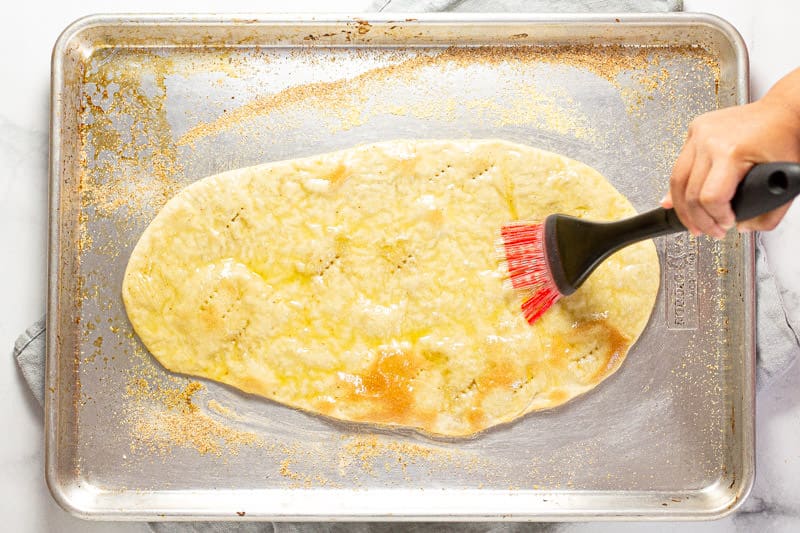
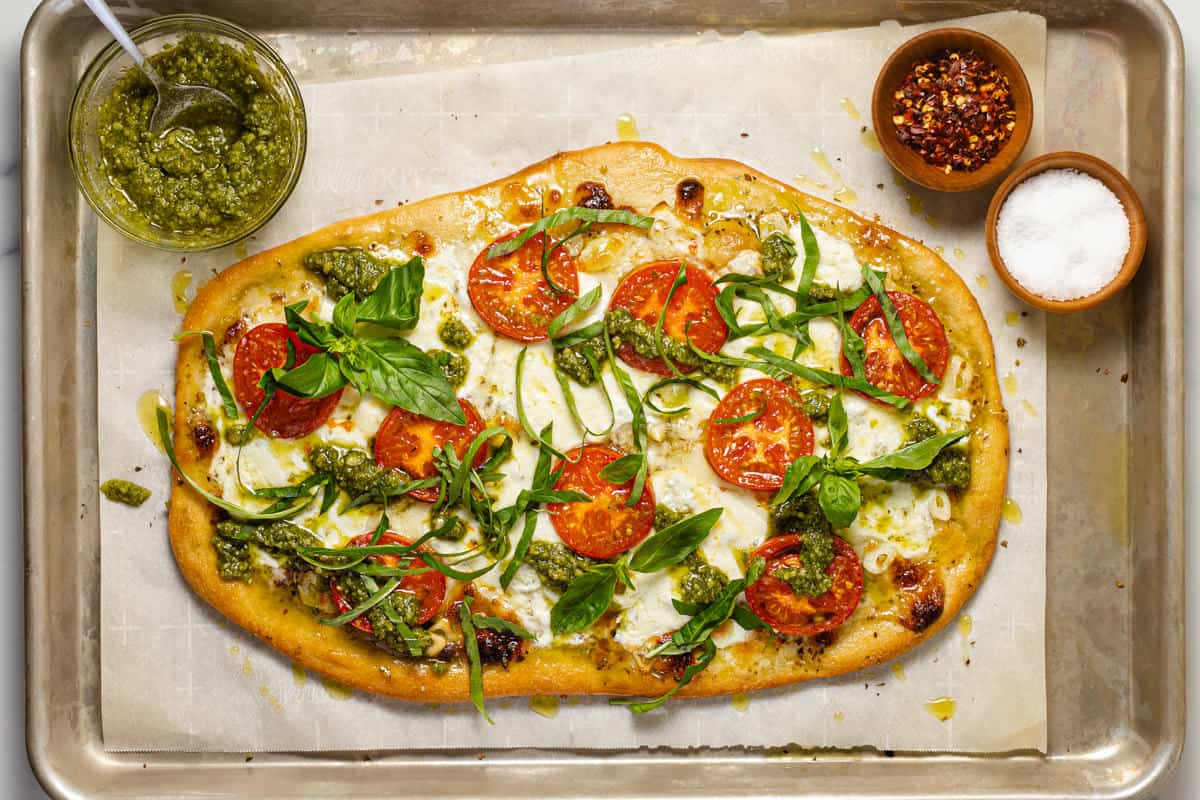
Add desired toppings (like tomato slices and fresh mozzarella cheese if you’re making my 20 Minute Margherita Flatbread) and bake for another 5-10 minutes or so until cheese is melty and toppings are warmed through. Don’t forget to add fresh herbs!
Flatbread vs. Pizza
- The yeast. Pizza dough typically has yeast (and needs time to rise) while flatbread dough typically doesn’t. HOWEVER, some pizza dough doesn’t have yeast and some flatbread dough does. So…you’ll learn pretty fast after a quick Google search that the lines are very blurred and there’s a lot of gray area between flatbread and pizza dough. And that’s okay! I use them interchangeably and you can too!
- The shape. Regular pizza tends to be round (and sometimes even square) while flatbreads seem to be more oval. Who made up these rules? I have no idea. I like to let my pizza and flatbread dough form organically as I roll it out or form it with my hands – don’t worry about following societal norms. Let your flatbread pizza take on its own shape!
- The toppings. I read somewhere that flatbreads typically have little to no cheese…HUH?! Have you seen my flatbreads? Cause they are loaded with cheese. So again, who made these rules up? Cheese is life. Top your flatbread the way you want! Might I suggest a simple Caprese topping? Or perhaps a veggie-forward Mediterranean Flatbread? Better yet, how about a Mexican Street Corn Flatbread!
Freezing
- You can freeze the dough OR the par-baked homemade flatbread pizza crust! Yes, you read that right. Frozen dough means you can be ready for dinner at a moment’s notice!
- After you knead your dough, wrap it up and pop it in the freezer. Next time you want flatbread, allow the dough to thaw on the counter (for about 1-2 hours) and then follow the instructions in the recipe card.
- After you par-bake the dough you can also wrap it up and pop it in your freezer so you’ve got ready-made flatbread for every occasion! When you’re ready to eat, top your frozen flatbread and bake it according to the directions in the recipe card. You may need to add a couple additional minutes of bake time to get the crust cooked completely but with it being so thin this shouldn’t take too long at all!
Tips
- Use table salt. I’ve tried this with Kosher salt and other larger cuts of salt and they just don’t mix in as well. I rarely use anything but Kosher salt in my recipes, but this flatbread is much better with the smaller grains of salt. However, Kosher salt will work if it’s all you’ve got!
- Par-baking the flatbread is a must if you’re looking for a crispy crust. I am still surprised when people say they don’t par-bake their crust! Par-baking allows the inside of the dough to cook without the outside getting dark golden brown. This means that when you top it, it’s not going to get soggy. And when you bake it, it’s going to get perfectly crisp!
- Give it a quick brush with olive oil after par-baking to get the crust just a little bit crispier and darker golden brown!
- Don’t go too crazy with the toppings. As the famous saying goes, less really is more in the case of flatbread toppings. This is an unleavened, thin flatbread crust so it’s not going to hold up to three cups of fresh mozzarella or a mountain of meat. Try adding more flavorful toppings so you need less. *See my favorite flatbread toppings below.

FAQ
Using my 5-minute flatbread dough recipe, simply roll out the dough, par-bake the crust, then add toppings and bake for another 10 minutes! This flatbread pizza dough recipe could not be easier for a simple weeknight dinner!
Flatbread dough and homemade pizza dough are not the same. Flatbread dough does not use yeast and does not require extra time to rise. Normal pizza dough uses yeast and creates a thicker, more chewy dough.
There are three reasons that flatbread dough might be extra sticky: too much water in the dough, insufficiently mixed dough, or cold water (rather than warm water). You might be able to save it by adding more flour and kneading it a bit.
Flatbread Pizza Toppings
You can keep the toppings simple with this easy pizza recipe or try some of my favorite variations below!
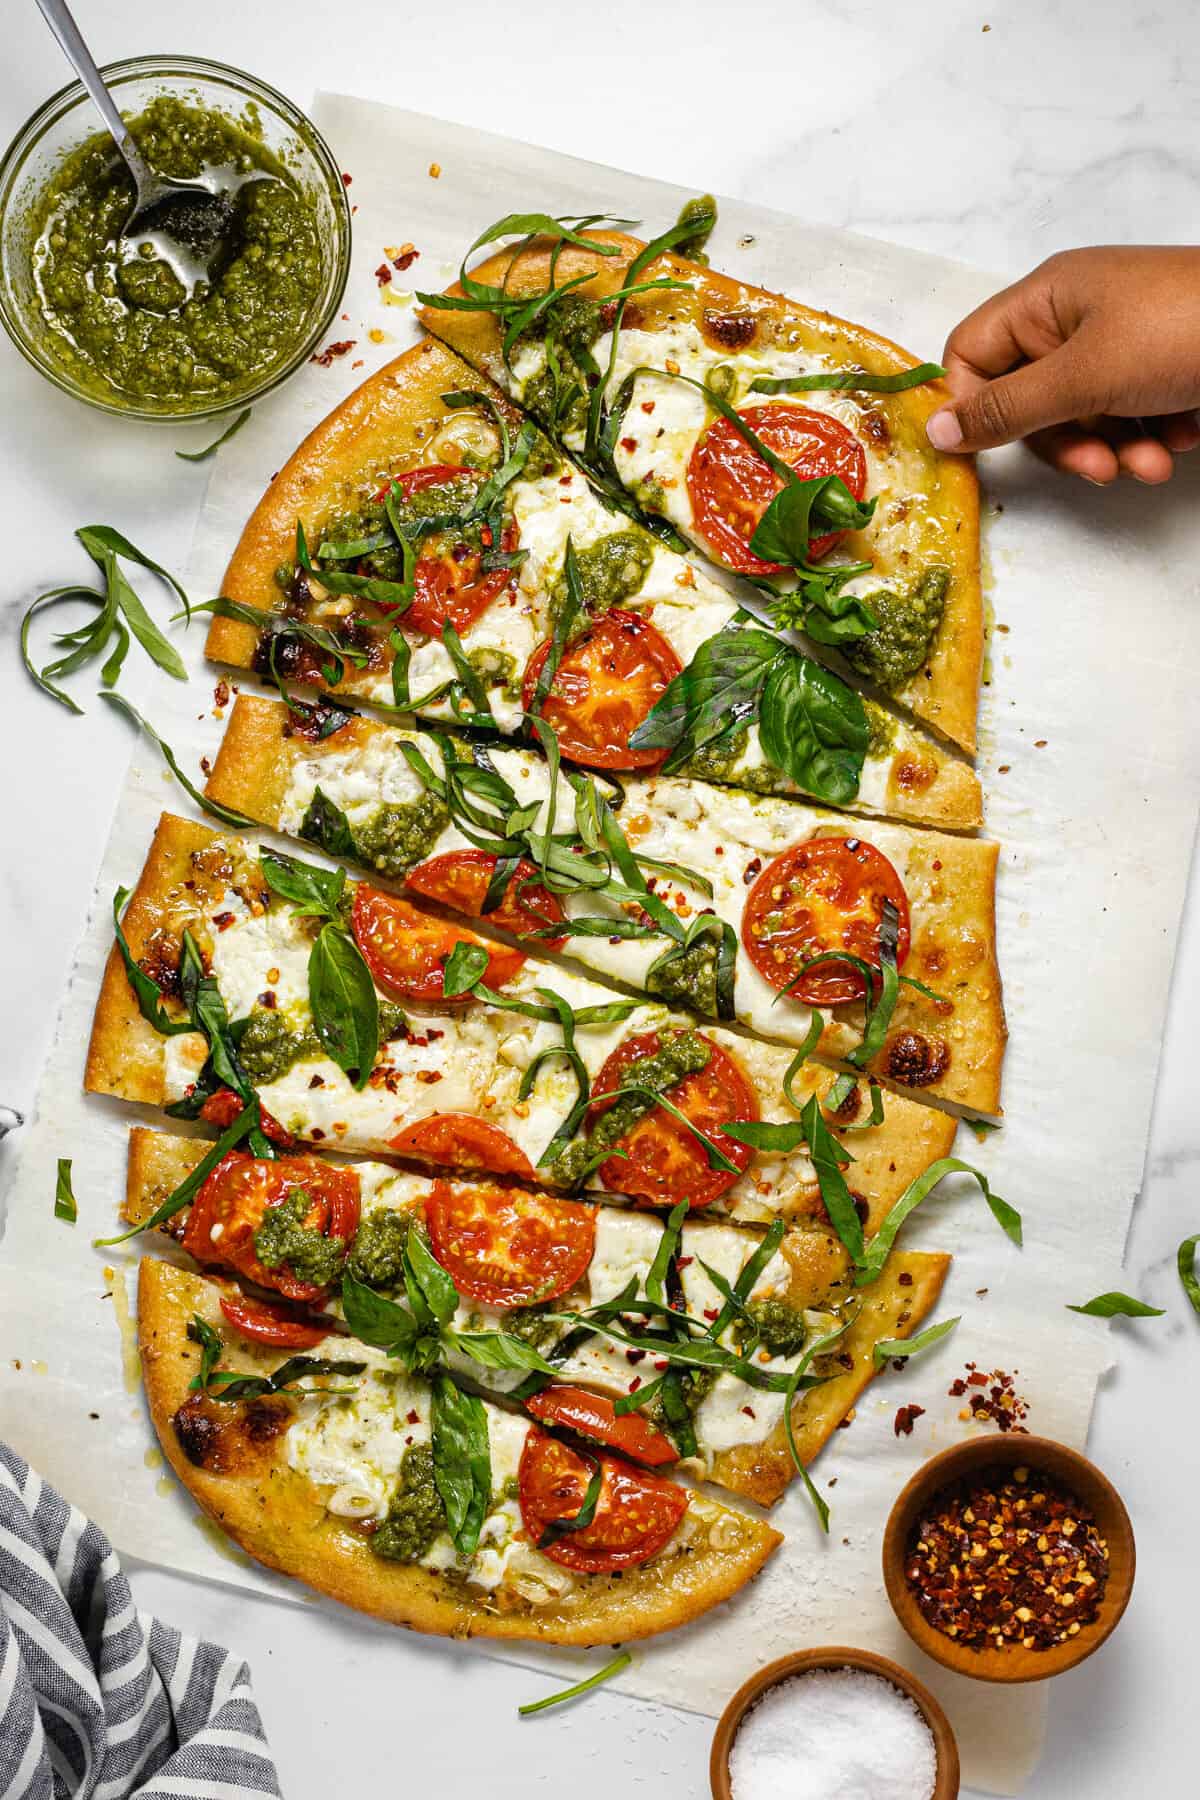
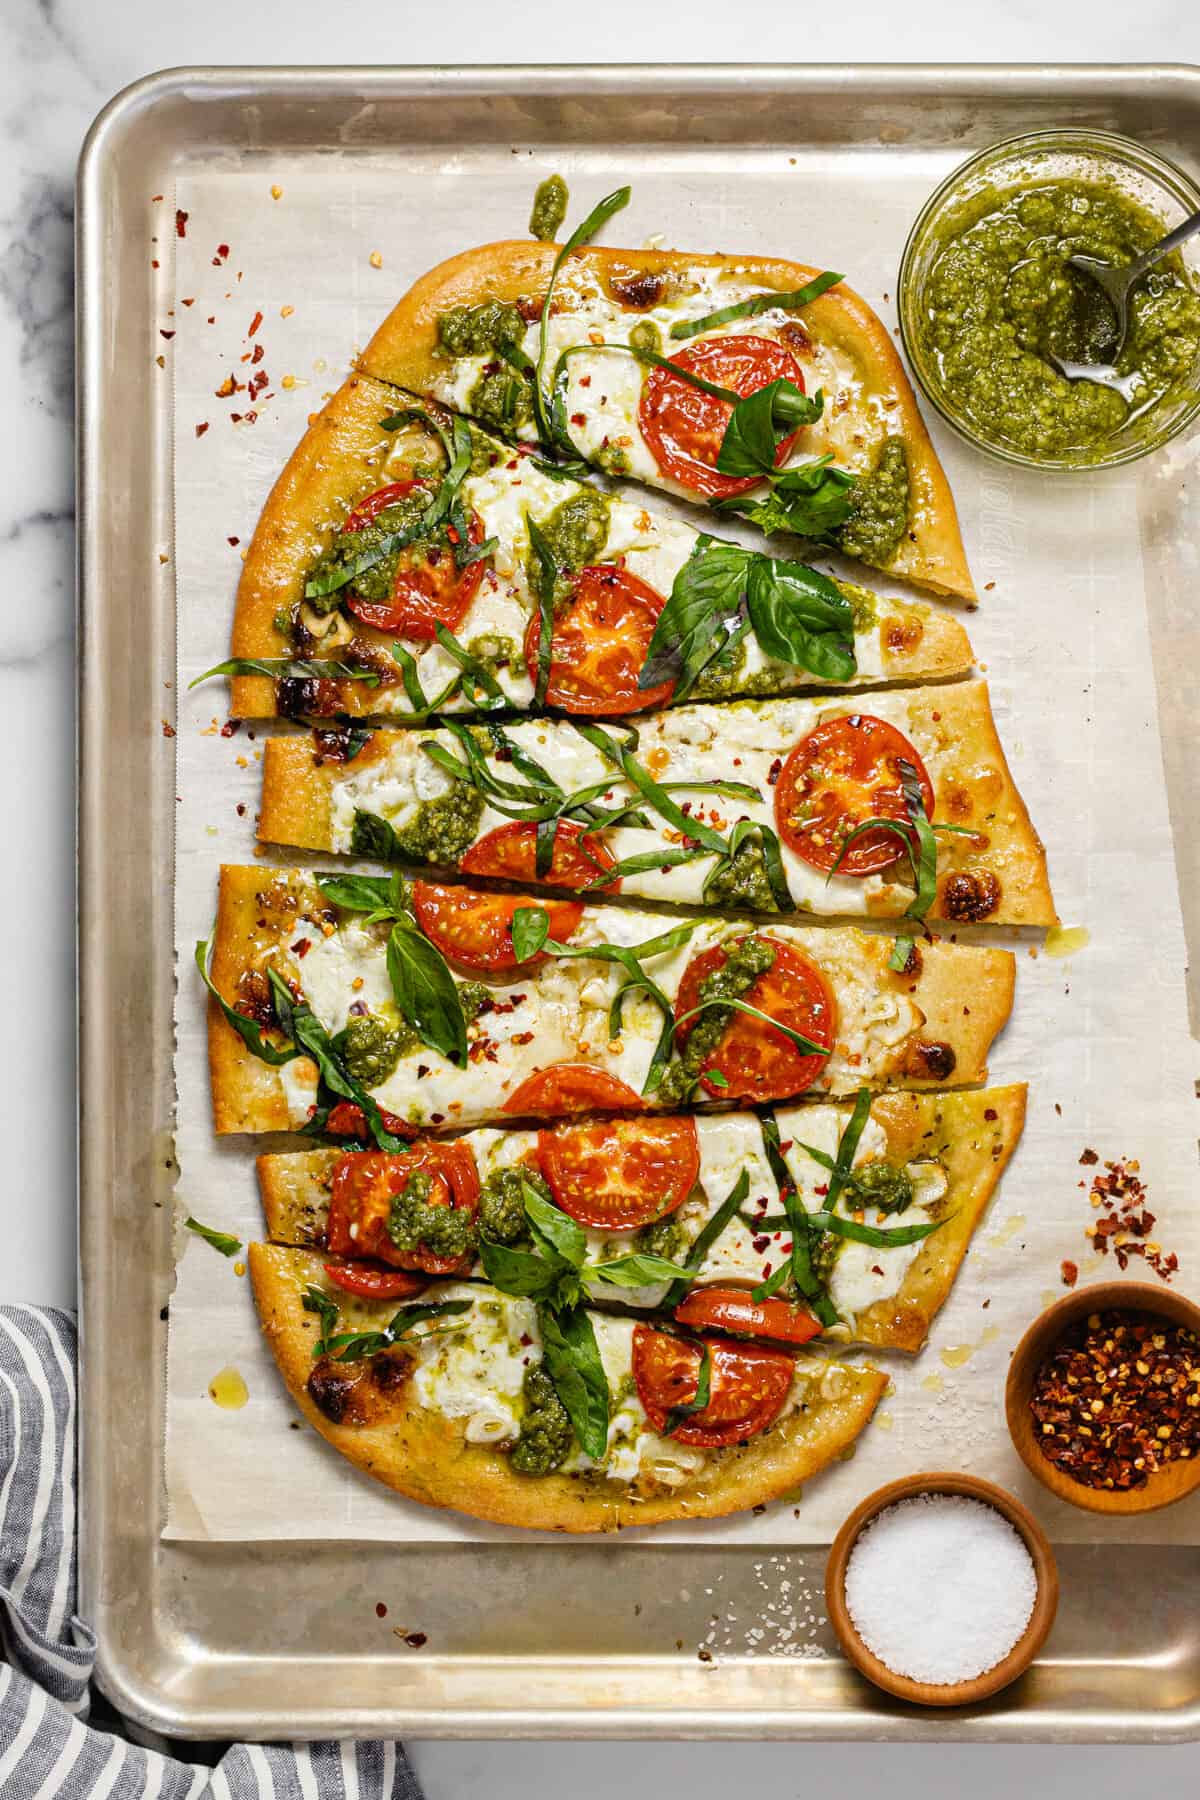
- Margherita Flatbread Pizza – (pictured above) fresh mozzarella cheese, cherry tomatoes, and fresh basil pesto with drizzle of olive oil – pretty standard and also pretty great
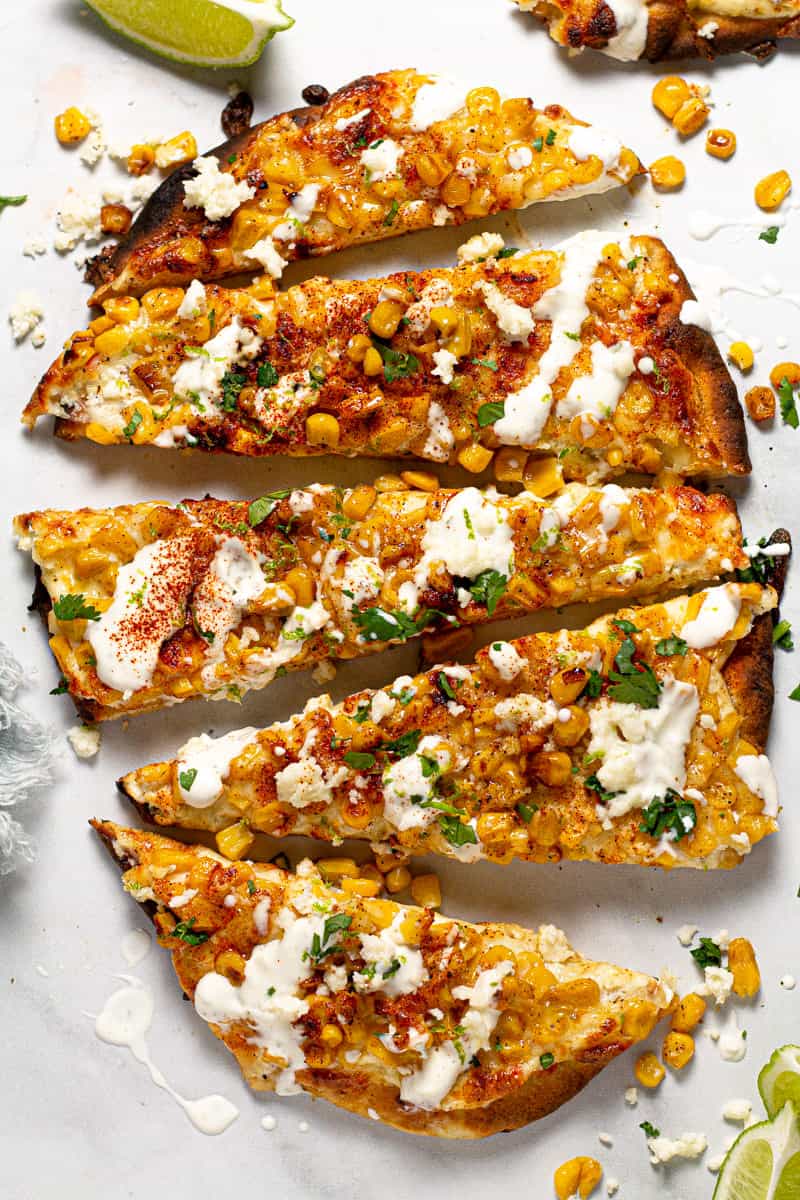
- Mexican Street Corn Flatbread – sweet corn, tangy lime cream sauce, and crumbled cotija cheese – just like elote corn but piled high on a crispy crust
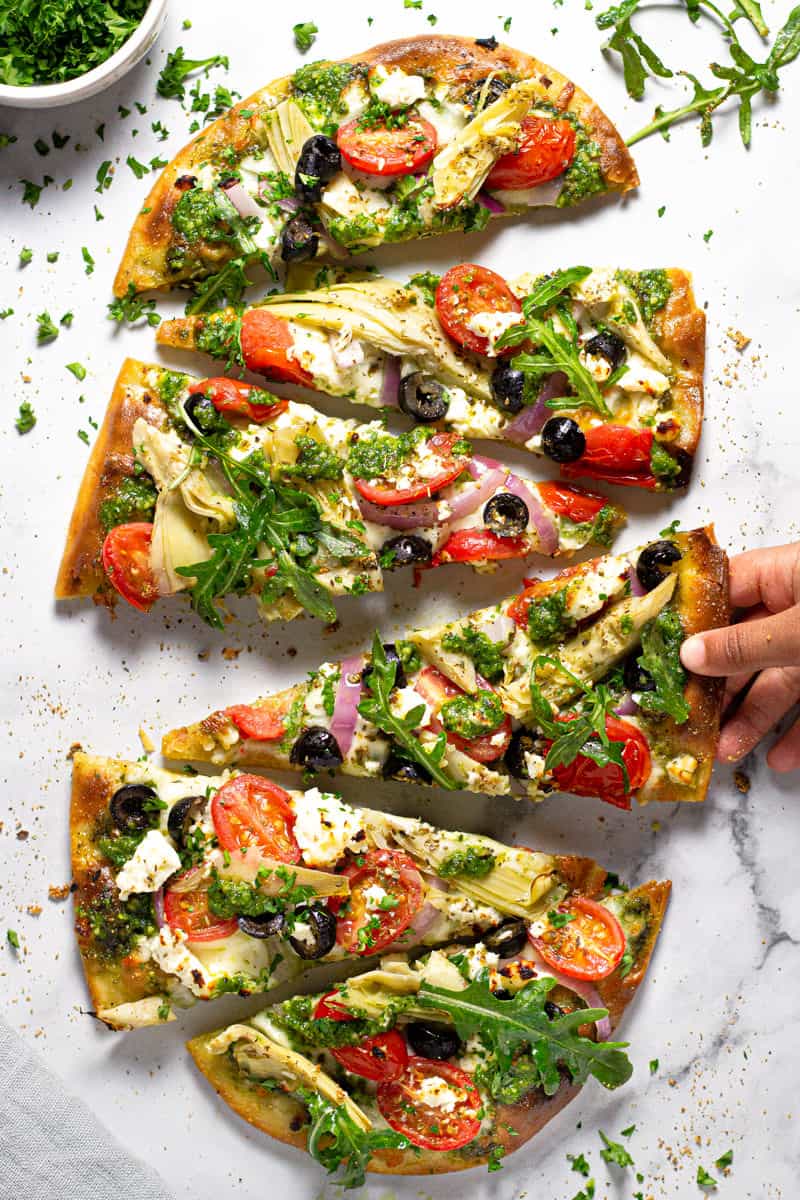
- Simple Mediterranean Flatbread – spinach pesto (or tomato sauce), artichoke hearts, feta cheese, ripe tomatoes, and black olives – your favorite Greek flavors on a crispy, crunchy crust
- Salami, green olives, and fresh cracked black pepper – sounds weird but it’s not – it’s delish
- Olive Tapenade, sliced garlic, burrata, and arugula – salty olives and creamy mozzarella come together for a match made in heaven
- Pizza sauce, pepperoni, mozzarella, and oregano – keep it classic and simple if you prefer!
- Sausage, sliced mushrooms, mozzarella, bell peppers and red onions – this is one of our family’s personal favorite combinations!
Try these flatbreads next!
Did you love this recipe?
Please leave a 5-star rating and review below!
Flatbread Pizza Recipe
This flatbread pizza dough takes less than 5 minutes to make and comes together right in the food processor with only flour, salt, water, and olive oil!
- Total Time: 25 minutes
- Yield: 2 large flatbread crusts (about 8–10 servings) 1x
Ingredients
- 3 cups all purpose flour
- 1 teaspoon table salt
- 1 cup warm water
- 3 tablespoons olive oil
- cornmeal for dusting
- desired toppings
Instructions
- Preheat oven to 475 degrees.
- Add flour and salt to a food processor and pulse until well mixed.
- Add water and oil.
- Pulse until a dough ball forms (about 1 minute or so). Scrape down sides as needed.
- Transfer dough ball to a lightly floured surface and knead dough for 1 minute or until the surface of the dough is smooth.
- Divide dough into 2 equal balls.
- Use a rolling pin to roll each dough ball out into a long oval to your desired thickness. Thinner is better in this case.
- Dust 2 baking sheets with cornmeal and place a flatbread crust on each.
- Poke the surface of the flatbread all over with a fork.
- Bake flatbreads for 5-8 minutes or until the edges of the flatbread are turning golden brown and the flatbread is nearly cooked through.
- Brush with olive oil and top with desired toppings and bake for another 5-10 minutes or so. Try my Easy Caprese Flatbread!
- Enjoy!
Notes
Use table salt. I’ve tried this with Kosher salt and other larger cuts of salt and they just don’t mix in as well. I rarely use anything but Kosher salt in my recipes, but this flatbread is much better with the smaller grains of salt.
Par-baking the flatbread is a must if you’re looking for a crispy crust. I am still surprised when people say they don’t par-bake their crust! Par-baking allows the inside of the dough to cook without the outside getting dark golden brown. This means that when you top it, it’s not going to get soggy. And when you bake it, it’s going to get perfectly crisp!
Don’t go too crazy with the toppings. As the famous saying goes, less really is more in the case of flatbread toppings. This is an unleavened, thin flatbread crust so it’s not going to hold up to three cups of fresh mozzarella or a mountain of meat. Try adding more flavorful toppings so you need less.
- Prep Time: 5 minutes
- Cook Time: 20 minutes
- Category: Main Dish/Appetizer
- Method: Oven
- Cuisine: American/Italian
- Diet: Vegan
Nutrition
- Serving Size: 1/10 of flatbread
- Calories: 161
- Sugar: 0.1 g
- Sodium: 233.3 mg
- Fat: 3.2 g
- Carbohydrates: 28.6 g
- Fiber: 1 g
- Protein: 3.9 g
- Cholesterol: 0 mg
This post was originally published in May 2019. It was updated in March 2020 to include process shots, step-by-step instructions, and tips for making the best flatbread dough every single time!



I was making the flatbread for lunch so I halved the recipe & made it in my stand mixer. I used Himalayan sea salt & organic all purpose flour, I needed an additional 2 Tbsp warm water then I turned it onto a mat and rolled it out. I didn’t poke any holes in it, I topped it with homemade pizza sauce, mozzarella cheese, thin sliced tomatoes, sautéed red onion & garlic, slices of Kalamata olives, and turkey pepperoni. I had no corn meal and it was fine, I baked it on a stone. I baked it at 525 for 10 minutes – it looked like the edges were browning so I turned it down to 500 for the last 7 minutes. I drizzled balsamic glaze across it but I think I like EVOO drizzled across it better. Next time I make this I’ll keep the heat at 500 since my oven gets too hot. Thank You this was easy, quick and very versatile!
My mouth is watering, Bridgitte! Sounds delicious – thank you for sharing 🙂 Thank you for leaving a review – I really appreciate it!
I don’t have cornmeal. Can I use something else?
You could use just a bit of flour in place of the cornmeal! It’s basically just making sure that the crust doesn’t stick to the baking sheet. You could also use aluminum foil as well!
I don’t have a food processor so I did a.l by hand. I think I got close, but it doesn’t seem to have cooked all the way. I likely should have pre-baked longer maybe. Easy enough that I will keep on trying.
It can be a little tricky to know how long to par-bake before! It will also depend on how thin you roll the dough. I hope that you get it just right next time 🙂 Thanks for leaving a review, Sean!
This is by far one of the best pizza dough recipes I’ve ever tried. And I’ve tried so many with yeast and a couple without yeast. This is the only one that tastes like pizzeria pizza. Who would have thought no yeast was required? If you want to try this GO AHEAD with no doubts. You’ll be amazed.
BEST REVIEW EVER, Sang! Thank you SO much!! I agree this is one of the best tasting, simple dough recipes I’ve ever had as well! I really appreciate your review – thanks again!
I made this perfectly one time and now all of the other times when I pulse it in the food processor it just turns into a crumbled mess, why is this??
It’s hard for me to speculate without actually be in the kitchen with you – especially when it worked one time and not the others. I’d just try adding a touch more water until it sticks together more. No harm in adding more moisture to the crust. Also, when you are measuring the flour are you measuring it correctly? Here’s a great link on how to measure flour: https://www.mybakingaddiction.com/how-to-measure-flour/#:~:text=Use%20a%20spoon%20to%20fluff,flour%20across%20the%20measuring%20cup. You can also just mix it in a large bowl instead of using a food processor – that might allow you to have a bit more control. Hope that helps!
Can I use sauce on pizza crust
Yes! You can use any sauce that you like! Just don’t go overboard or it will get soggy 🙂 The comments are moderated and approved by myself, so that is why when you submit it, it does not appear immediately. Thanks!
Great fast, simple recipe for flatbread. We loved it. Very yummy. Thank you.
I am so glad that you enjoyed this recipe, Linda! Thank you for taking the time to leave a review – I really appreciate it 🙂
Hello!
I am wanting to make your flatbread recipe for a friend coming over tomorrow. Wondering if it can be made ahead. Should I just make dough ahead and chill in fridge? Should I bake the flatbread and just put toppings on tomorrow?
Thank you!
Yes! You can definitely make this ahead of time, Edith. Great question! You could either make the dough ahead of time and refrigerate it. Then I’d take it out of the fridge about an hour before you are ready to form the crust so that it can come to room temp. Otherwise, you could also par-bake the flatbread crusts today and then refrigerate them until you’re ready to top them and do the final bake. Would love to hear how they turn out. Thank you!
Fantastic recipe. Made it on the grill and wish we would have doubled the recipe! Making it again for company tonight.
Yay!! So glad to hear that, CarolAnn! I can only imagine how fabulous this crust would taste on the grill! Thanks so much for leaving a review – I really appreciate it 🙂
Delicious, crunchy and easy to make!! Thank-you for this recipe!!
I am so glad that you enjoyed this flatbread recipe, Denise! Thank you for leaving a review!
Great recipe! Flat bread turned out perfectly.
WOOOHOO! So glad you enjoyed this recipe, Pinky. Thanks for leaving a review!
HI. I am wondering if this dough can be baked at 450 instead of 550? Also, can we use any food processor or do you have to have a special one?
Great questions, Adan! You can bake it at a lower temperature, but the texture of the crust may be a bit different – chewier and perhaps not as crispy on the outside 🙂 Any food processor will work, or just a regular old bowl works fine too! Enjoy!
Amazing recipe. I had to use the pulse function on my food processor, and it was struggling towards the end, but it still saves a lot of effort which is why I avoided making pizza dough again for some time (that and the proofing time hence the interest in no yeast dough).
I baked the flatbread for about 15 minutes at 450F. Then, I baked the pizza for about 15 minutes and it turned out crispy.
The best thing is that I can save the left over dough and take it out and make fresh pizza later 🙂
Could not agree more – the food processor saves a lot of time! I’m so glad that you enjoyed this recipe. Thanks for leaving a review, Adan!
WOW! I thought I was thorough with explanation, but you gave all the info I was curious about. Meditt-flatbread. That’s the ticket! And the Capreese topping ?? Thank you.
I love to hear that McDaddee!! Thank you so much for leaving a review – I really appreciate it! 🙂
Superb, cooked in my outside oven, made it outside cooked it outside, ate it outside, mozzarella and a little bacon and Worcester sauce fantastic
That sounds AMAZING, Mike! I am so glad that you enjoyed this recipe. Thank you for leaving a review!!
I discovered this recipe last week, and will be making it for the third time for lunch today. I will also be passing it on to a friend whose daughter loves flatbread pizza.
Thank you!
Once you start, you can’t stop! We make this flatbread at least once a week. It’s just so quick and easy. I’m glad you enjoyed this recipe, Mudge. Thanks so much for leaving a review!
Loved this flatbread recipe. Make sure to roll thin! I rolled, put toppings on and baked in the oven at 425° for 20 ish minutes. Will be using this recipe again.
Awesome!! I prefer a thinner flatbread as well! I’m so glad you enjoyed this recipe, Kayleigh. Thanks so much for leaving a review!