Easy 15-Minute Crostini Recipe
This quick and easy crostini recipe requires just 3 ingredients – baguette, olive oil, and salt – and takes about 15 minutes from start to finish. Making crostini at home is easier than you might think. And freshly made crostini tastes SO much better than the version you’ll find at the grocery store!
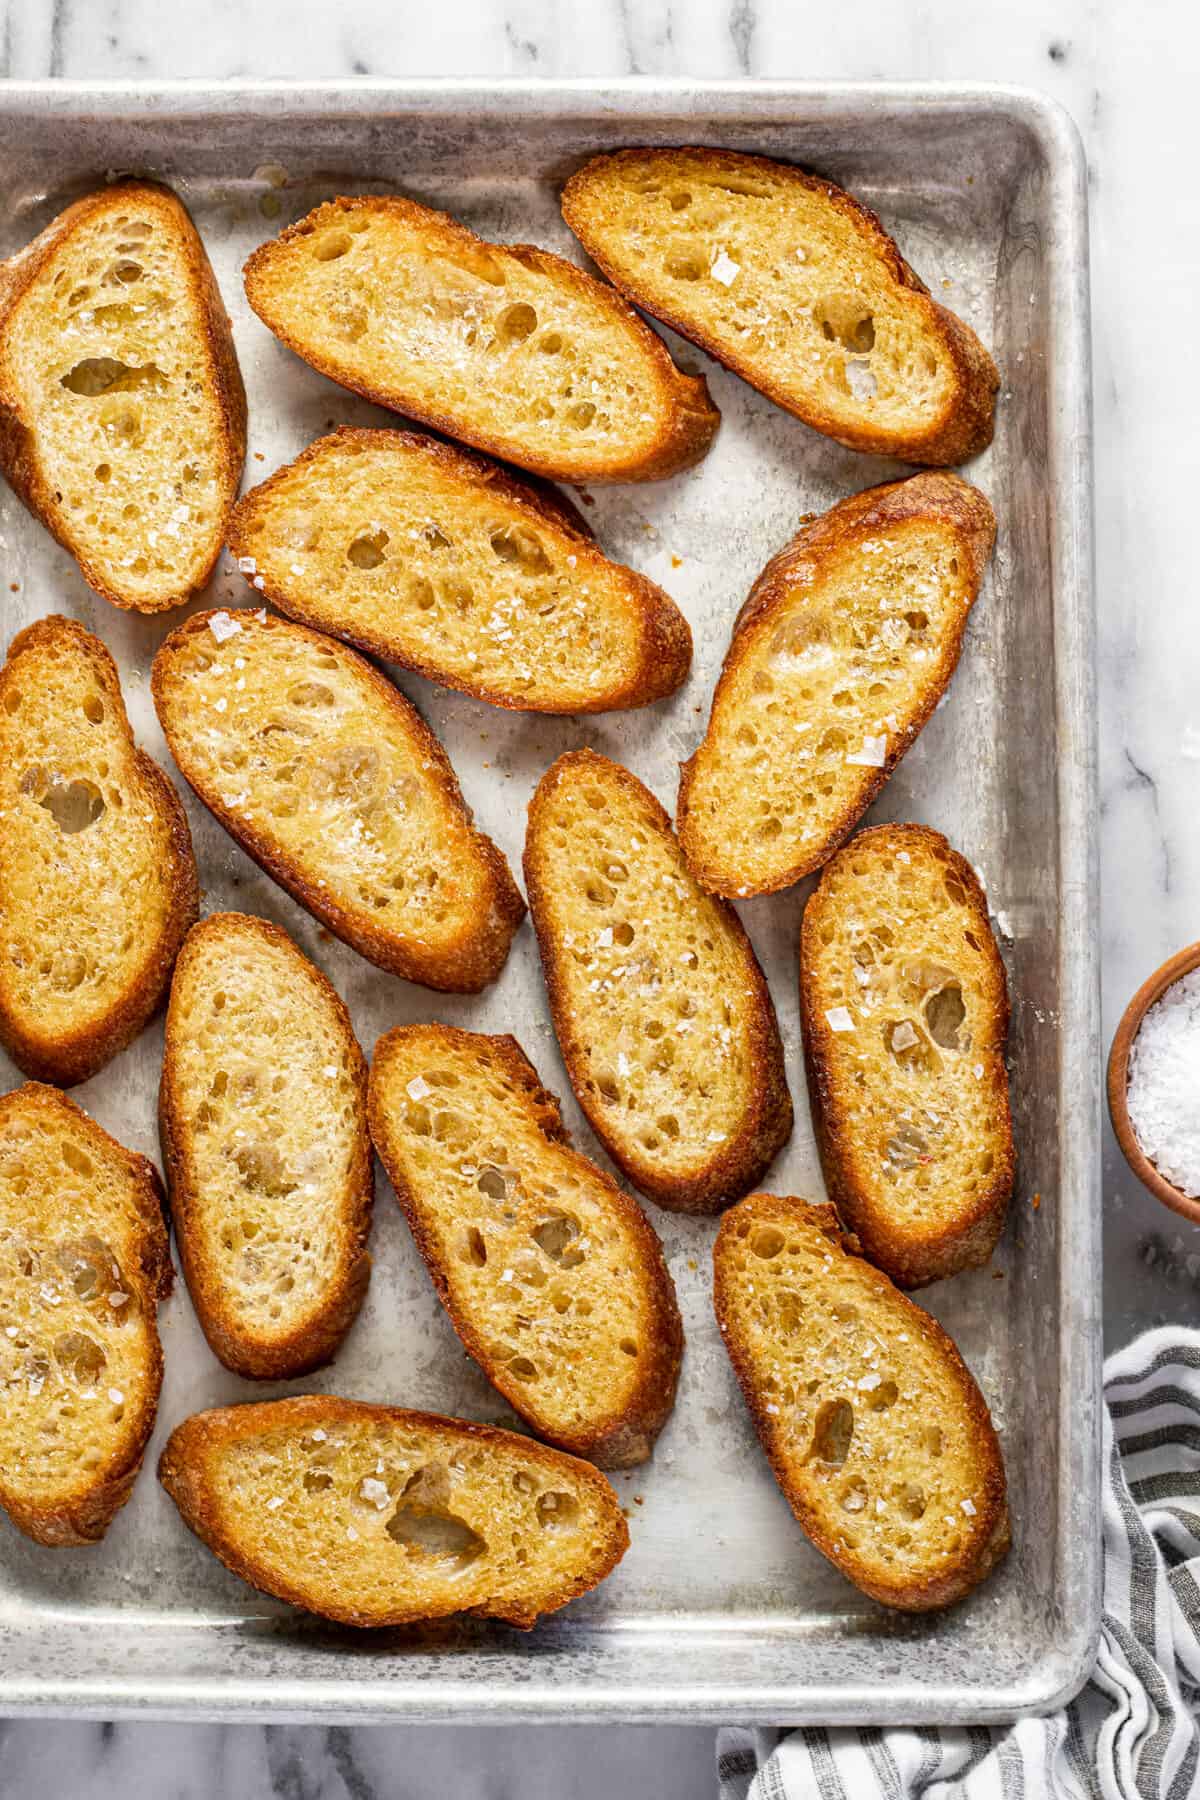
What is crostini?
Crostini is an Italian appetizer made with toasted bread slices. Typically using baguette, the bread is sliced, brushed with olive oil, and lightly toasted to achieve a crispy, crunchy texture. It is then topped with a variety of ingredients or served alongside a dip or sauce. It makes the perfect versatile hors d’oeuvre or a light meal, offering a delightful combination of flavors and textures. Its elegant presentation and endless topping possibilities make crostini a popular choice for an easy party appetizer.
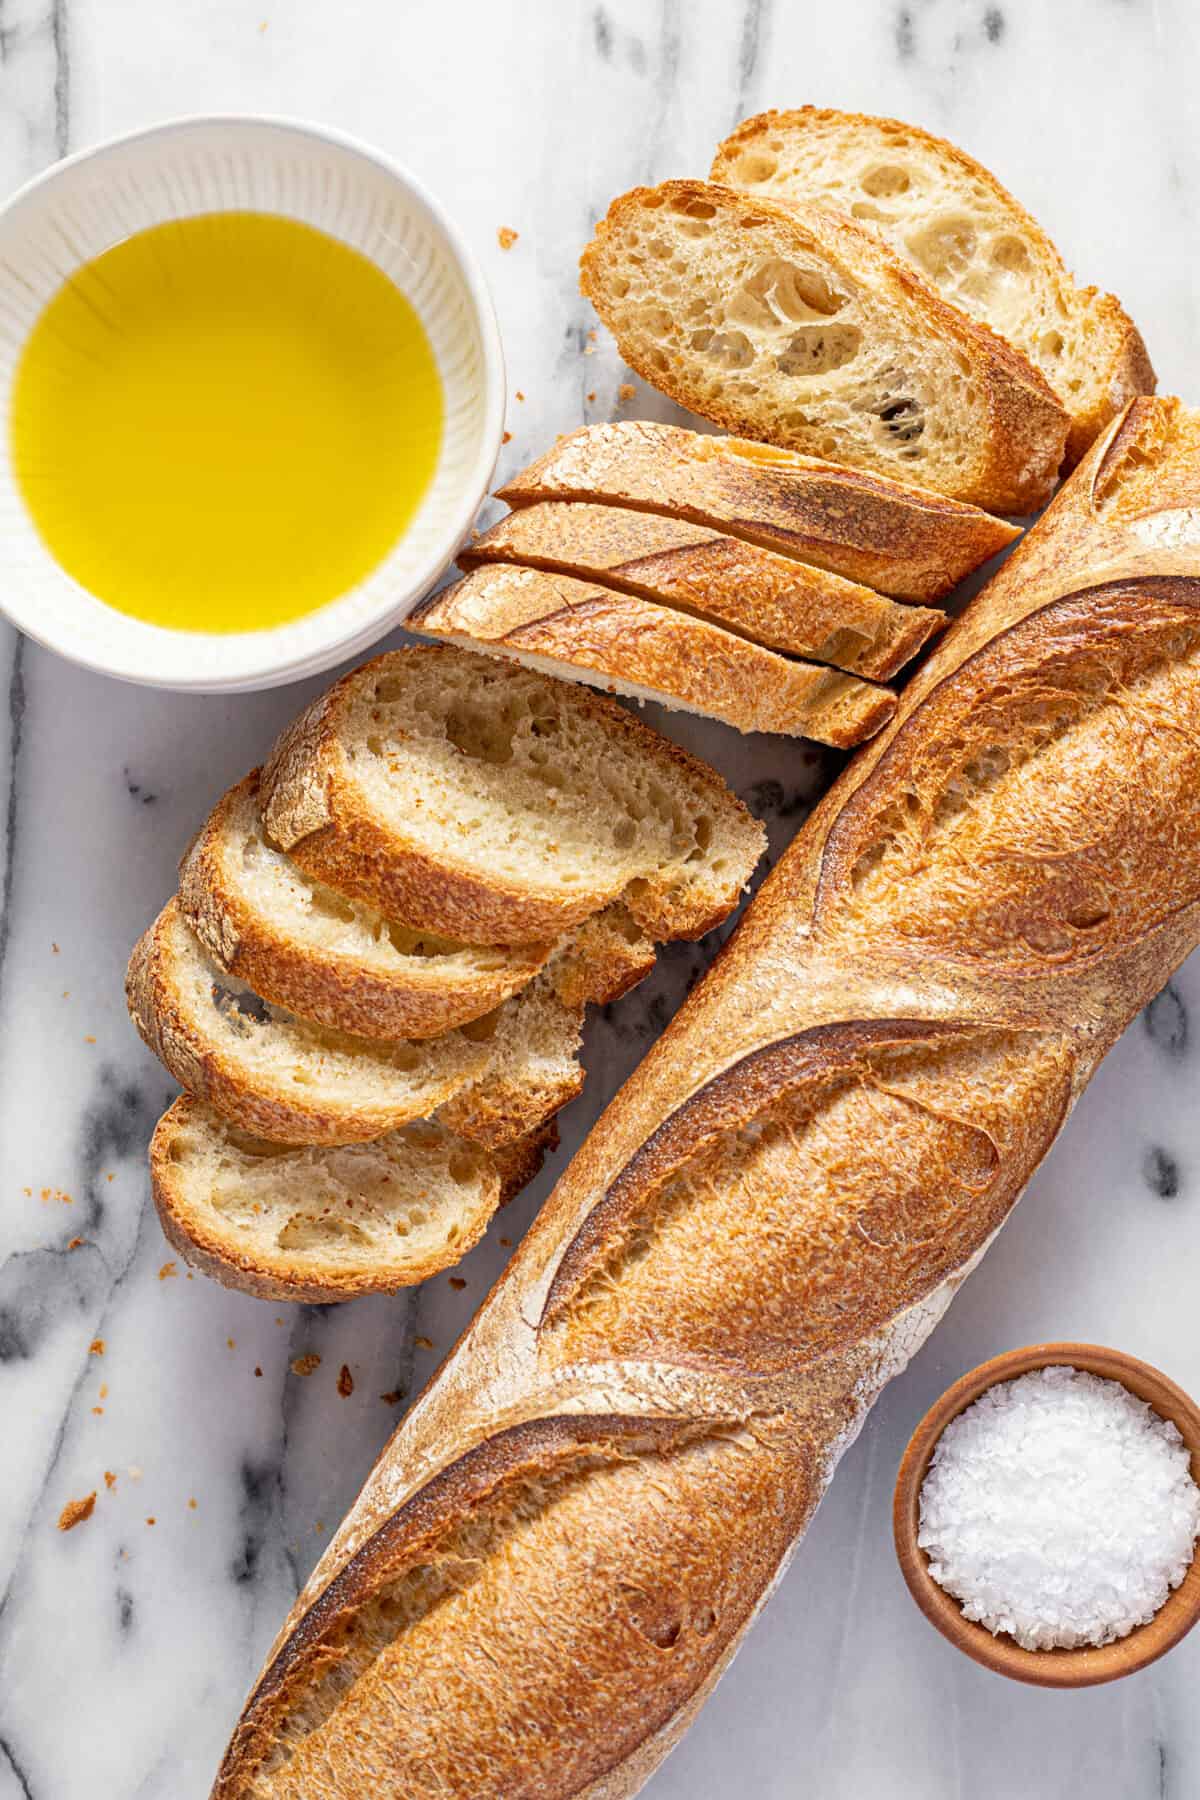
Ingredients and Substitutions
- French Baguette – I love to use a classic, crusty French baguette for this recipe, but you can use your favorite long loaf of bread.
- Olive Oil – Stick with a good extra virgin olive oil for this recipe. Since the ingredient list is so short, you want to make sure you’re using quality ingredients that taste delicious!
- Kosher Salt – I prefer to use Kosher salt in 99% of my recipes and this one is no exception! A sprinkle of salt goes a long way in boosting the flavors of this homemade crostini.
Why Make Homemade Crostini?
This easy crostini recipe is the best way to take your appetizers to the next level! Store-bought crostini is often way too crispy and stale. Freshly made crostini are perfectly crisp and have a ton more flavor than store-bought. And the best part is that they take just minutes to throw together!
How to Make the Best Crostini
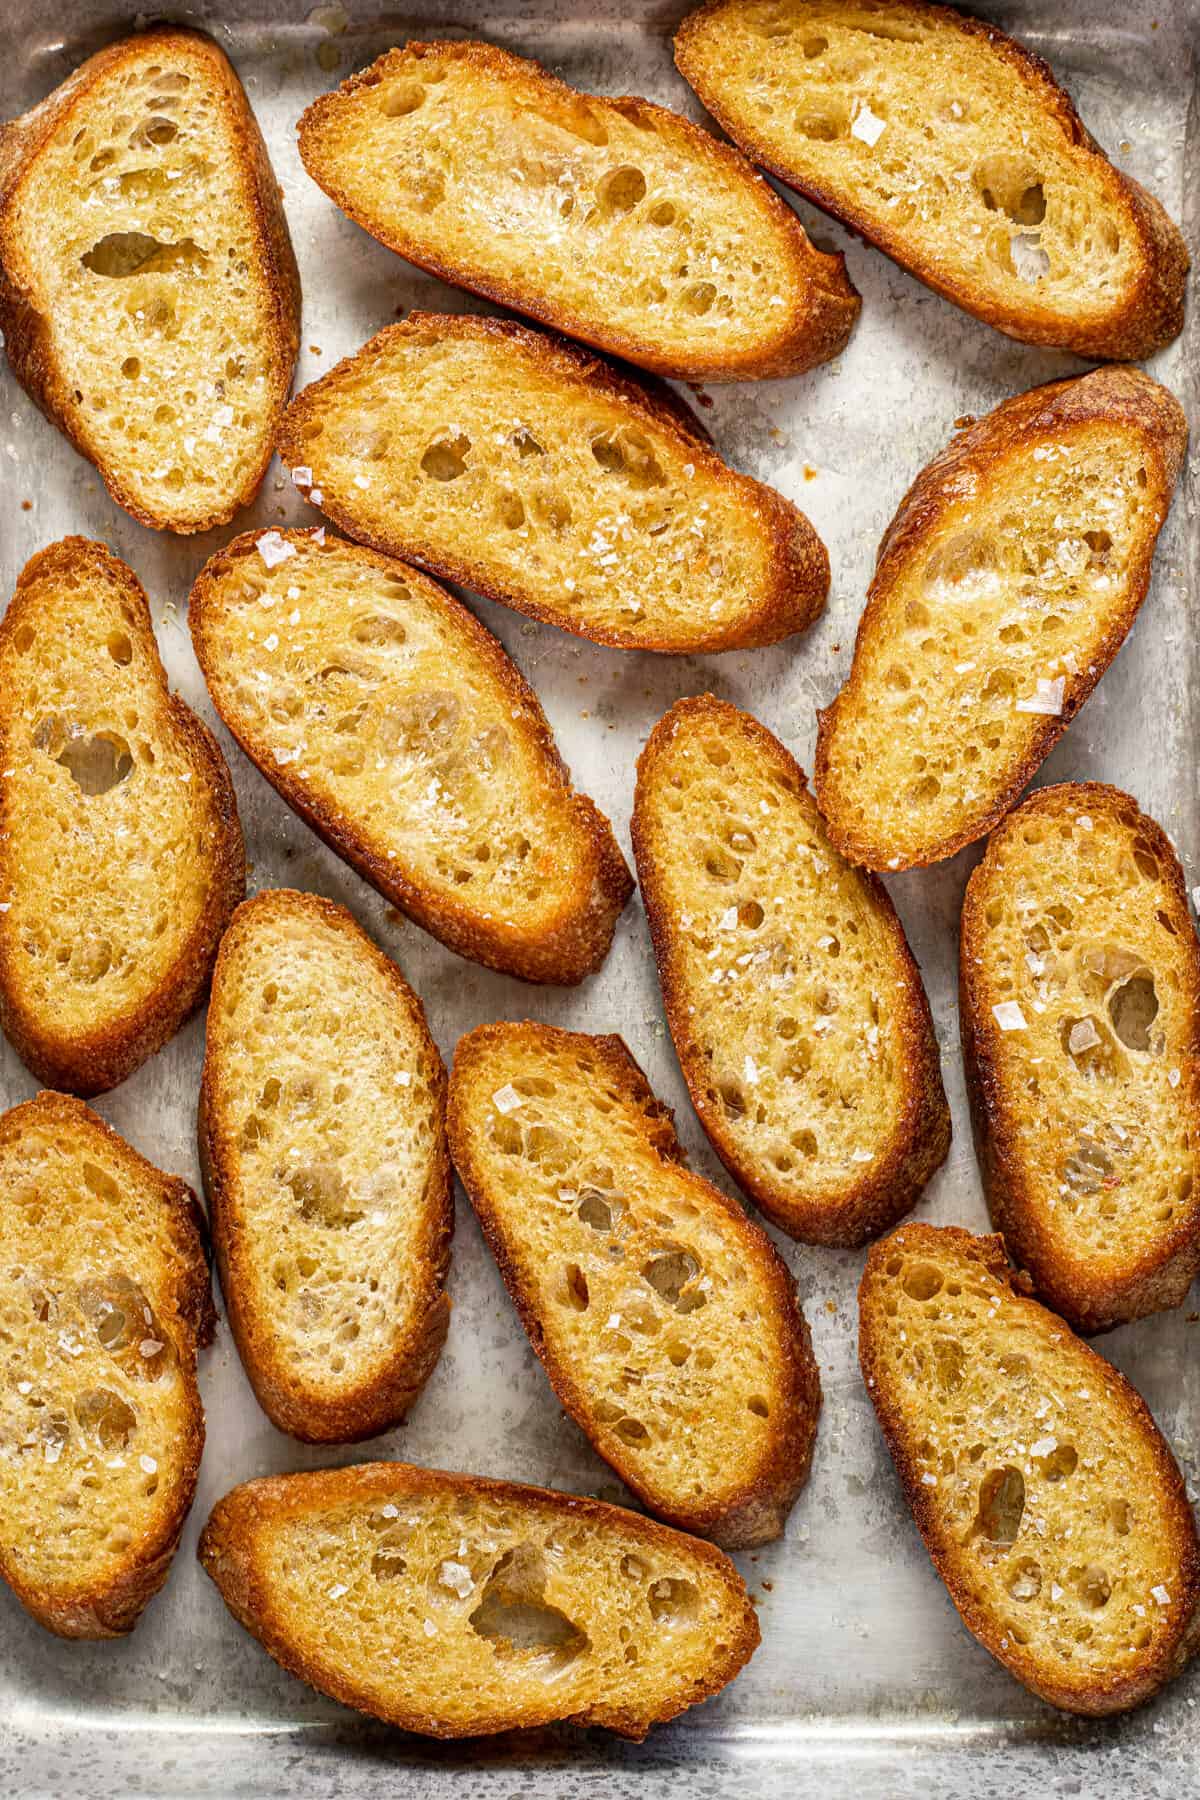
Slice the baguette into 1/2″ slices using a serrated knife. Lay in a single layer on 1-2 baking sheets.
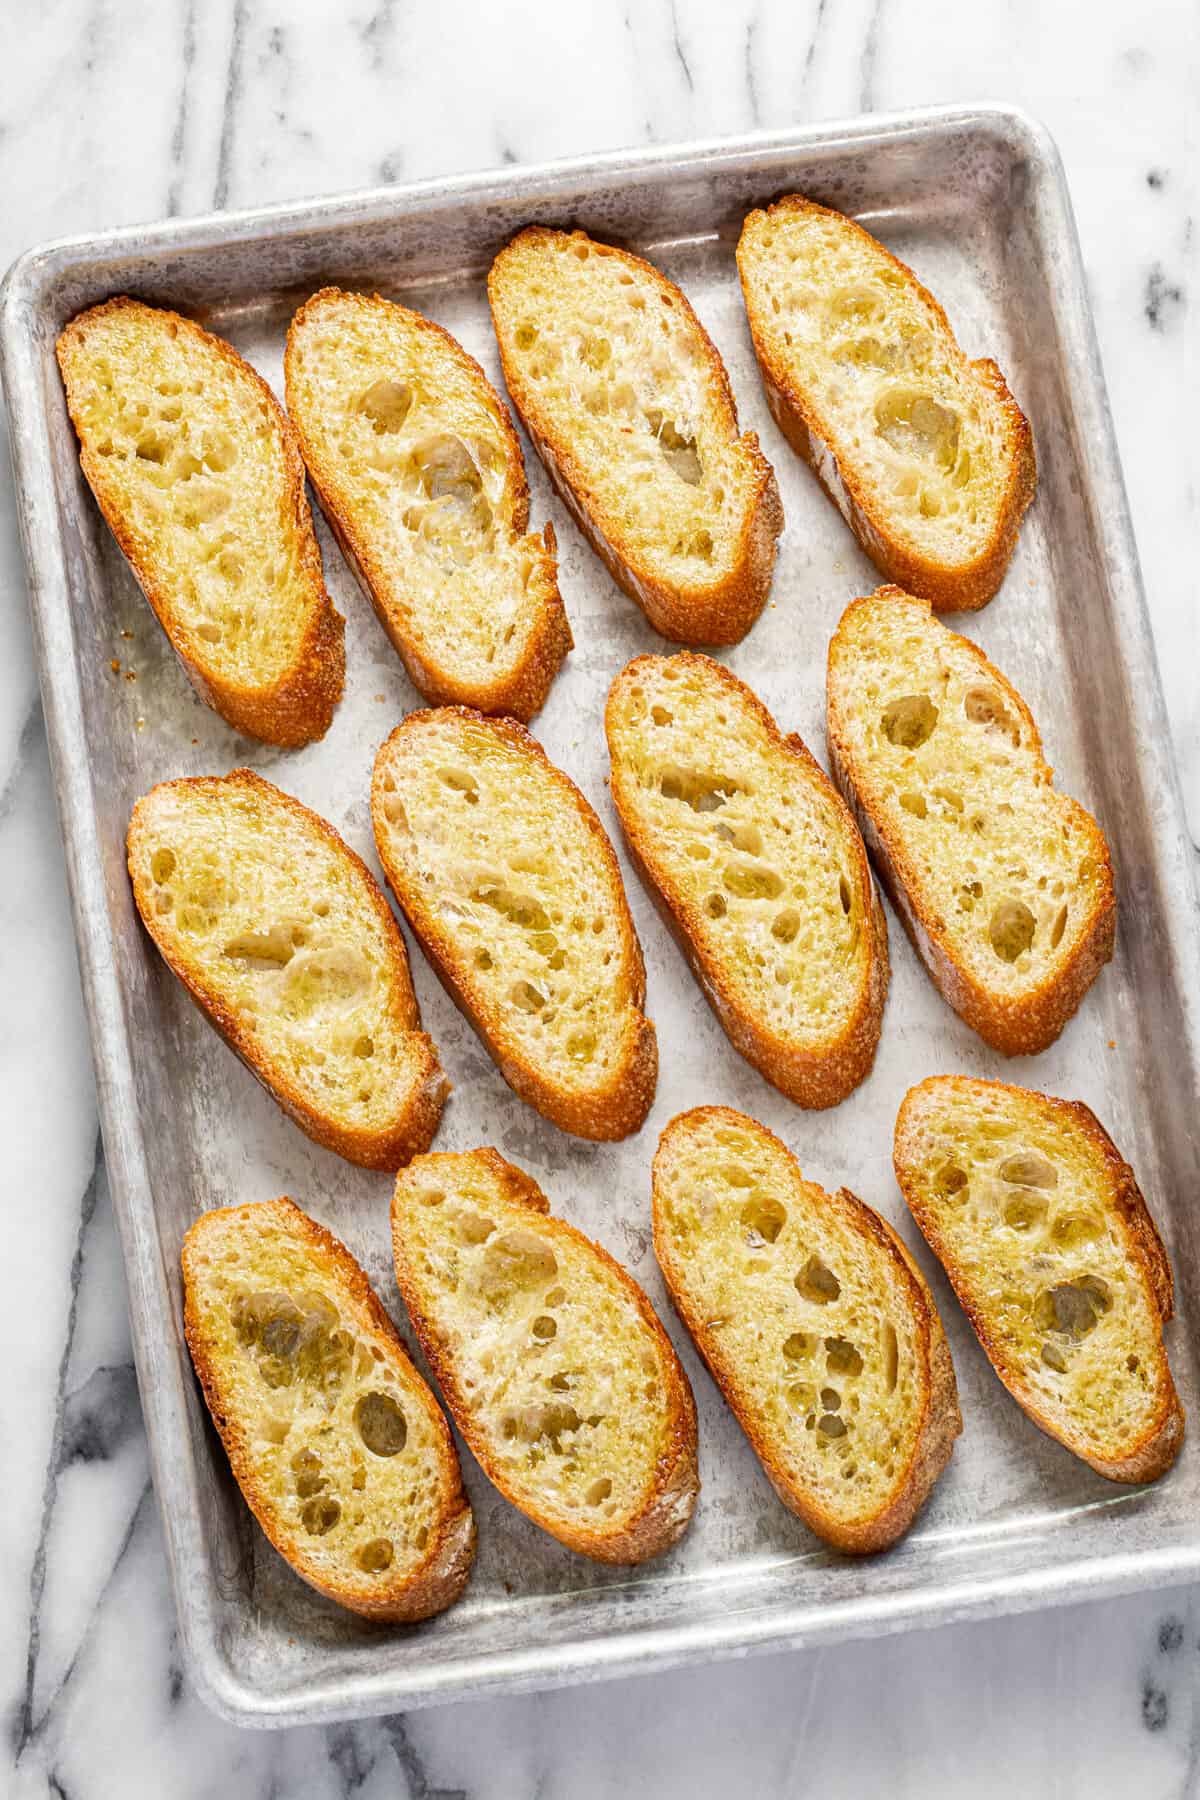
Brush both sides of each piece of bread with olive oil. Bake for 8-10 minutes.
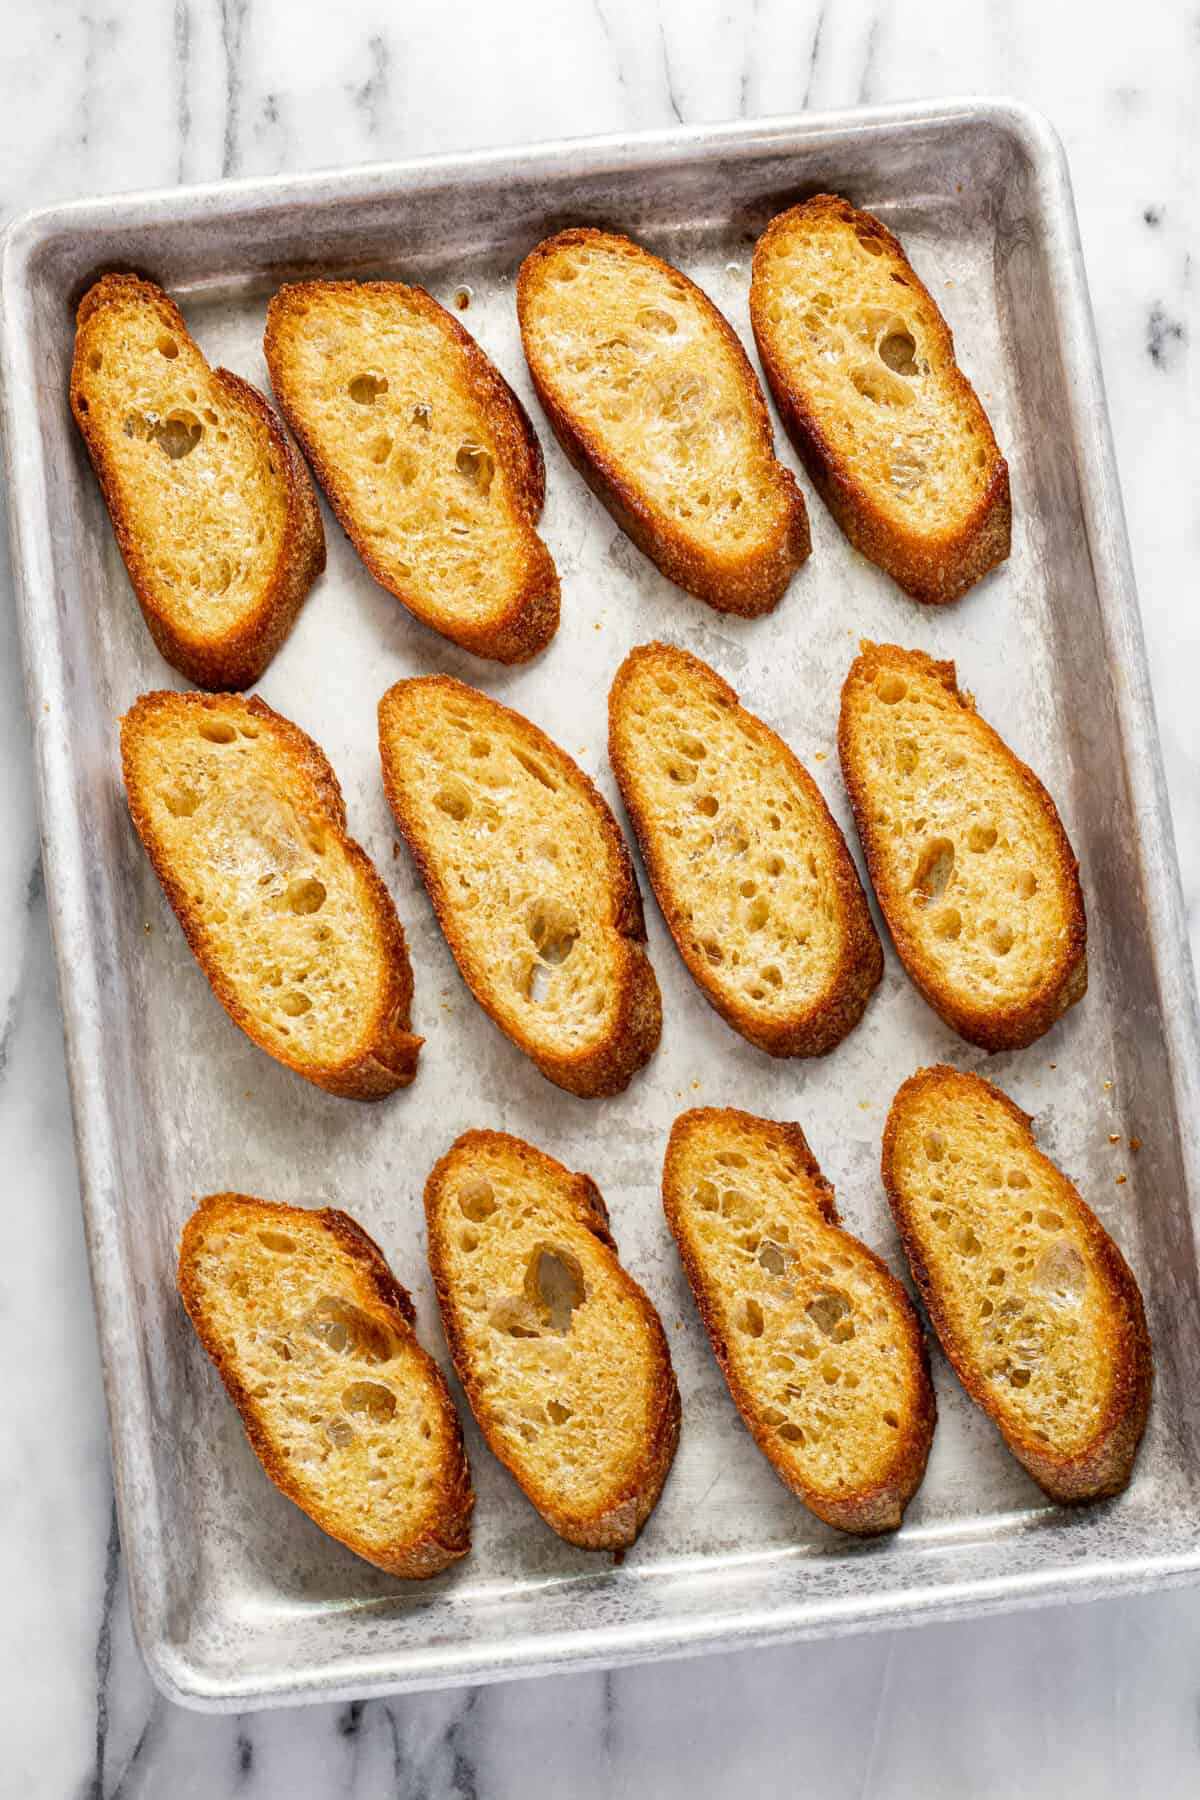
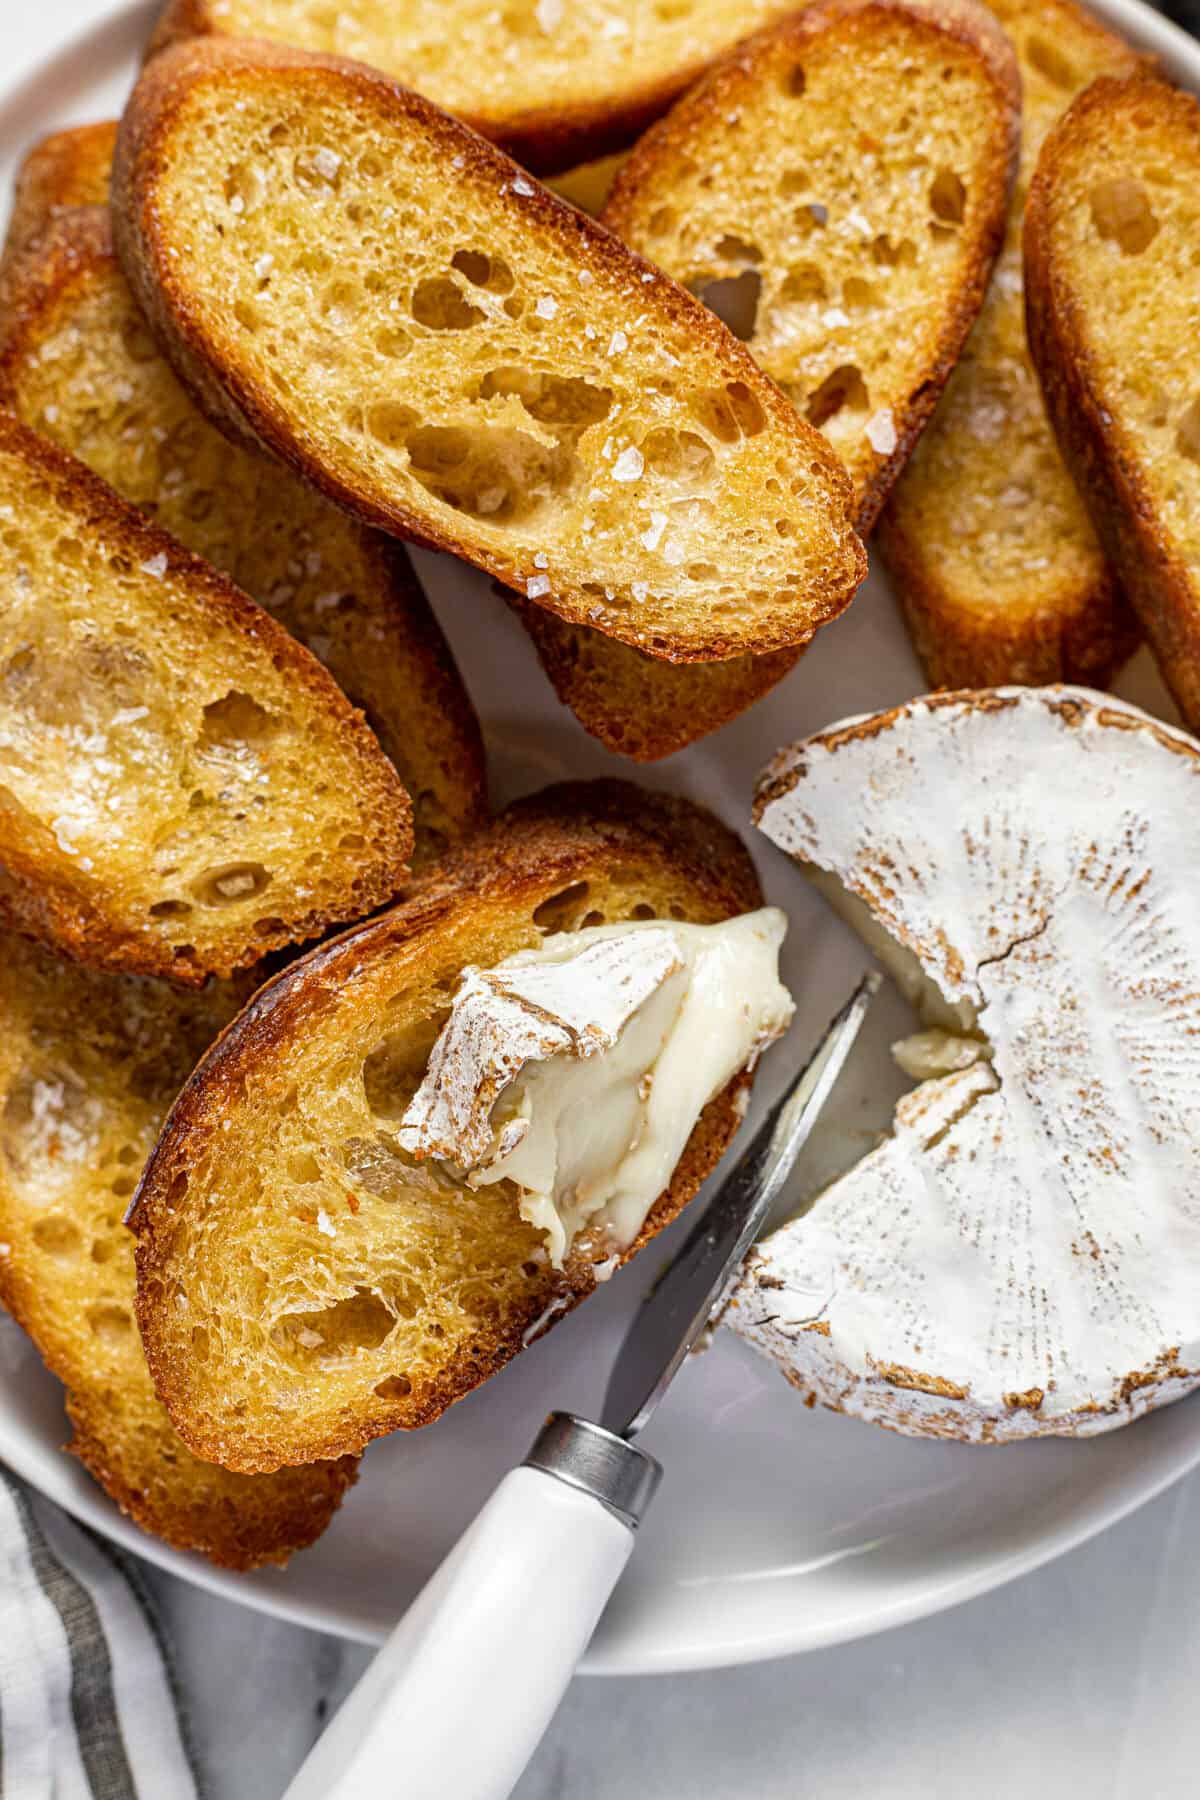
Serve with your favorite dips, spreads, and appetizers!
The Best Kind of Bread for Crostini
- You can use just about any type of bread as long as it’s a long thin loaf. A French baguette works great.
- Our local grocery store also has a great sourdough baguette. There are many other different types of baguettes – rosemary, artisan, rustic, etc.
- Find one that you like and don’t be afraid to switch it up next time you make them!
How to Slice Crostini
- Use a sharp serrated bread knife for best results.
- You can slice the bread directly across or on the diagonal (along the bias).
- You’ll want to cut it about 1/2″ thick. You can go as thin as 1/4″ if you want an extra crispy crostini.
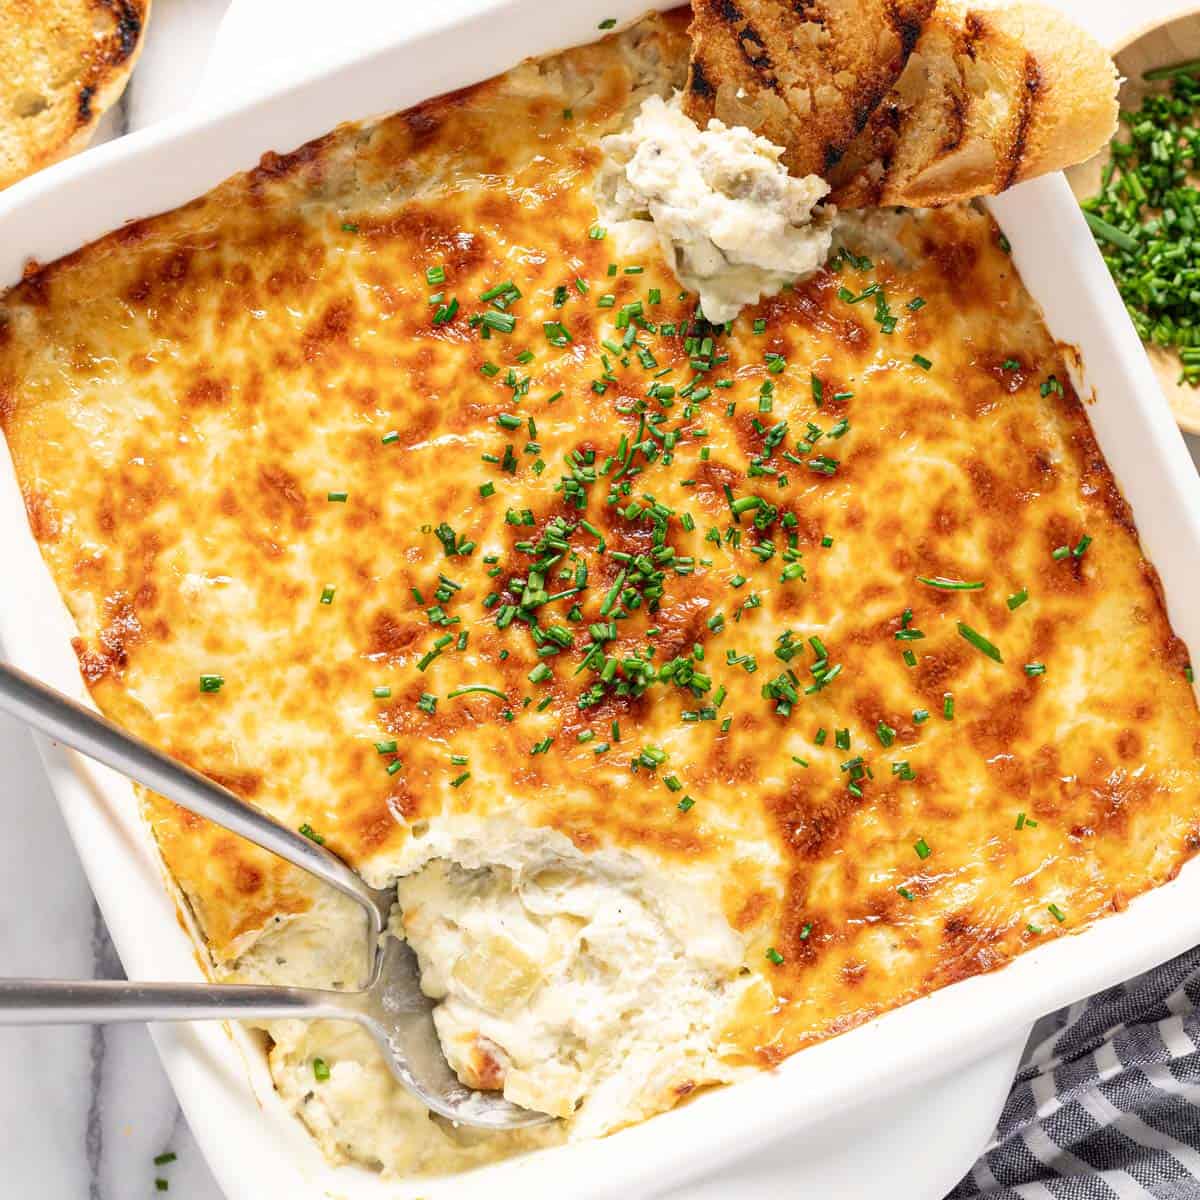
- Slicing the bread directly across is going to give you a more sturdy crostini, so I recommend that method if you’re pairing it with a thick, creamy dip like my spinach artichoke dip.
- Cut the bread diagonally if you’re serving it with something more forgiving like whipped feta dip.
Adjust the Baking Temperature and Time
These crostini are pretty forgiving and can be baked at any temperature between 350 degrees and 450 degrees. If you’re hosting a group, you can pop a tray of crostini in while you’re finishing the bake on one of my delicious dip recipes so they come out of the oven at the same time! Here is a simple table you can use:
| 350 degrees | 12-14 minutes |
| 375 degrees | 10-12 minutes |
| 400 degrees | 8-10 minutes |
| 425 degrees | 6-8 minutes |
| 450 degrees | 4-6 minutes |
Tips for Making Crostini
- The crostini should be quite crispy when it comes out of the oven. This is what makes it perfect for serving with all your favorite appetizers! It’s sturdy enough to hold up to creamy whipped feta dip, fig jam baked Brie, and cheesy baked olive dip.
- If you want to add a bit of extra flavor to your crostini, slice a clove of garlic in half and rub the cut side of the garlic across the surface of the baked crostini. This will add a subtle garlic flavor that pairs perfectly with savory dips and spreads!
- Crostini can be served warm, straight from the oven, or at room temperature.
- I prefer not to bake my crostini on parchment paper. I find that the parchment traps some of the moisture and doesn’t allow the crostini to get quite as crisp.
- No need to flip the crostini while it bakes. Both sides will still come out perfectly crisp!
- Much like homemade croutons, crostini can be made with stale bread! It’s also delicious of course when made with fresh bread. However, it’s a great way to repurpose a loaf of bread that may be past its prime.
- You can grill crostini! Brush both sides of the bread with oil and then place directly on the grill grates over medium-high heat. Grill for a couple minutes on each side or until the crostini is crisp with dark golden brown grill marks.
What is the difference between crostini and Bruschetta?
Crostini are typically made with smaller loaves of bread, like a baguette. Whereas, Bruschetta is typically made with whole slices of bread from a larger loaf, like rustic Italian bread. I prefer to serve crostini with my appetizers as it’s a more handheld size and requires a smaller bite. Crostini literally means “little toasts”.
What are my crostini so hard?
If your crostini is so hard it feels like you might chip a tooth eating it, chances are good you baked it for too long! All ovens bake slightly differently so it’s very important to keep a close eye on your crostini because they can go from perfectly crispy to hard as a rock in minutes. It’s quite a small piece of bread so it doesn’t need a ton of time in the oven.
What is the ideal texture of a well-toasted crostini?
Ideally, crostini should be crispy on the outside and tender on the inside. That’s why we bake it at 400 degrees for just a quick 8-10 minutes. This achieves the perfect amount of golden brown deliciousness on the outside while keeping the inside of the bread ever so tender. A well-toasted crostini will not get soggy when topped because that thin layer of oil helps to crisp it up and prevent the toppings from seeping into the bread.
How do you eat crostini?
The versatility of crostini is what makes it one of my favorites! You can serve it with:
- cheesy spinach and artichoke dip
- roasted garlic goat cheese dip
- creamy crab dip
- creamy street corn dip
- cheesy jalapeno popper dip
- whipped feta dip
- garlic and herb-marinated mozzarella balls
- simple smoked salmon dip
- cheesy baked olive dip
- olive tapenade
- Bruschetta with mozzarella
- herb-marinated feta cheese
Crostini Toppings
You can get pretty wild with the crostini toppings – there are no rules! Here are some of our family’s favorite combinations.
- honey, roasted walnuts, and fresh thyme
- pesto, cherry tomatoes, and fresh basil
- caramelized onions, sliced pear, and blue cheese
- ricotta cheese, Parmesan, black pepper, pear, and prosciutto
- fresh mozzarella, grape tomatoes, and balsamic glaze
- garlic sauteed shrimp, sliced avocado, and cilantro
- hummus, Kalamata olives, and feta cheese
Make Ahead, Storage, Freezing, and Reheating
- Make Ahead: I don’t recommend making these crostini more than 24 hours in advance or they won’t taste as fresh.
- Storage: Once crostini have cooled to room temperature, store them in an airtight container on the counter until you’re ready to eat them.
- Freezing: I prefer not to freeze these crostini, especially because they’re so easy to make.
- Reheating: If you want to serve these crostini warm, you’re welcome to reheat them in a 250-300 degree oven for a couple minutes but don’t cook them too long or they’ll end up drying out too much. They taste great at room temp too!
Easy Dips to Serve with Crostini
Did you love this recipe?
Please leave a 5-star rating and review below!
The Easiest Homemade Crostini Recipe
This quick and easy crostini recipe requires just 3 ingredients – baguette, olive oil, and salt – and takes about 15 minutes from start to finish. Making crostini at home is easier than you might think. And freshly made crostini tastes SO much better than the version you’ll find at the grocery store!
- Prep Time: 5 minutes
- Cook Time: 10 minutes
- Total Time: 15 minutes
- Yield: 24 slices crostini
- Category: Appetizer
- Method: Oven
- Cuisine: Italian
- Diet: Vegan
Ingredients
- French baguette
- 3-4 tablespoons olive oil
- Kosher salt
Instructions
- Heat oven to 400 degrees.
- Slice the French baguette on the bias into about 1/2″ thick slices.
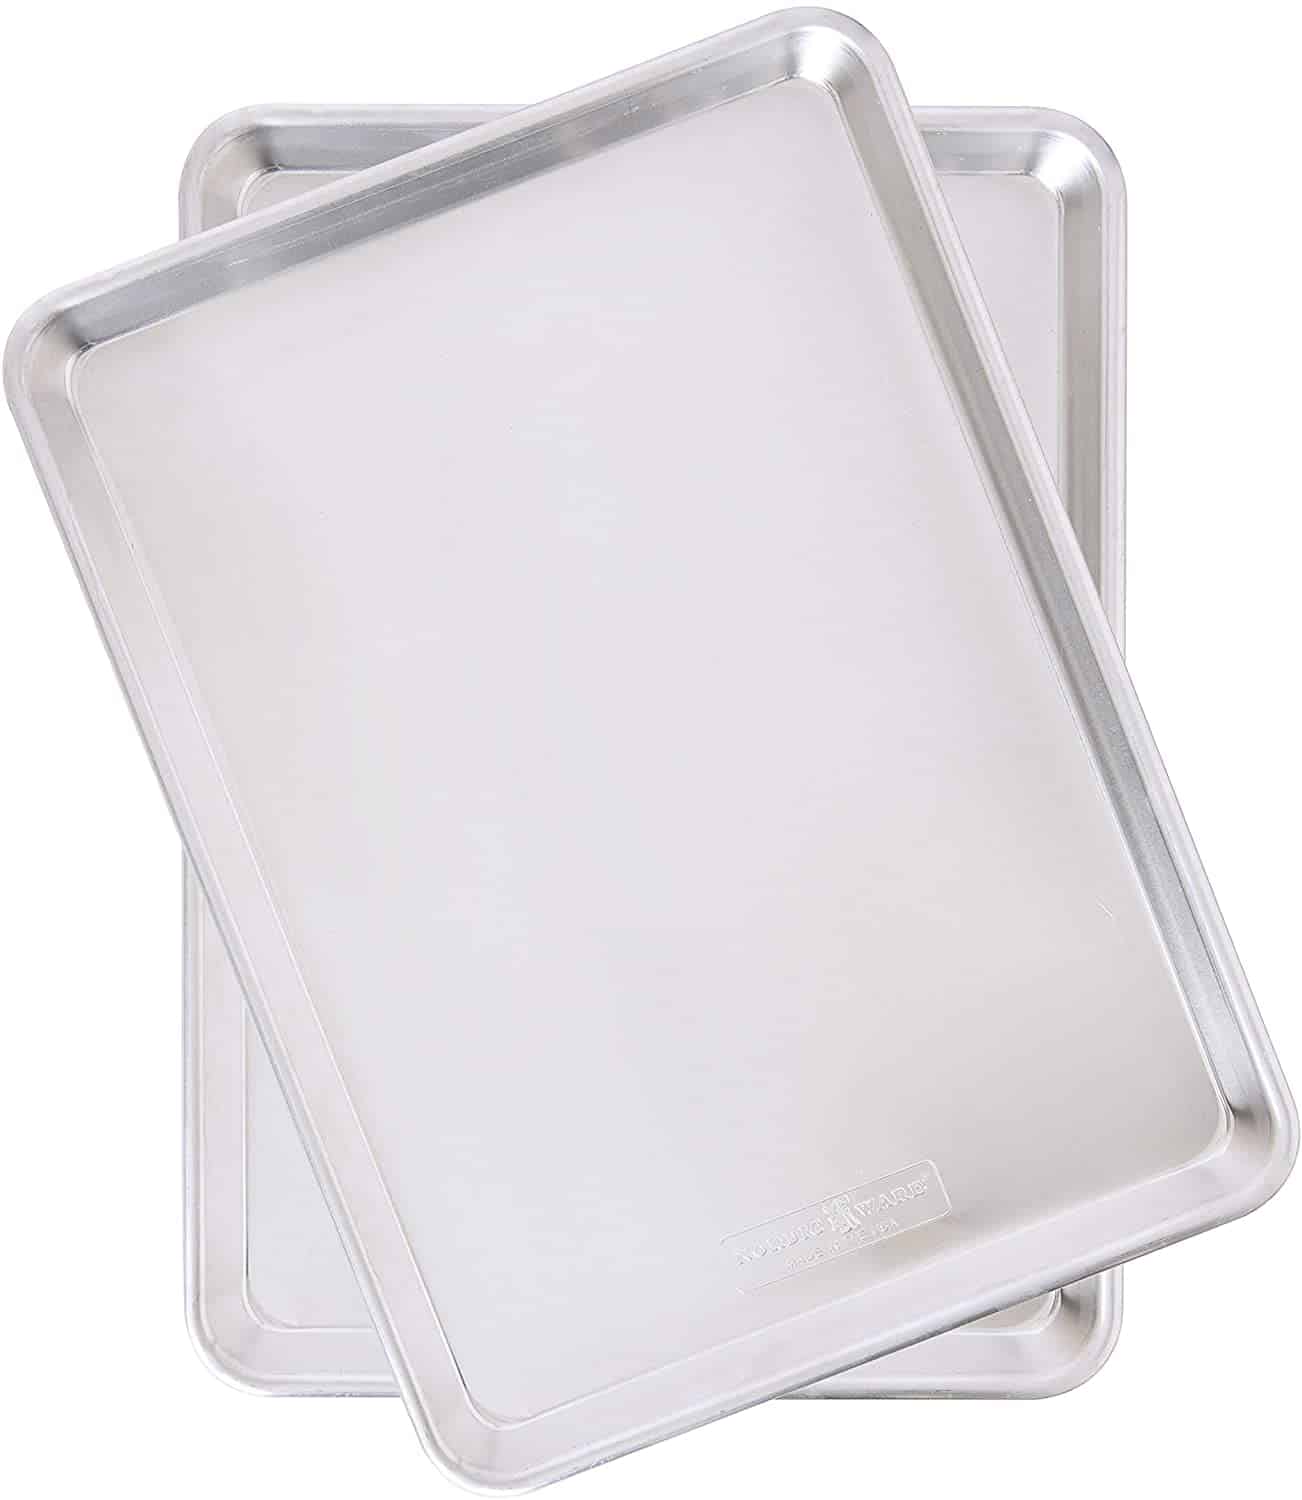
- Lay slices in a single layer on 1-2 baking sheets.
- Brush both sides of each piece of bread with olive oil.
- Bake for 8-10 minutes or until golden brown and crispy.
- Sprinkle with Kosher salt.
- Serve with your favorite appetizers or top as you like and enjoy!
Equipment
 Buy Now →
 Notes
- The crostini should be quite crispy when it comes out of the oven. This is what makes it perfect for serving with all your favorite appetizers! It’s sturdy enough to hold up to creamy whipped feta dip, fig jam baked Brie, and cheesy baked olive dip.
- If you want to add a bit of extra flavor to your crostini, slice a clove of garlic in half and rub the cut side of the garlic across the surface of the baked crostini. This will add a subtle garlic flavor that pairs perfectly with savory dips and spreads!
- Crostini can be served warm, straight from the oven, or at room temperature.
- I prefer not to bake my crostini on parchment paper. I find that the parchment traps some of the moisture and doesn’t allow the crostini to get quite as crisp.
- No need to flip the crostini while it bakes. Both sides will still come out perfectly crisp!
- Much like homemade croutons, crostini can be made with stale bread! It’s also delicious of course when made with fresh bread. However, it’s a great way to repurpose a loaf of bread that may be past its prime.
- You can grill crostini! Brush both sides of the bread with oil and then place directly on the grill grates over medium-high heat. Grill for a couple minutes on each side or until the crostini is crisp with dark golden brown grill marks.
Nutrition
- Serving Size: 1 crostini
- Calories: 30
- Sugar: 0 g
- Sodium: 8.5 mg
- Fat: 3.1 g
- Trans Fat:
- Carbohydrates: 0.7 g
- Fiber: 0 g
- Protein: 0.2 g
- Cholesterol: 0 mg




Thank you for sharing. I have a batch in the oven as well speak. Have a great day!
I can’t wait to hear how the crostini turn out, Donna!
So easy and so good! Made for a party yesterday. Thanks
I am so glad that you enjoyed this easy crostini recipe! It’s such a versatile dish and perfect for a party appetizer! Did you top it with something yummy or serve it alongside a creamy dip?
This is my go-to crostini recipe! I’ve been using it for years and it’s such an easy way to elevate any appetizer or dip!
What does it mean to cut the baguette on the bias???
Great question! Cutting something on the bias means cutting it at an angle (usually 45 degrees) instead of straight across. For this recipe, I prefer to cut the bread on the bias instead of directly across. Here’s an article that goes more in-depth if that doesn’t make sense. Thanks for reaching out, Rick! https://glaszart.com/what-does-cutting-on-the-bias-mean-in-the-culinary-world/